Hi together,
so, after reading lot and ask some questions on Discord, I was finally so far today to attempt the trimming of the motherboard as I received the kit last week.
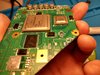
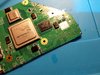
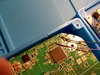
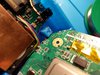
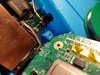
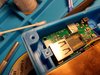
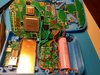
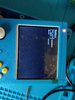
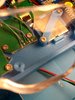
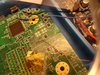
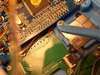
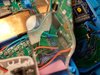
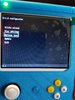
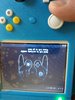
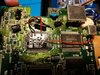
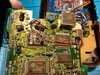
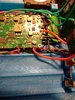
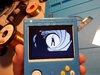
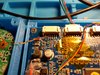
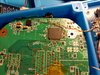
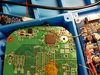
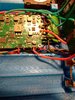
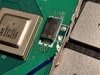
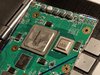
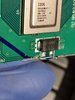
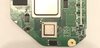
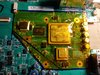
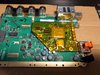
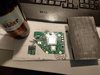
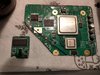
It went mostly good but I messed up the lower side: I cut it too short so the sanding might become problematic but the biggest issue I see is that I have also once dirft a bit on the motherboard with the dremel So now guys, I need your professional sight to tell me if I may already order the next Wii on ebay or if I can still save this motherboard somehow. Here are the picts of the mess:
so, after reading lot and ask some questions on Discord, I was finally so far today to attempt the trimming of the motherboard as I received the kit last week.
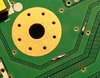
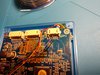
It went mostly good but I messed up the lower side: I cut it too short so the sanding might become problematic but the biggest issue I see is that I have also once dirft a bit on the motherboard with the dremel
So now guys, I need your professional sight to tell me if I may already order the next Wii on ebay or if I can still save this motherboard somehow. Here are the picts of the mess:Attachments
-
 2.9 MB Views: 355
 -
 3.1 MB Views: 349
 -
 1.9 MB Views: 370


")