LexRsnow
.
A bit of a small update, but a good sign of progress!
Over this past week (after putting the project on hold for studying and schoolwork, among other limitations), I've been trying to get this project into a "working" state. I got my Plusivo about some weeks ago and my helping hands arrived soon after. It was time to put my soldering practice to use.
The end result?
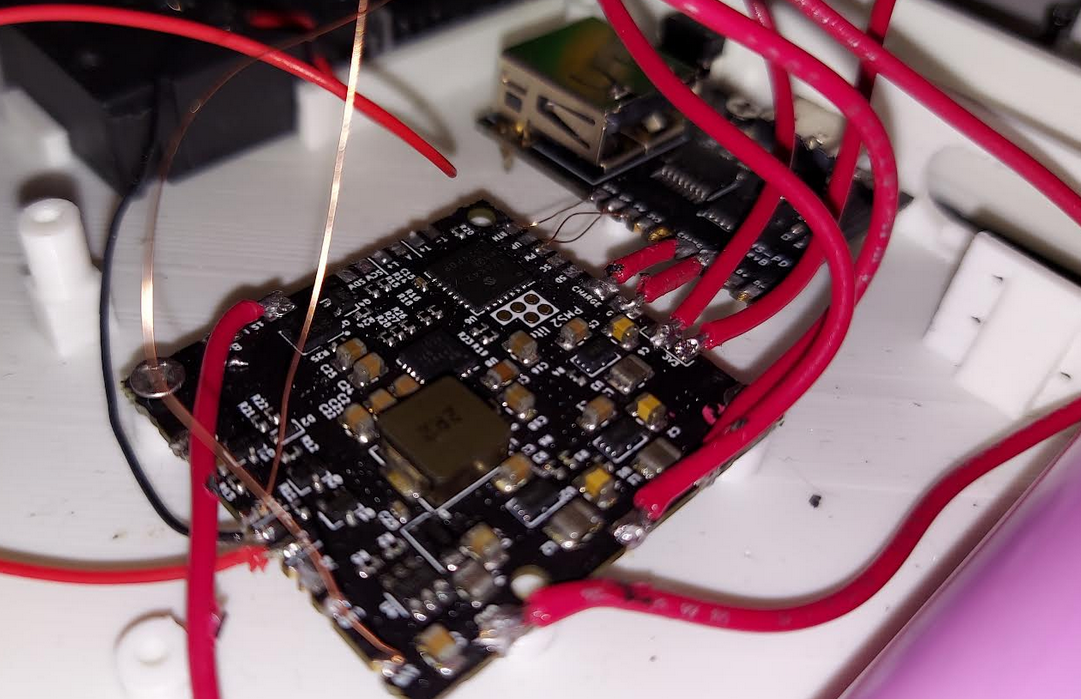
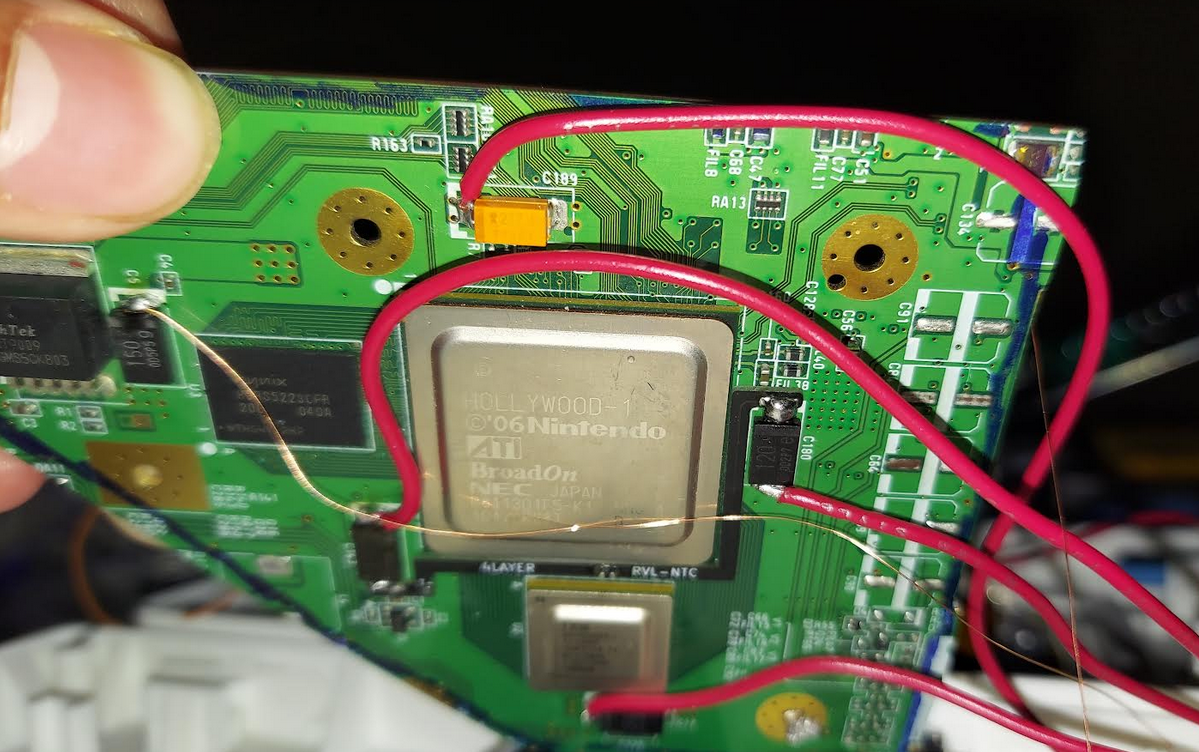
Well, I don't think I'll see my joints in hell any time soon, but they aren't the greatest. Soldering to the Wii went smoother than I expected, and overall, the process was pretty straightforward. Next was the screen:
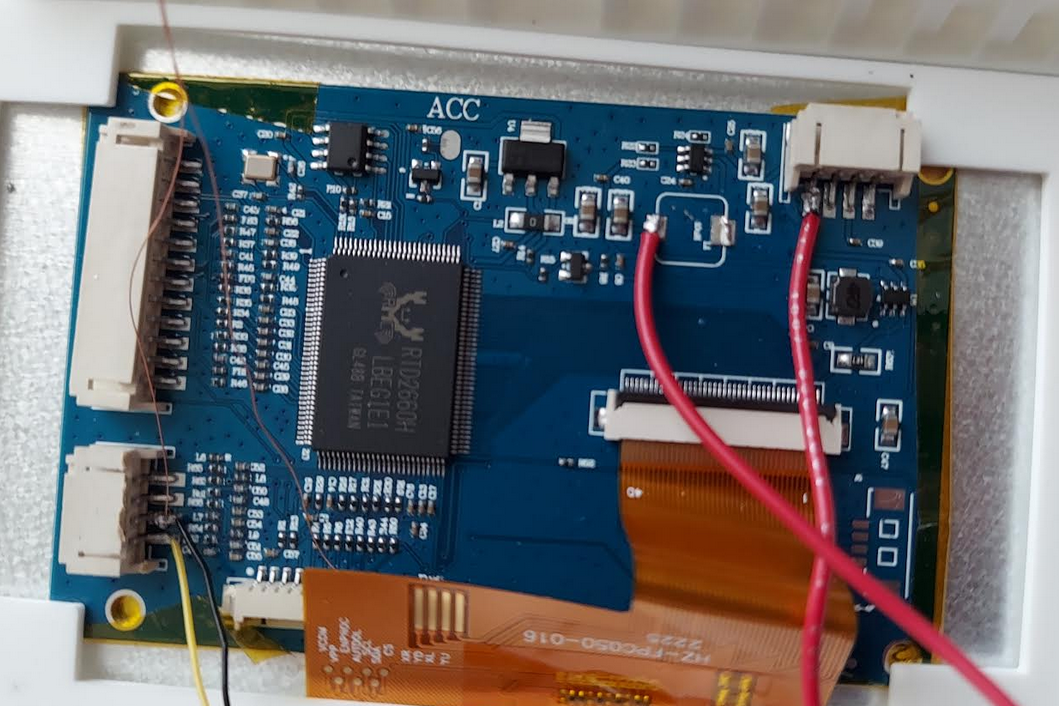
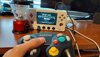
I decided to test composite video output with my Wii first before going ahead with VGA- -a decision the majority of members seem to make. So, I plugged in the battery, turned the console on, and... nothing- -until I realized you had to change the source to composite. After that...
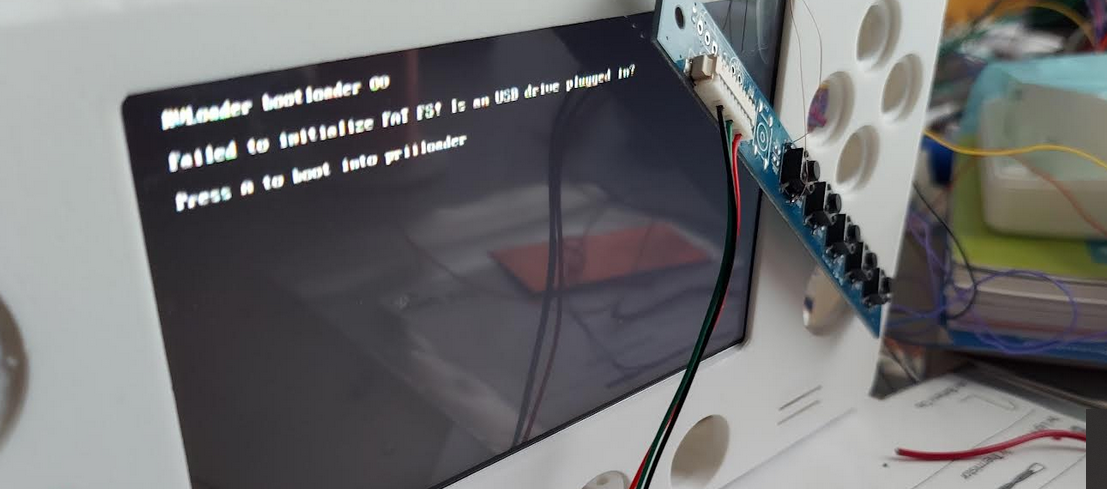
The Wii is booting! This project is just going one step forward after another; I feel great! Anyway, that's all that's been done so far. Just a little more to go.
Oh! And a question:
Soldering to ground joints seems to be a big problem for me. I understand why ground in particular is difficult to solder to, and I tried to make them as good as I can, but I'm not sure if the problem is not holding my soldering iron on the pads long enough, the temperature (370* C), or just technique (holding the iron at an angle). Any advice?
Over this past week (after putting the project on hold for studying and schoolwork, among other limitations), I've been trying to get this project into a "working" state. I got my Plusivo about some weeks ago and my helping hands arrived soon after. It was time to put my soldering practice to use.
The end result?
Well, I don't think I'll see my joints in hell any time soon, but they aren't the greatest. Soldering to the Wii went smoother than I expected, and overall, the process was pretty straightforward. Next was the screen:
I decided to test composite video output with my Wii first before going ahead with VGA- -a decision the majority of members seem to make. So, I plugged in the battery, turned the console on, and... nothing- -until I realized you had to change the source to composite. After that...
The Wii is booting! This project is just going one step forward after another; I feel great! Anyway, that's all that's been done so far. Just a little more to go.
Oh! And a question:
Soldering to ground joints seems to be a big problem for me. I understand why ground in particular is difficult to solder to, and I tried to make them as good as I can, but I'm not sure if the problem is not holding my soldering iron on the pads long enough, the temperature (370* C), or just technique (holding the iron at an angle). Any advice?

 ," I thought, "I wonder if that's the issue." I couldn't see anything else that could be. So I went through the same old song and dance of re-wiring usb...