
Hili
.
- Joined
- Oct 3, 2022
- Messages
- 12
- Likes
- 19
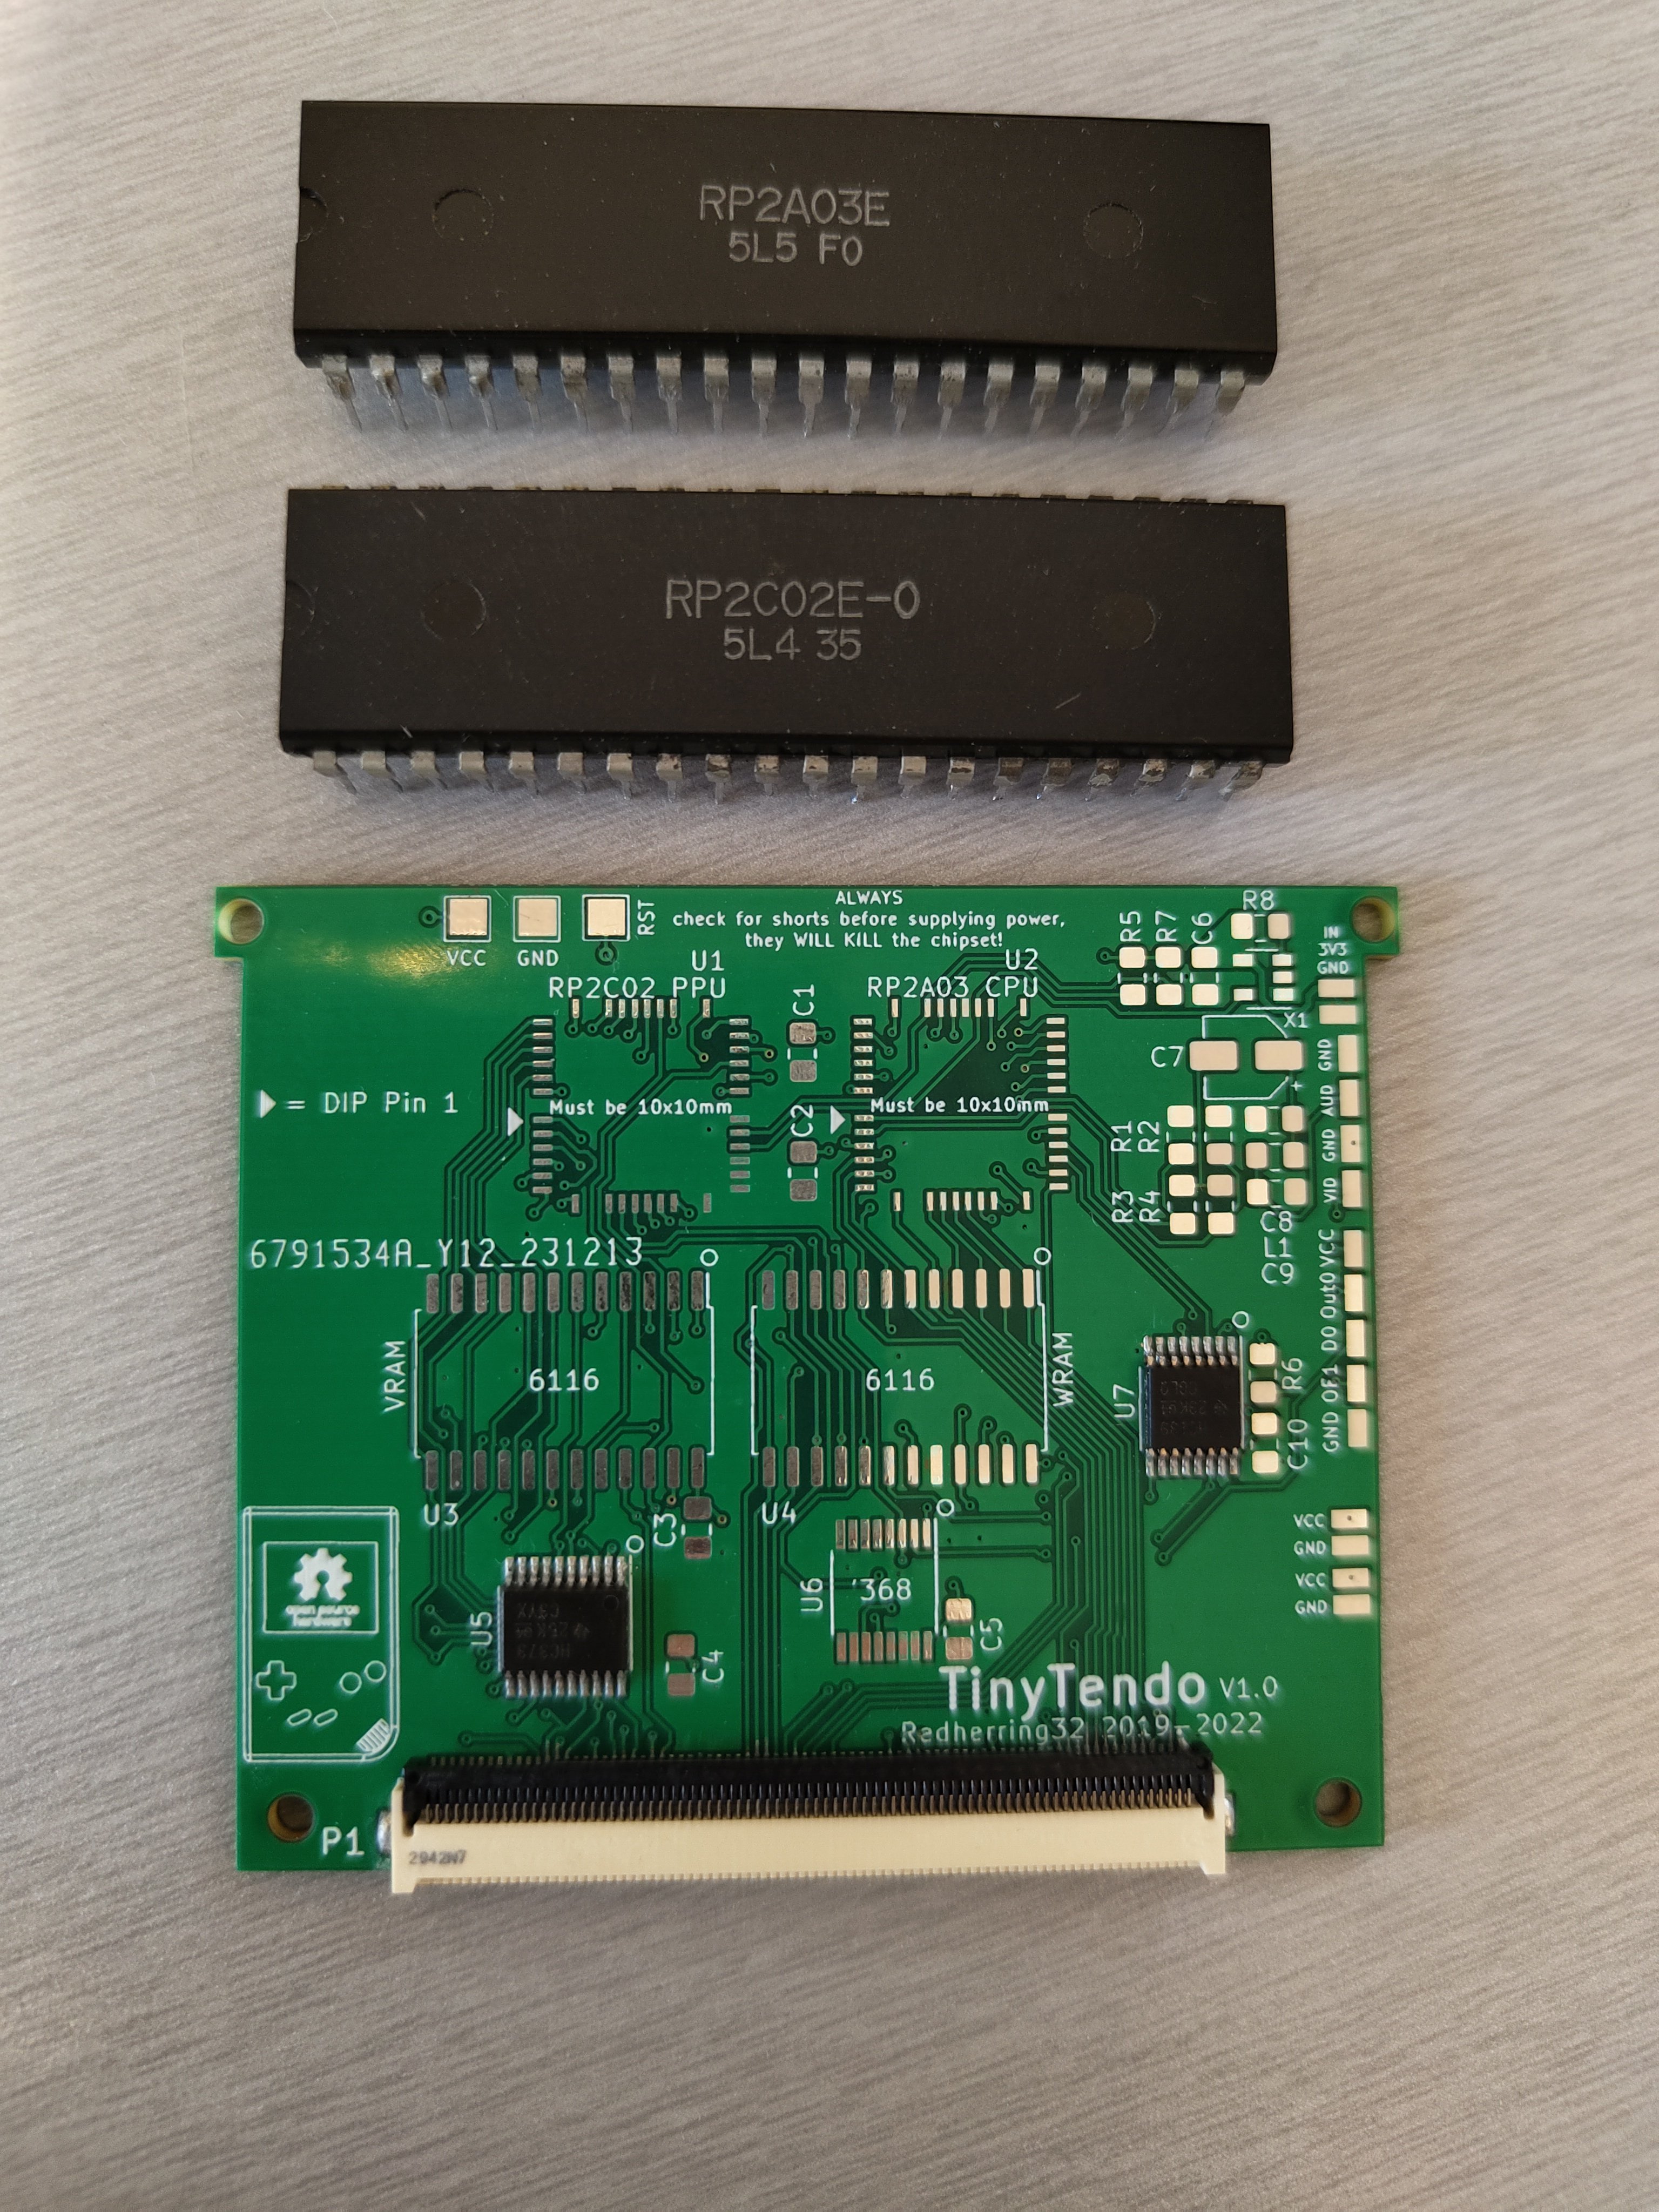
I just wanted to show some pictures of my TinyTendo that I have built over the last couple of months.
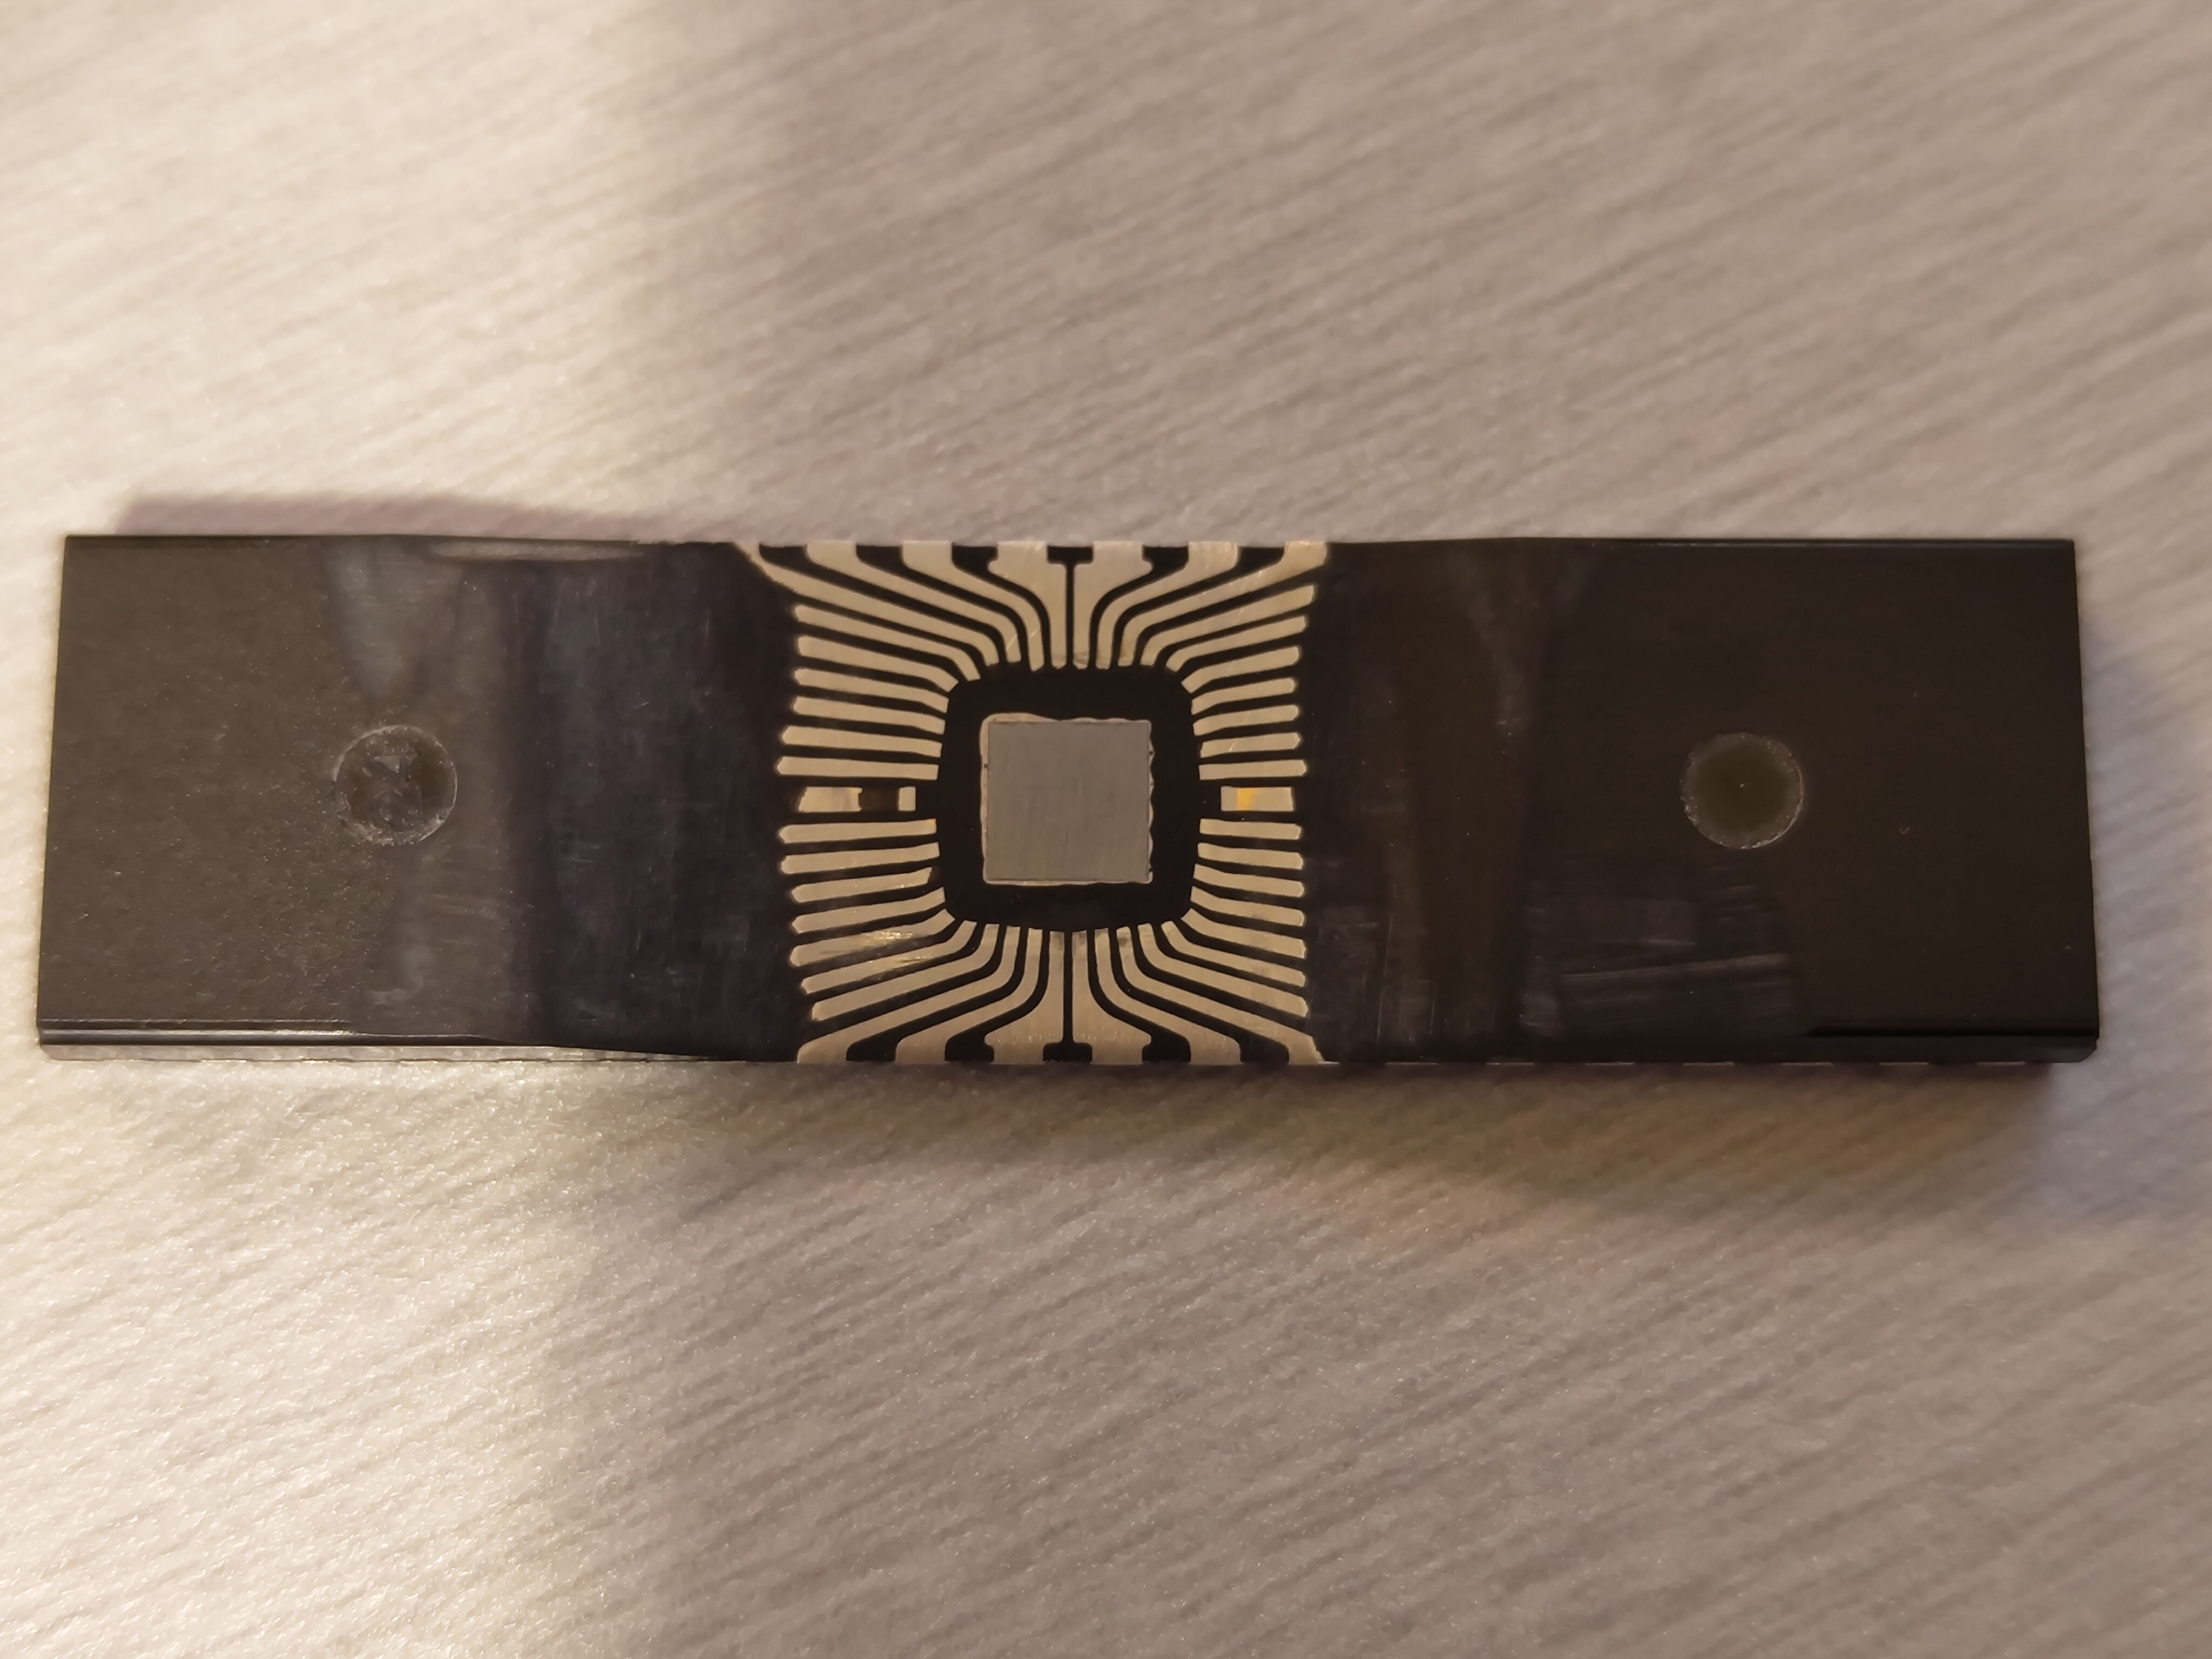
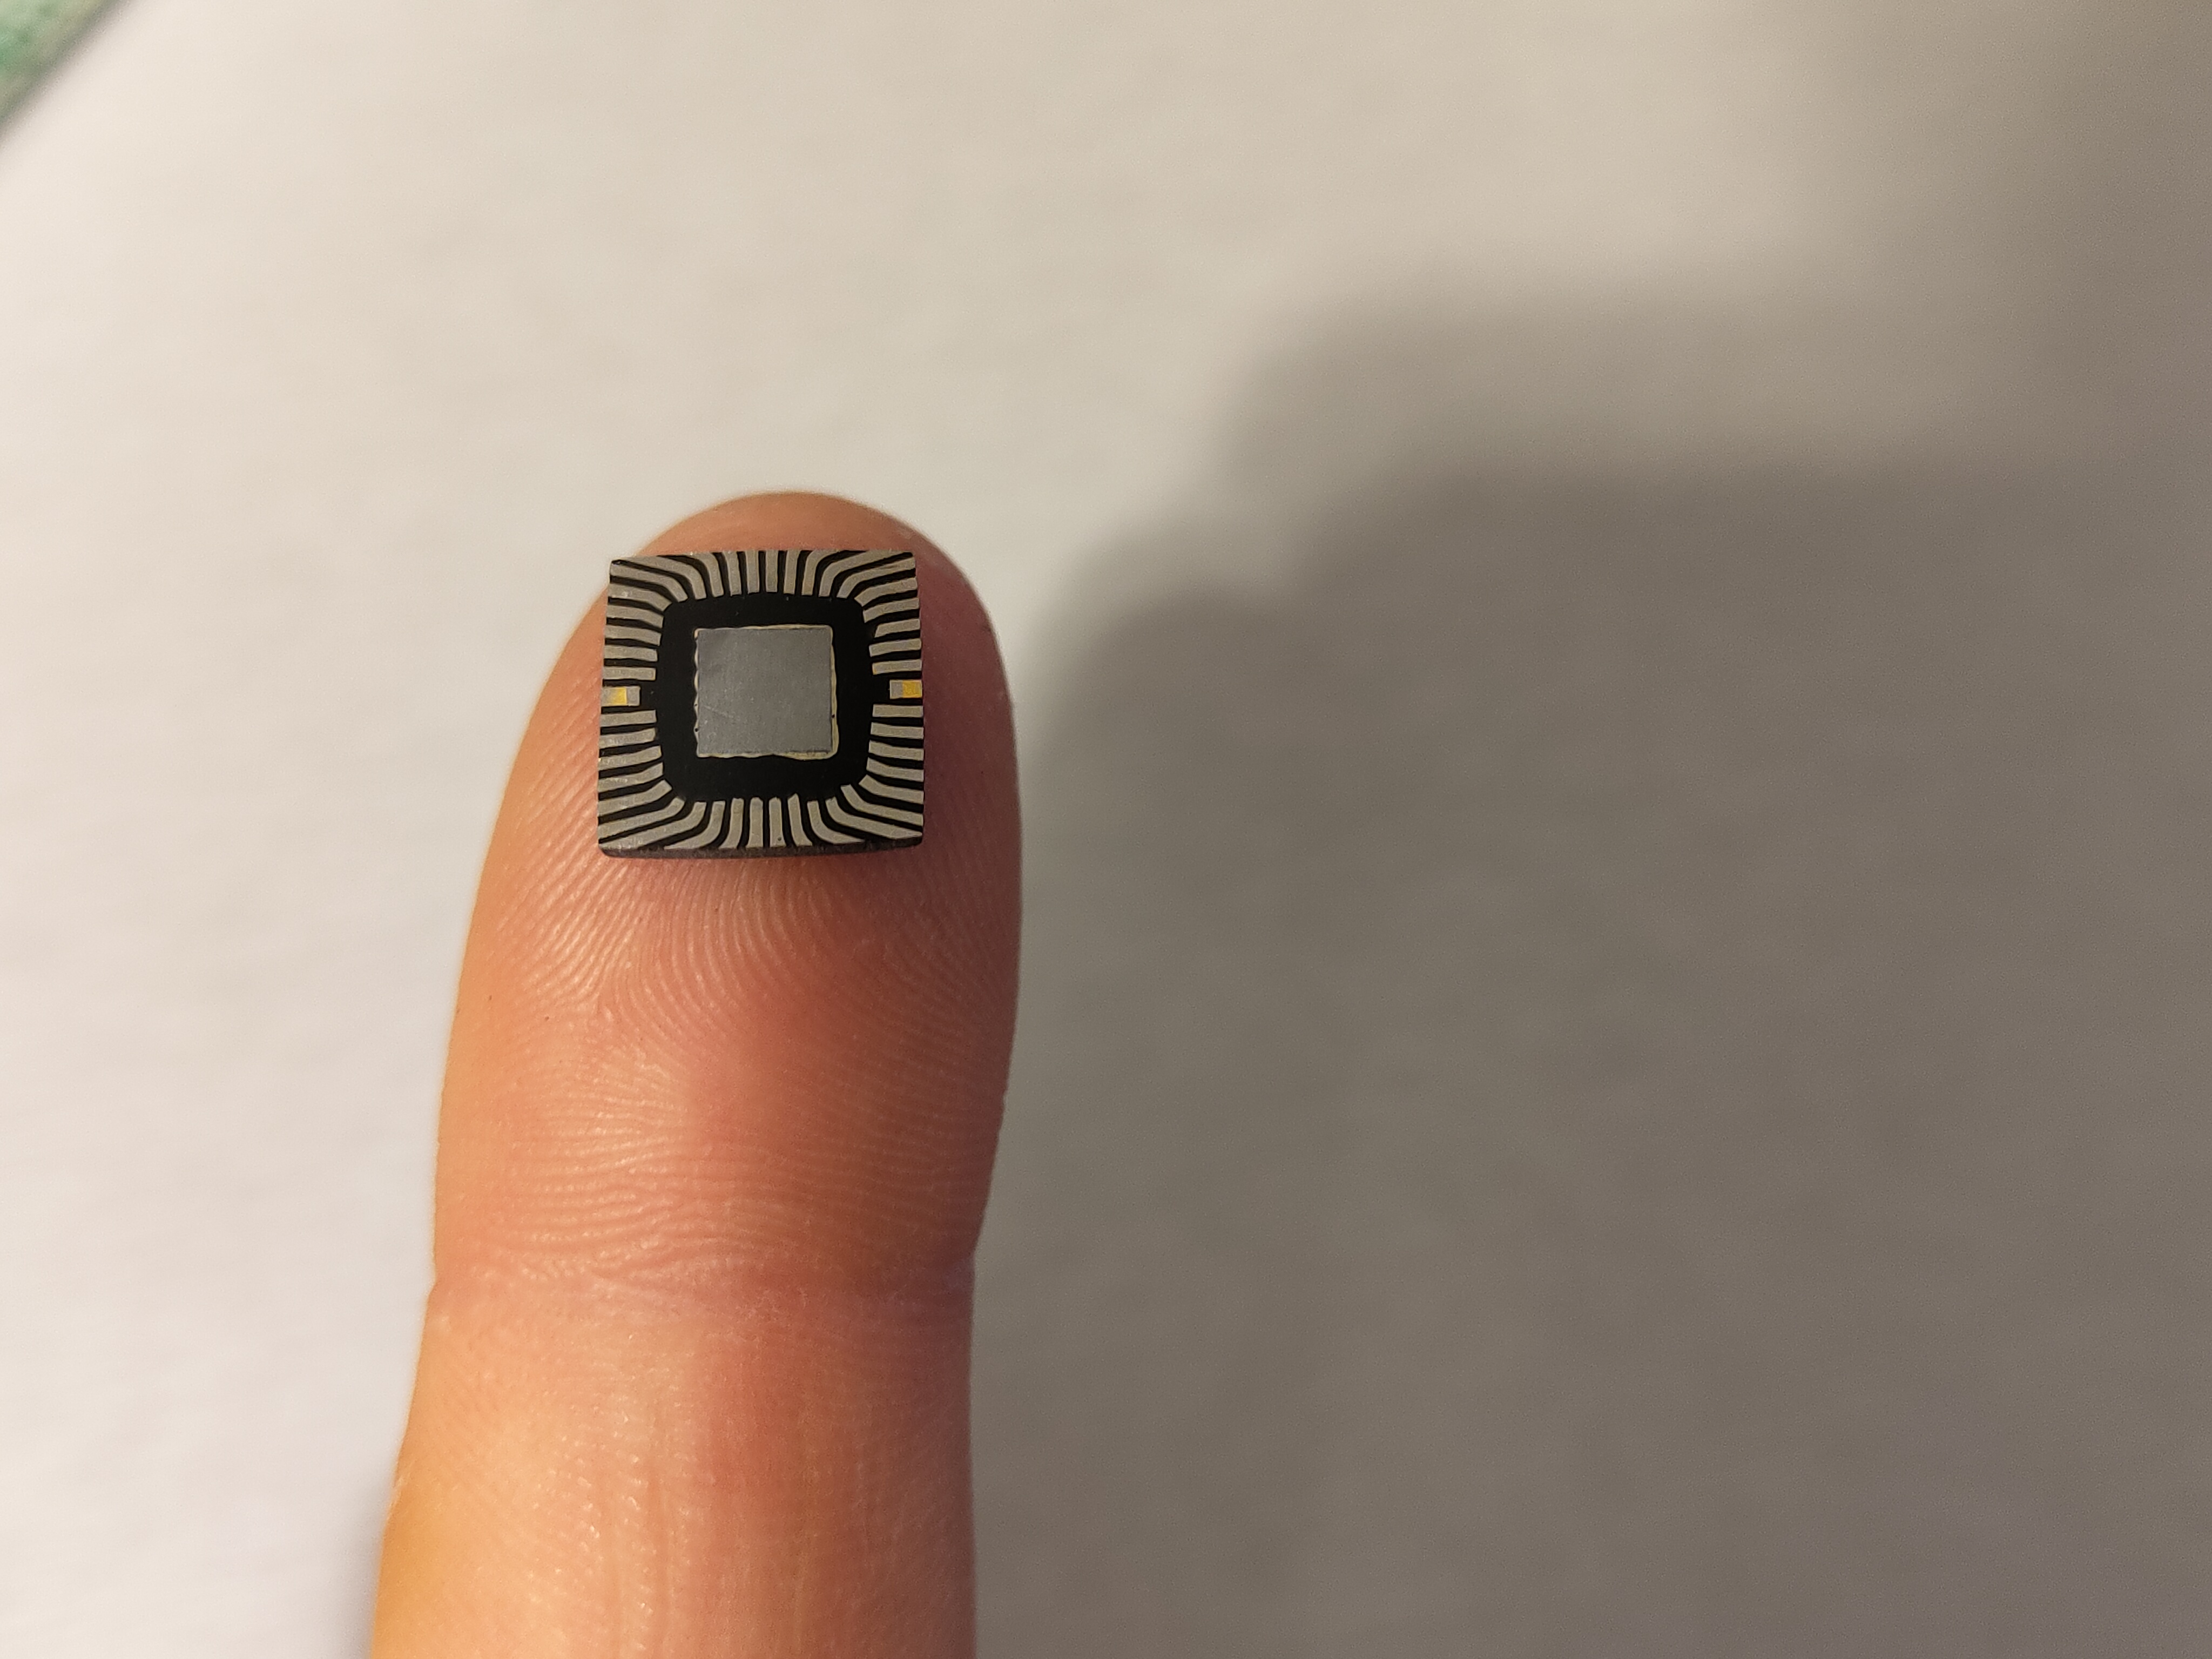
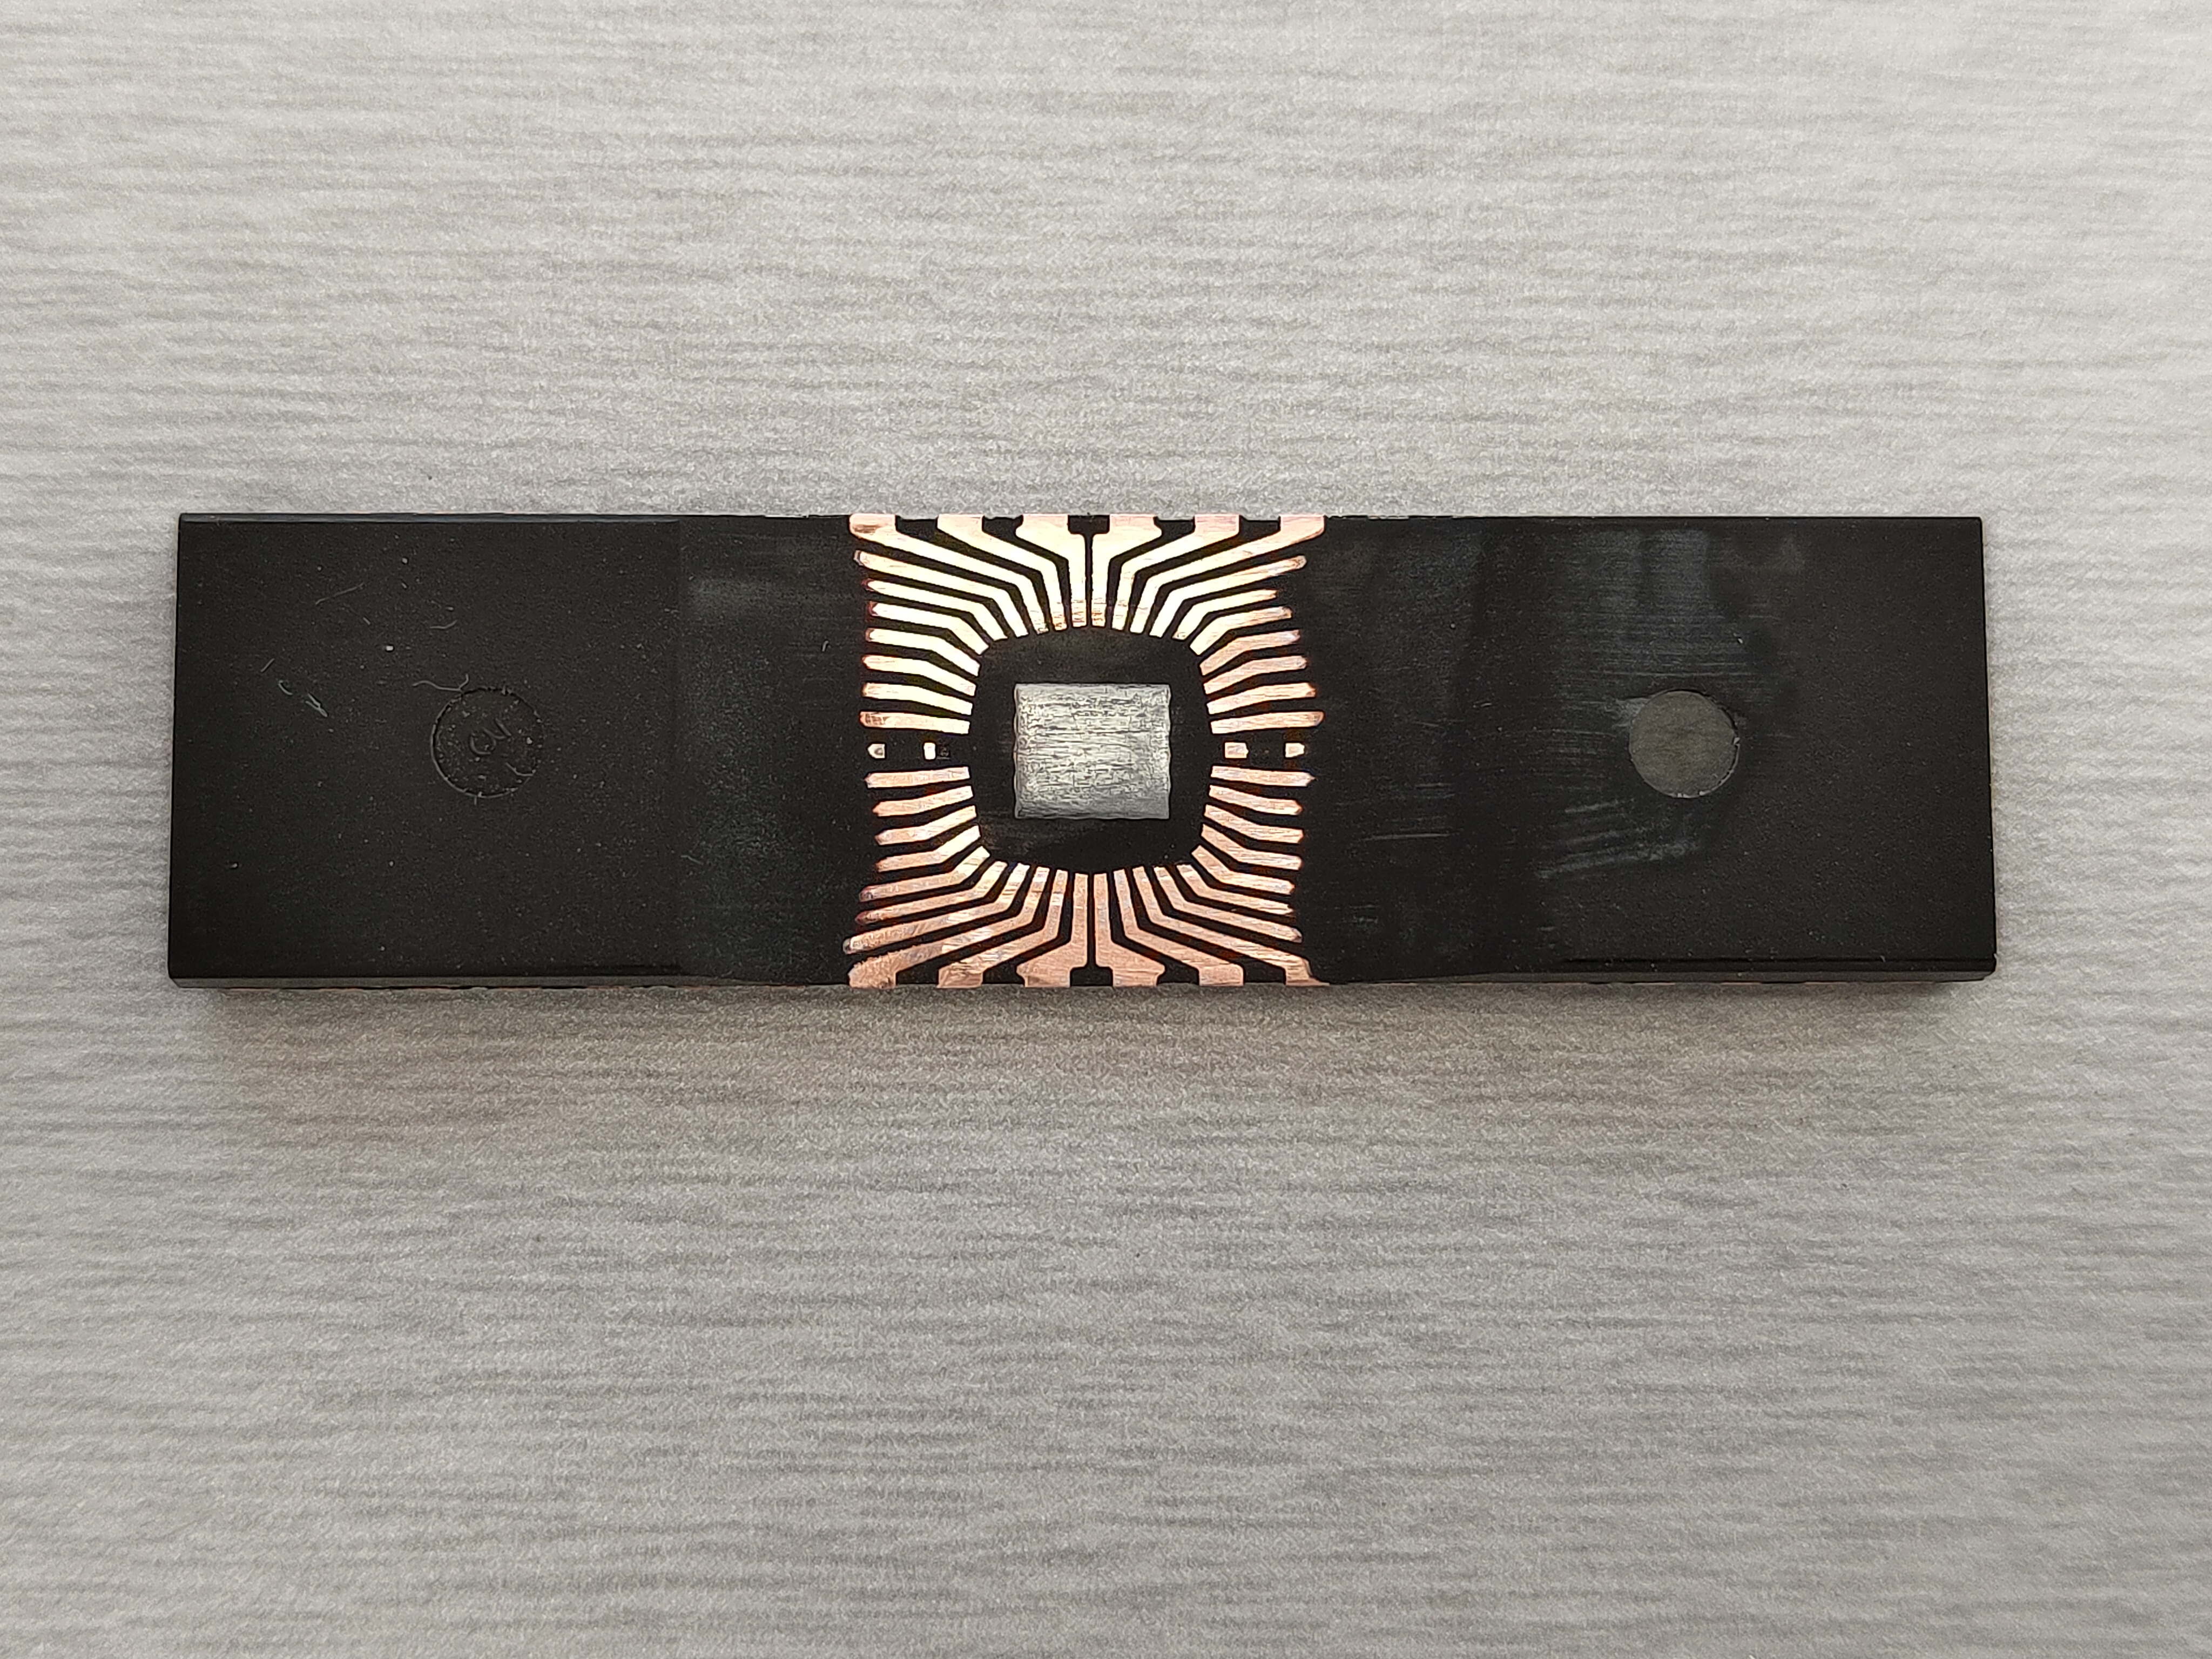
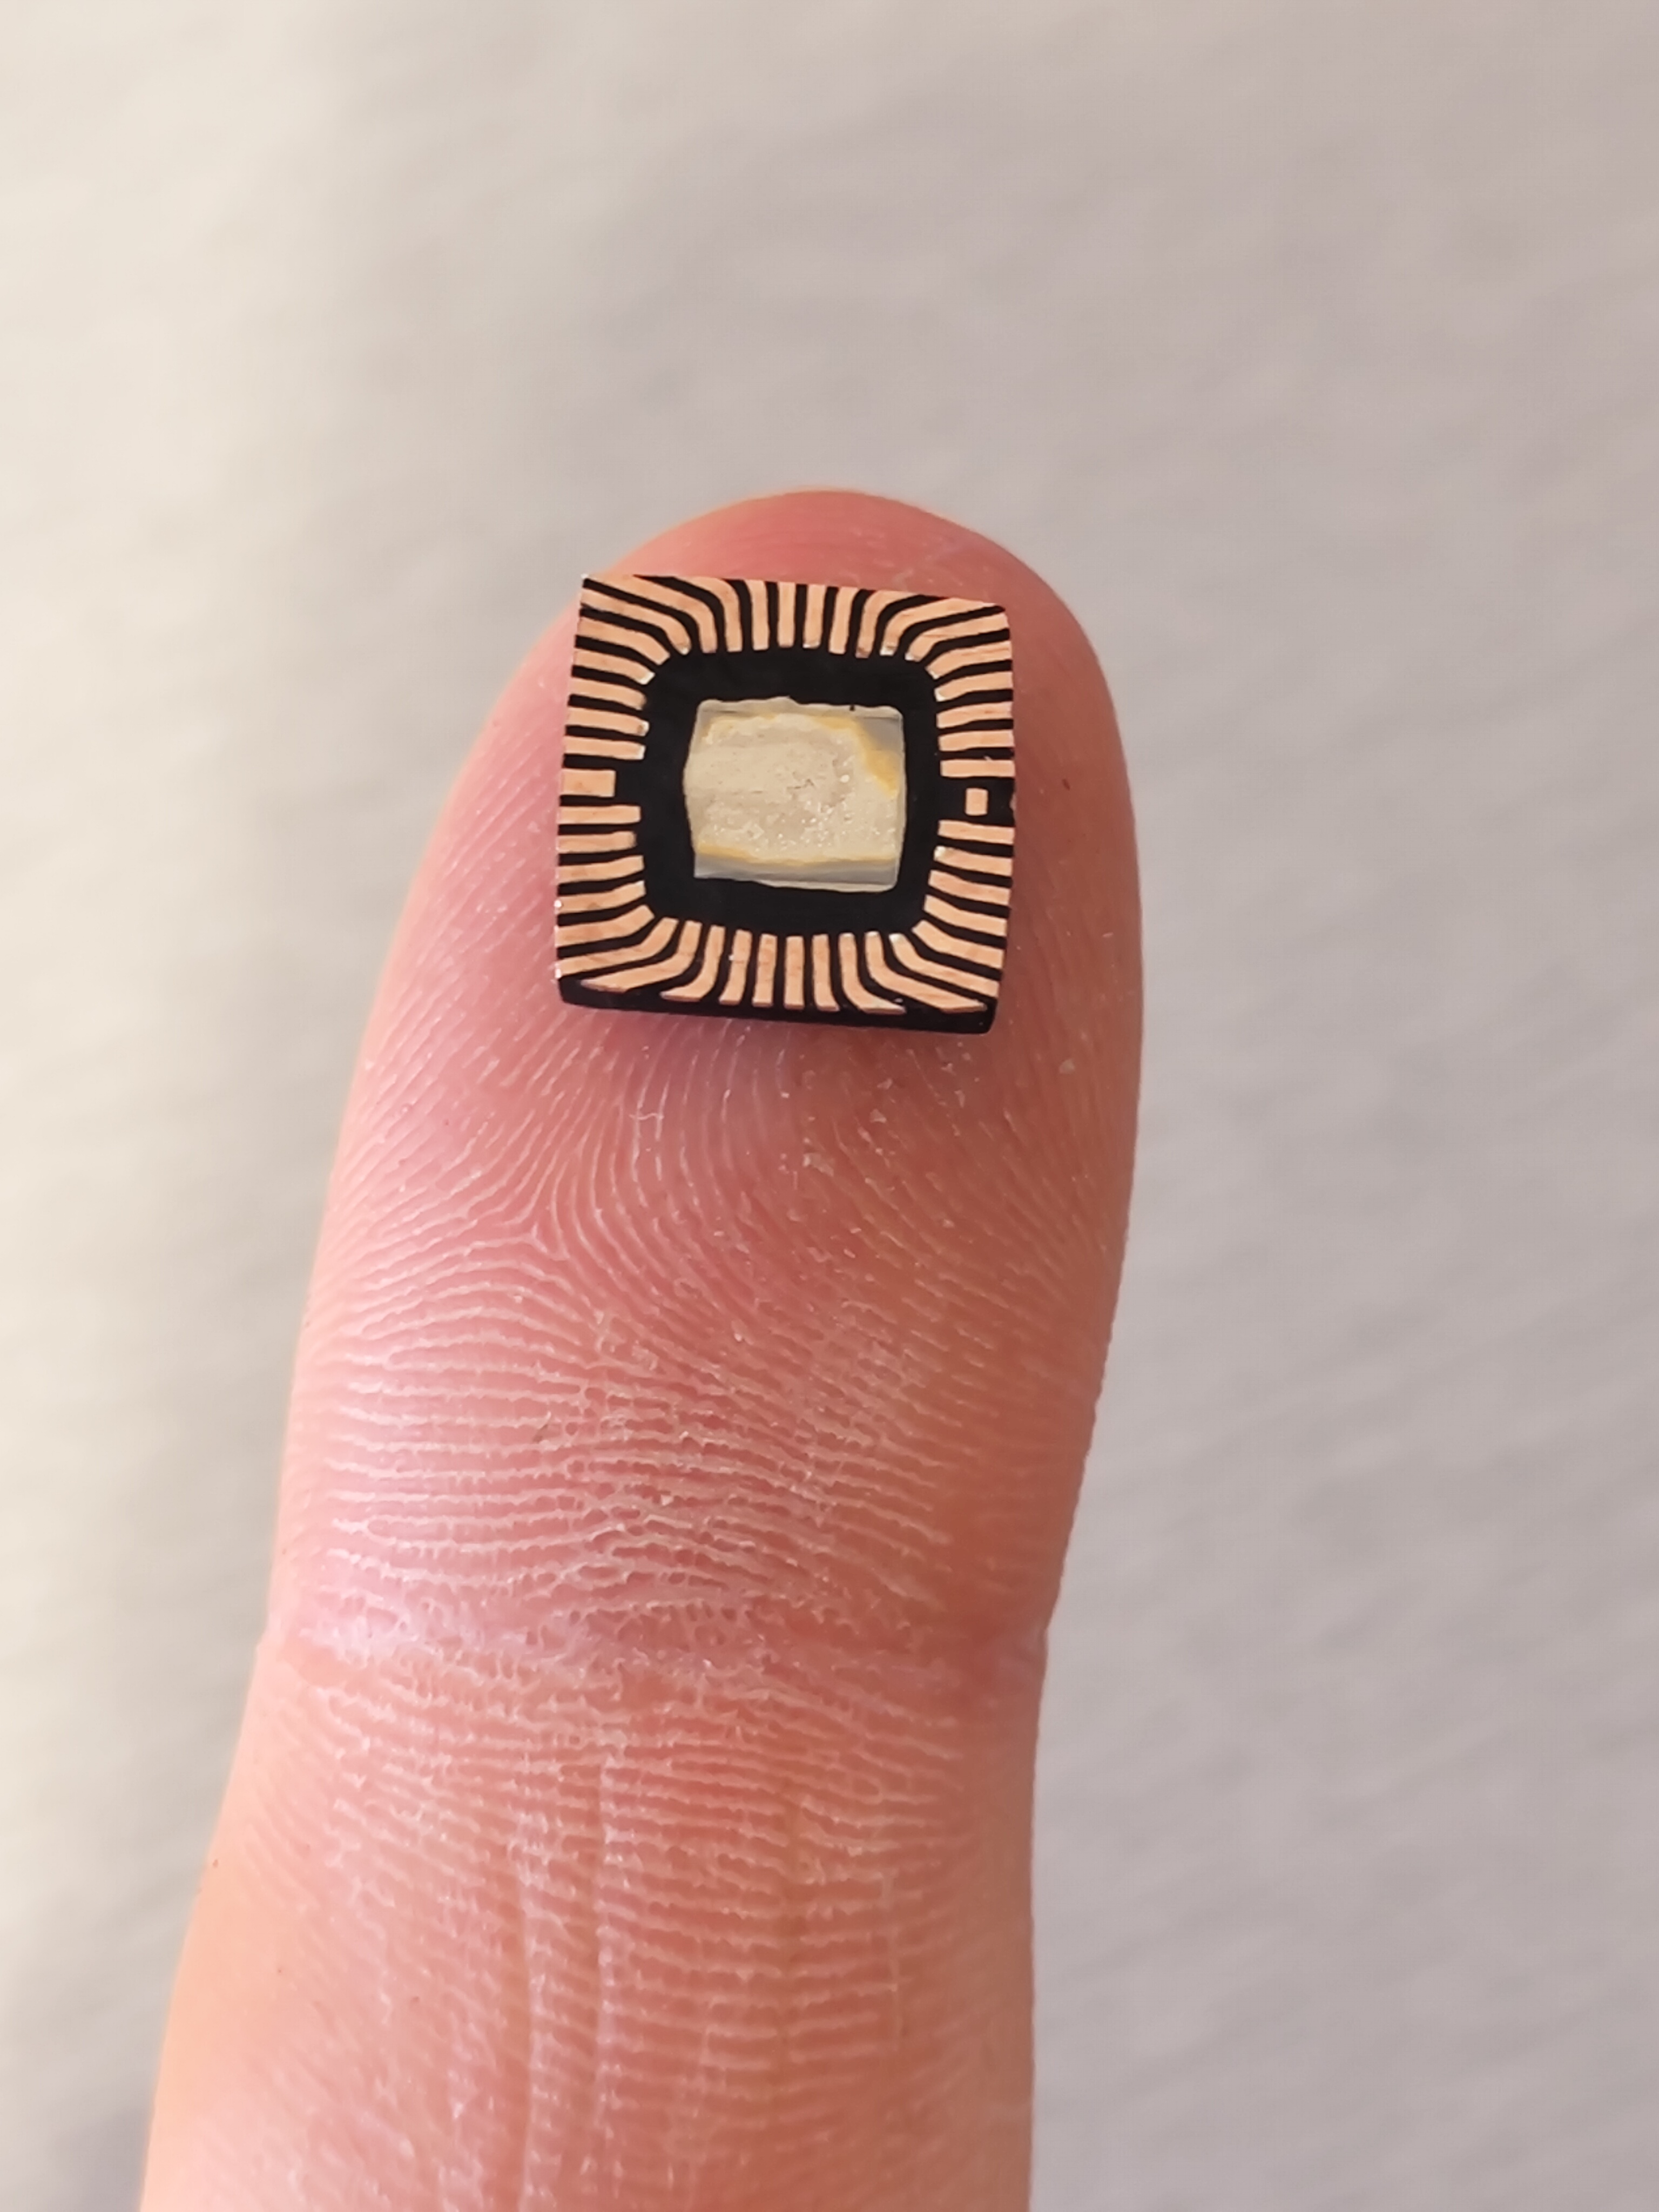
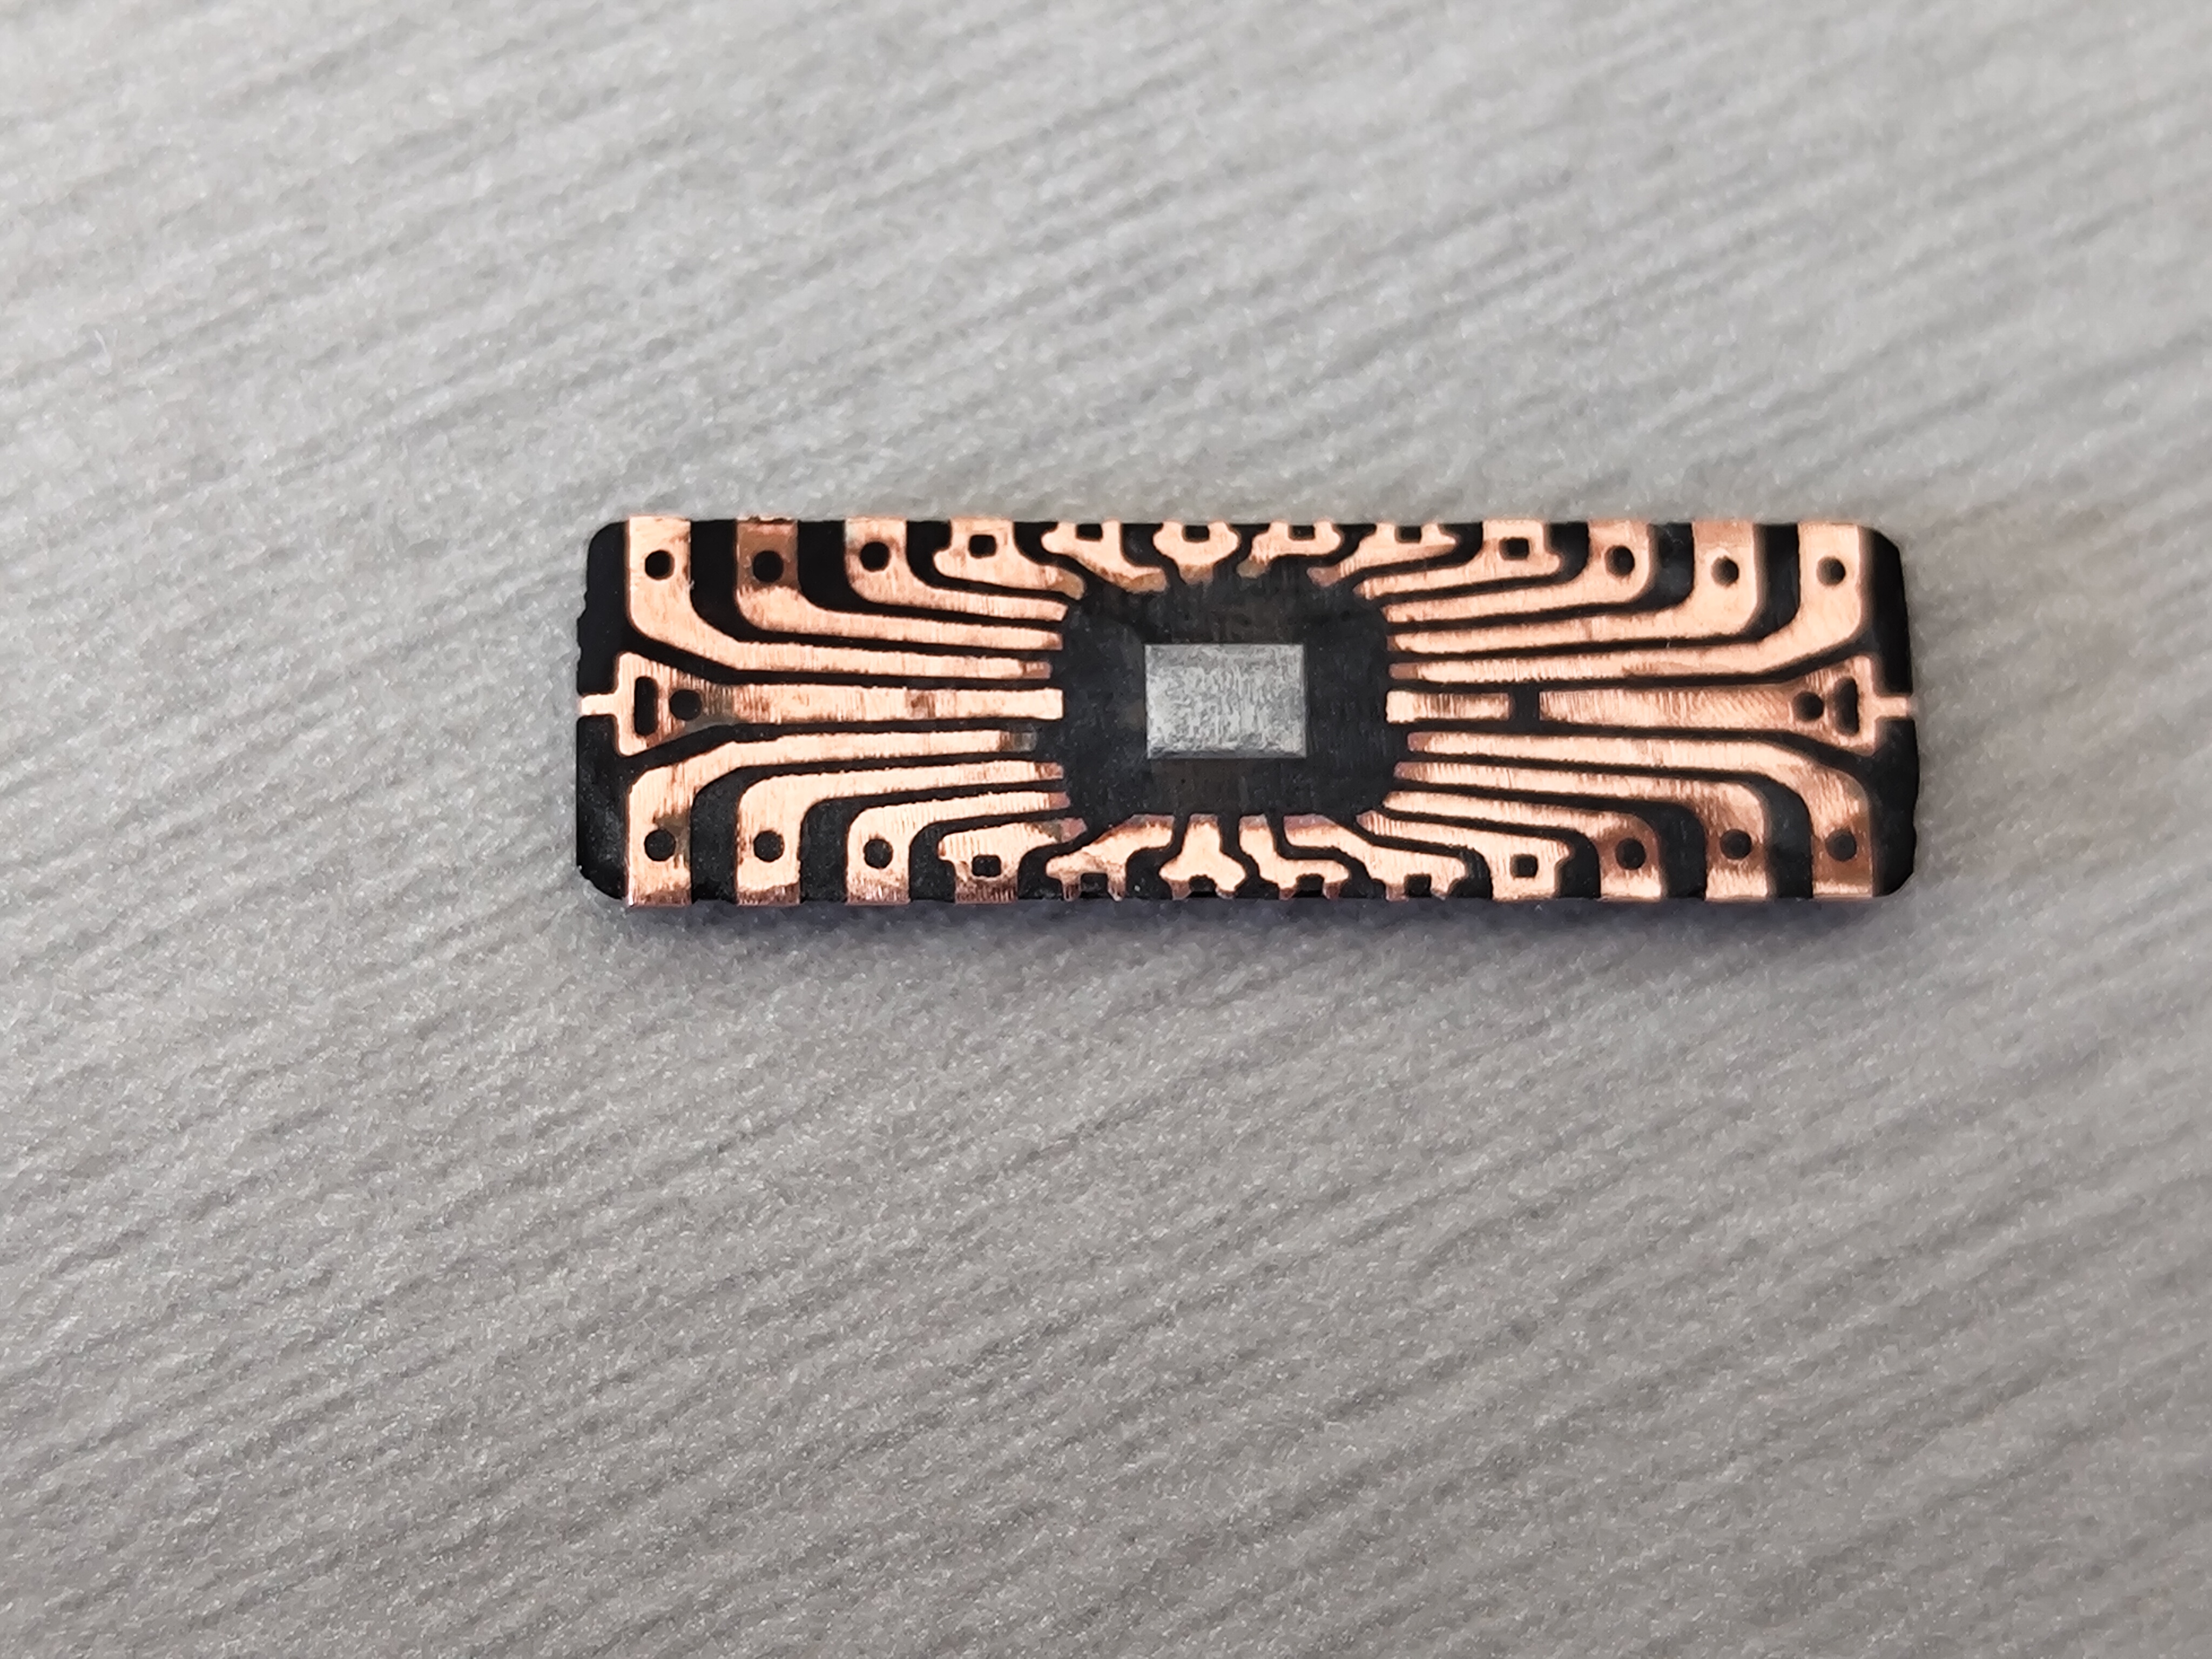
The hardest part of the TinyTendo is of course cutting and sanding the CPU/PPU to a size of 10x10mm.
Here are some pictures of the CPU and PPU before and after I sanded them down:
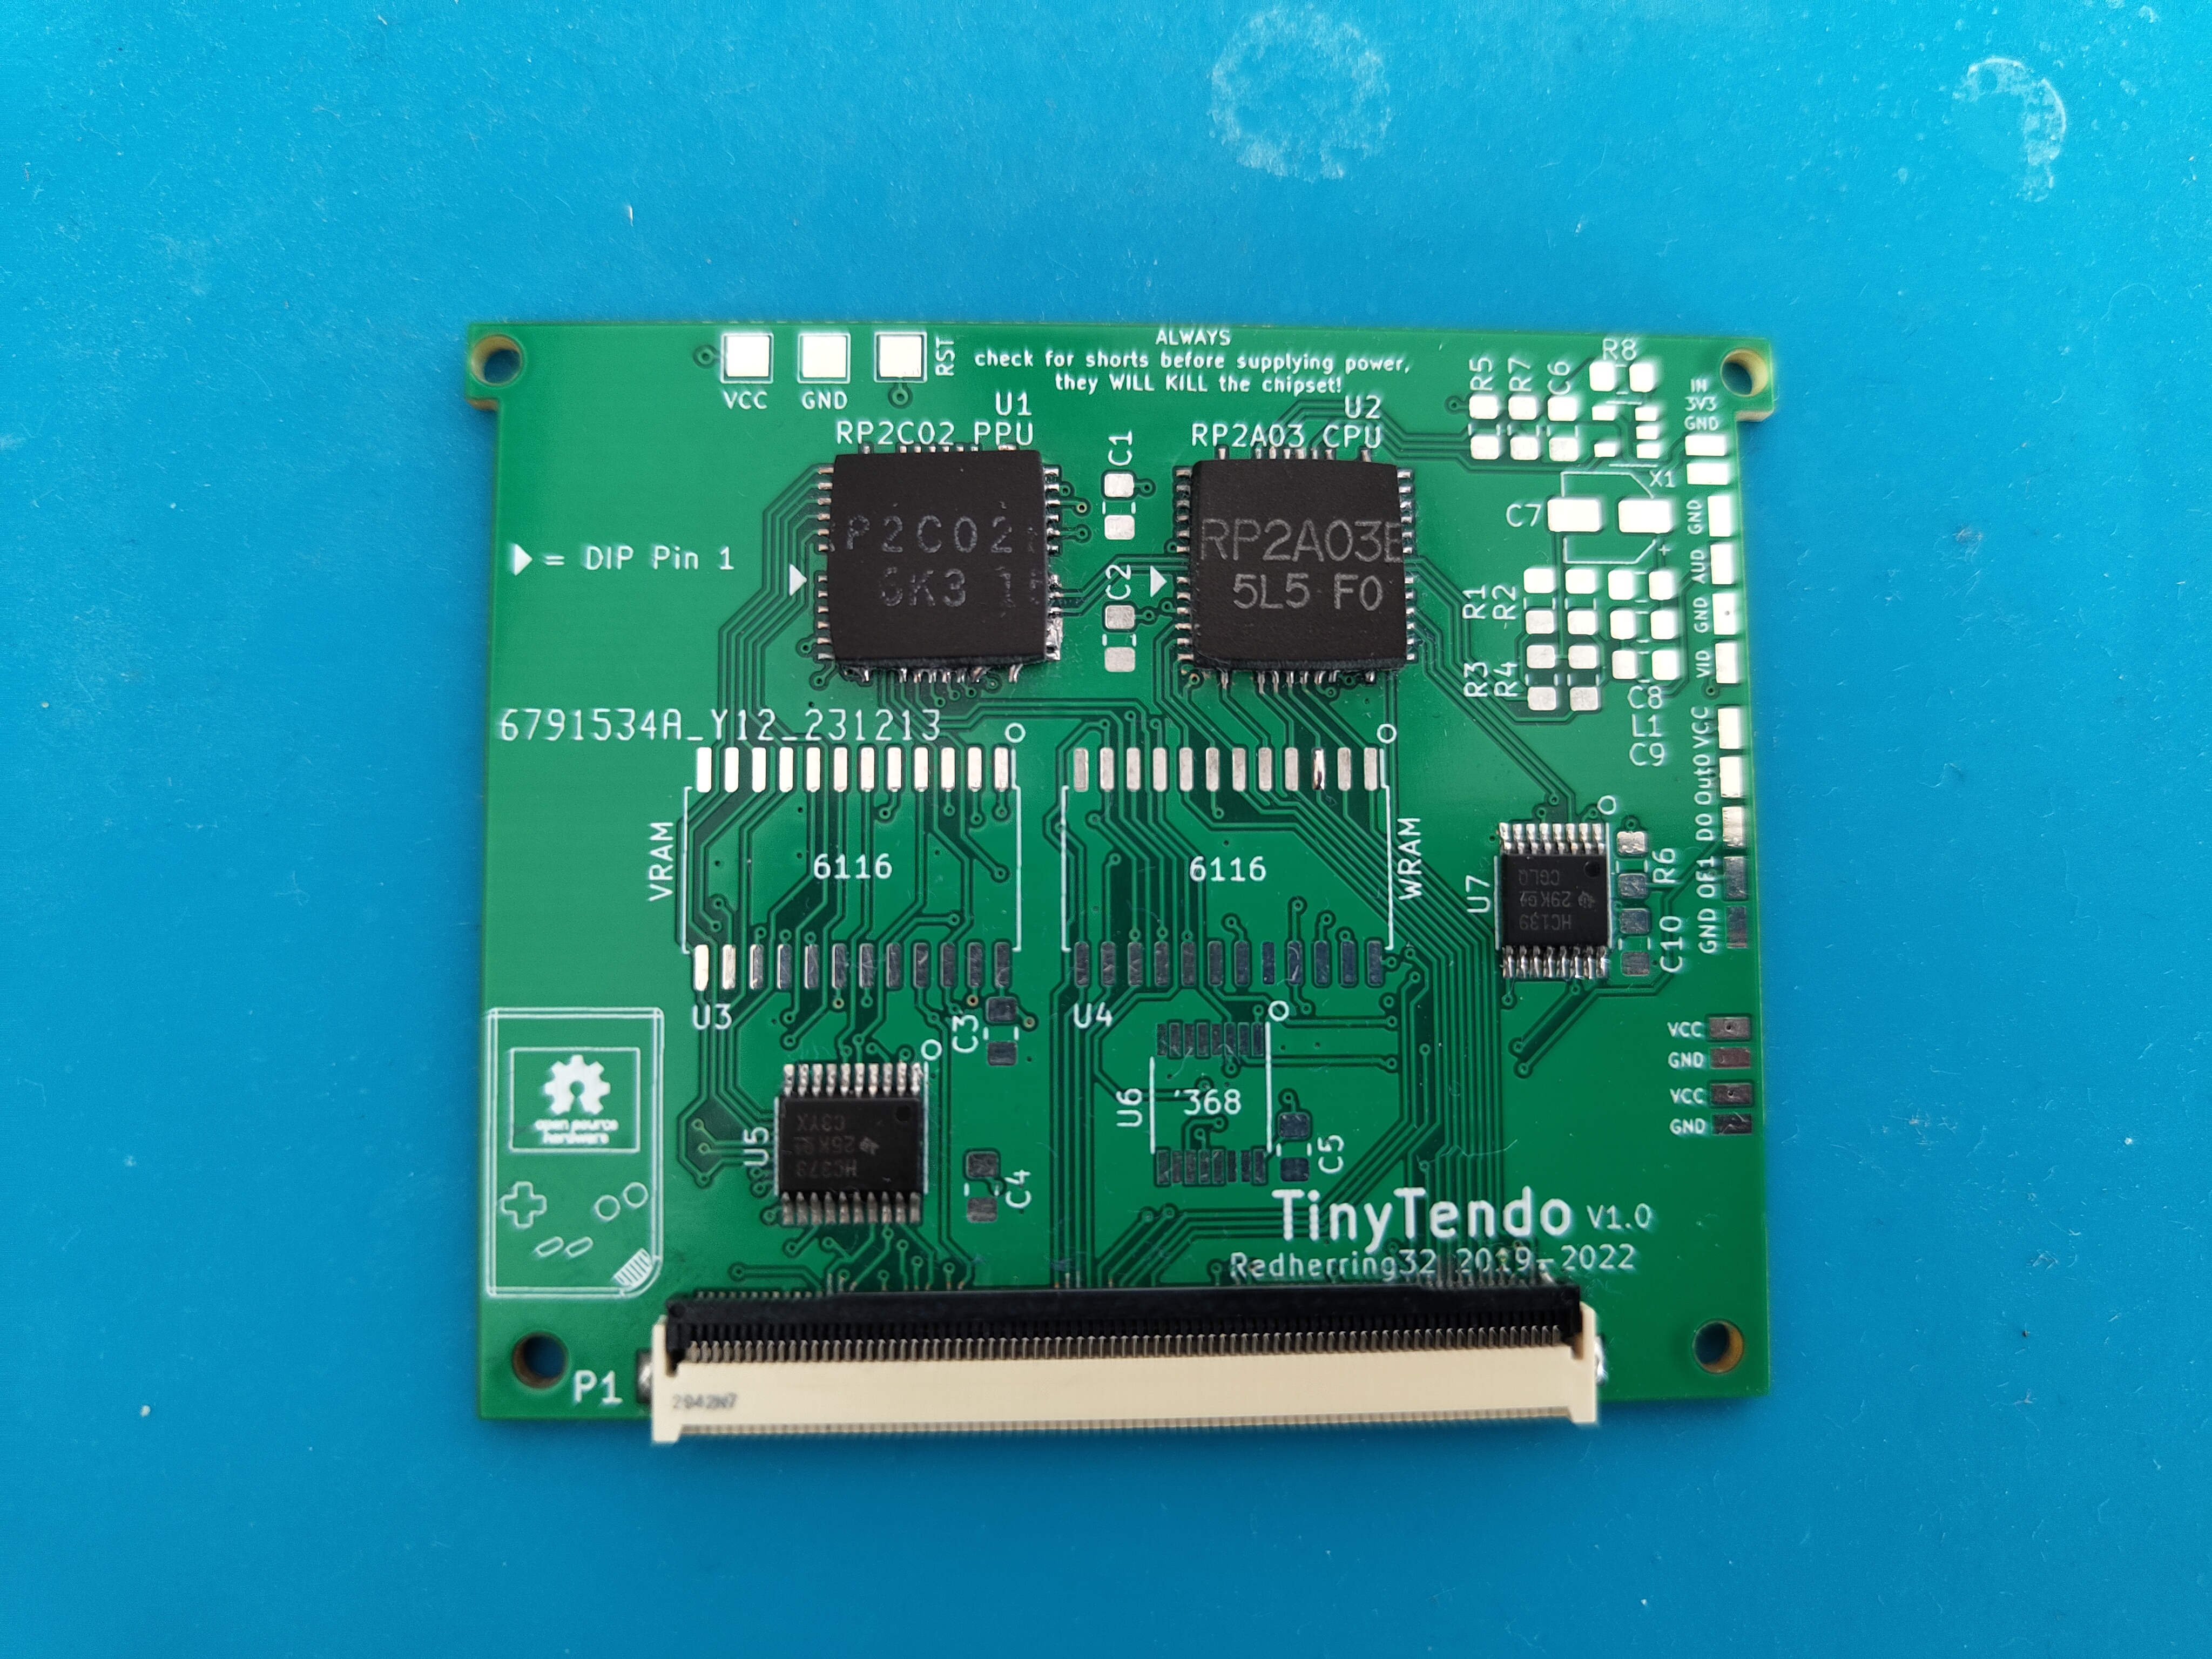
After some trail and error I finally got it to work:
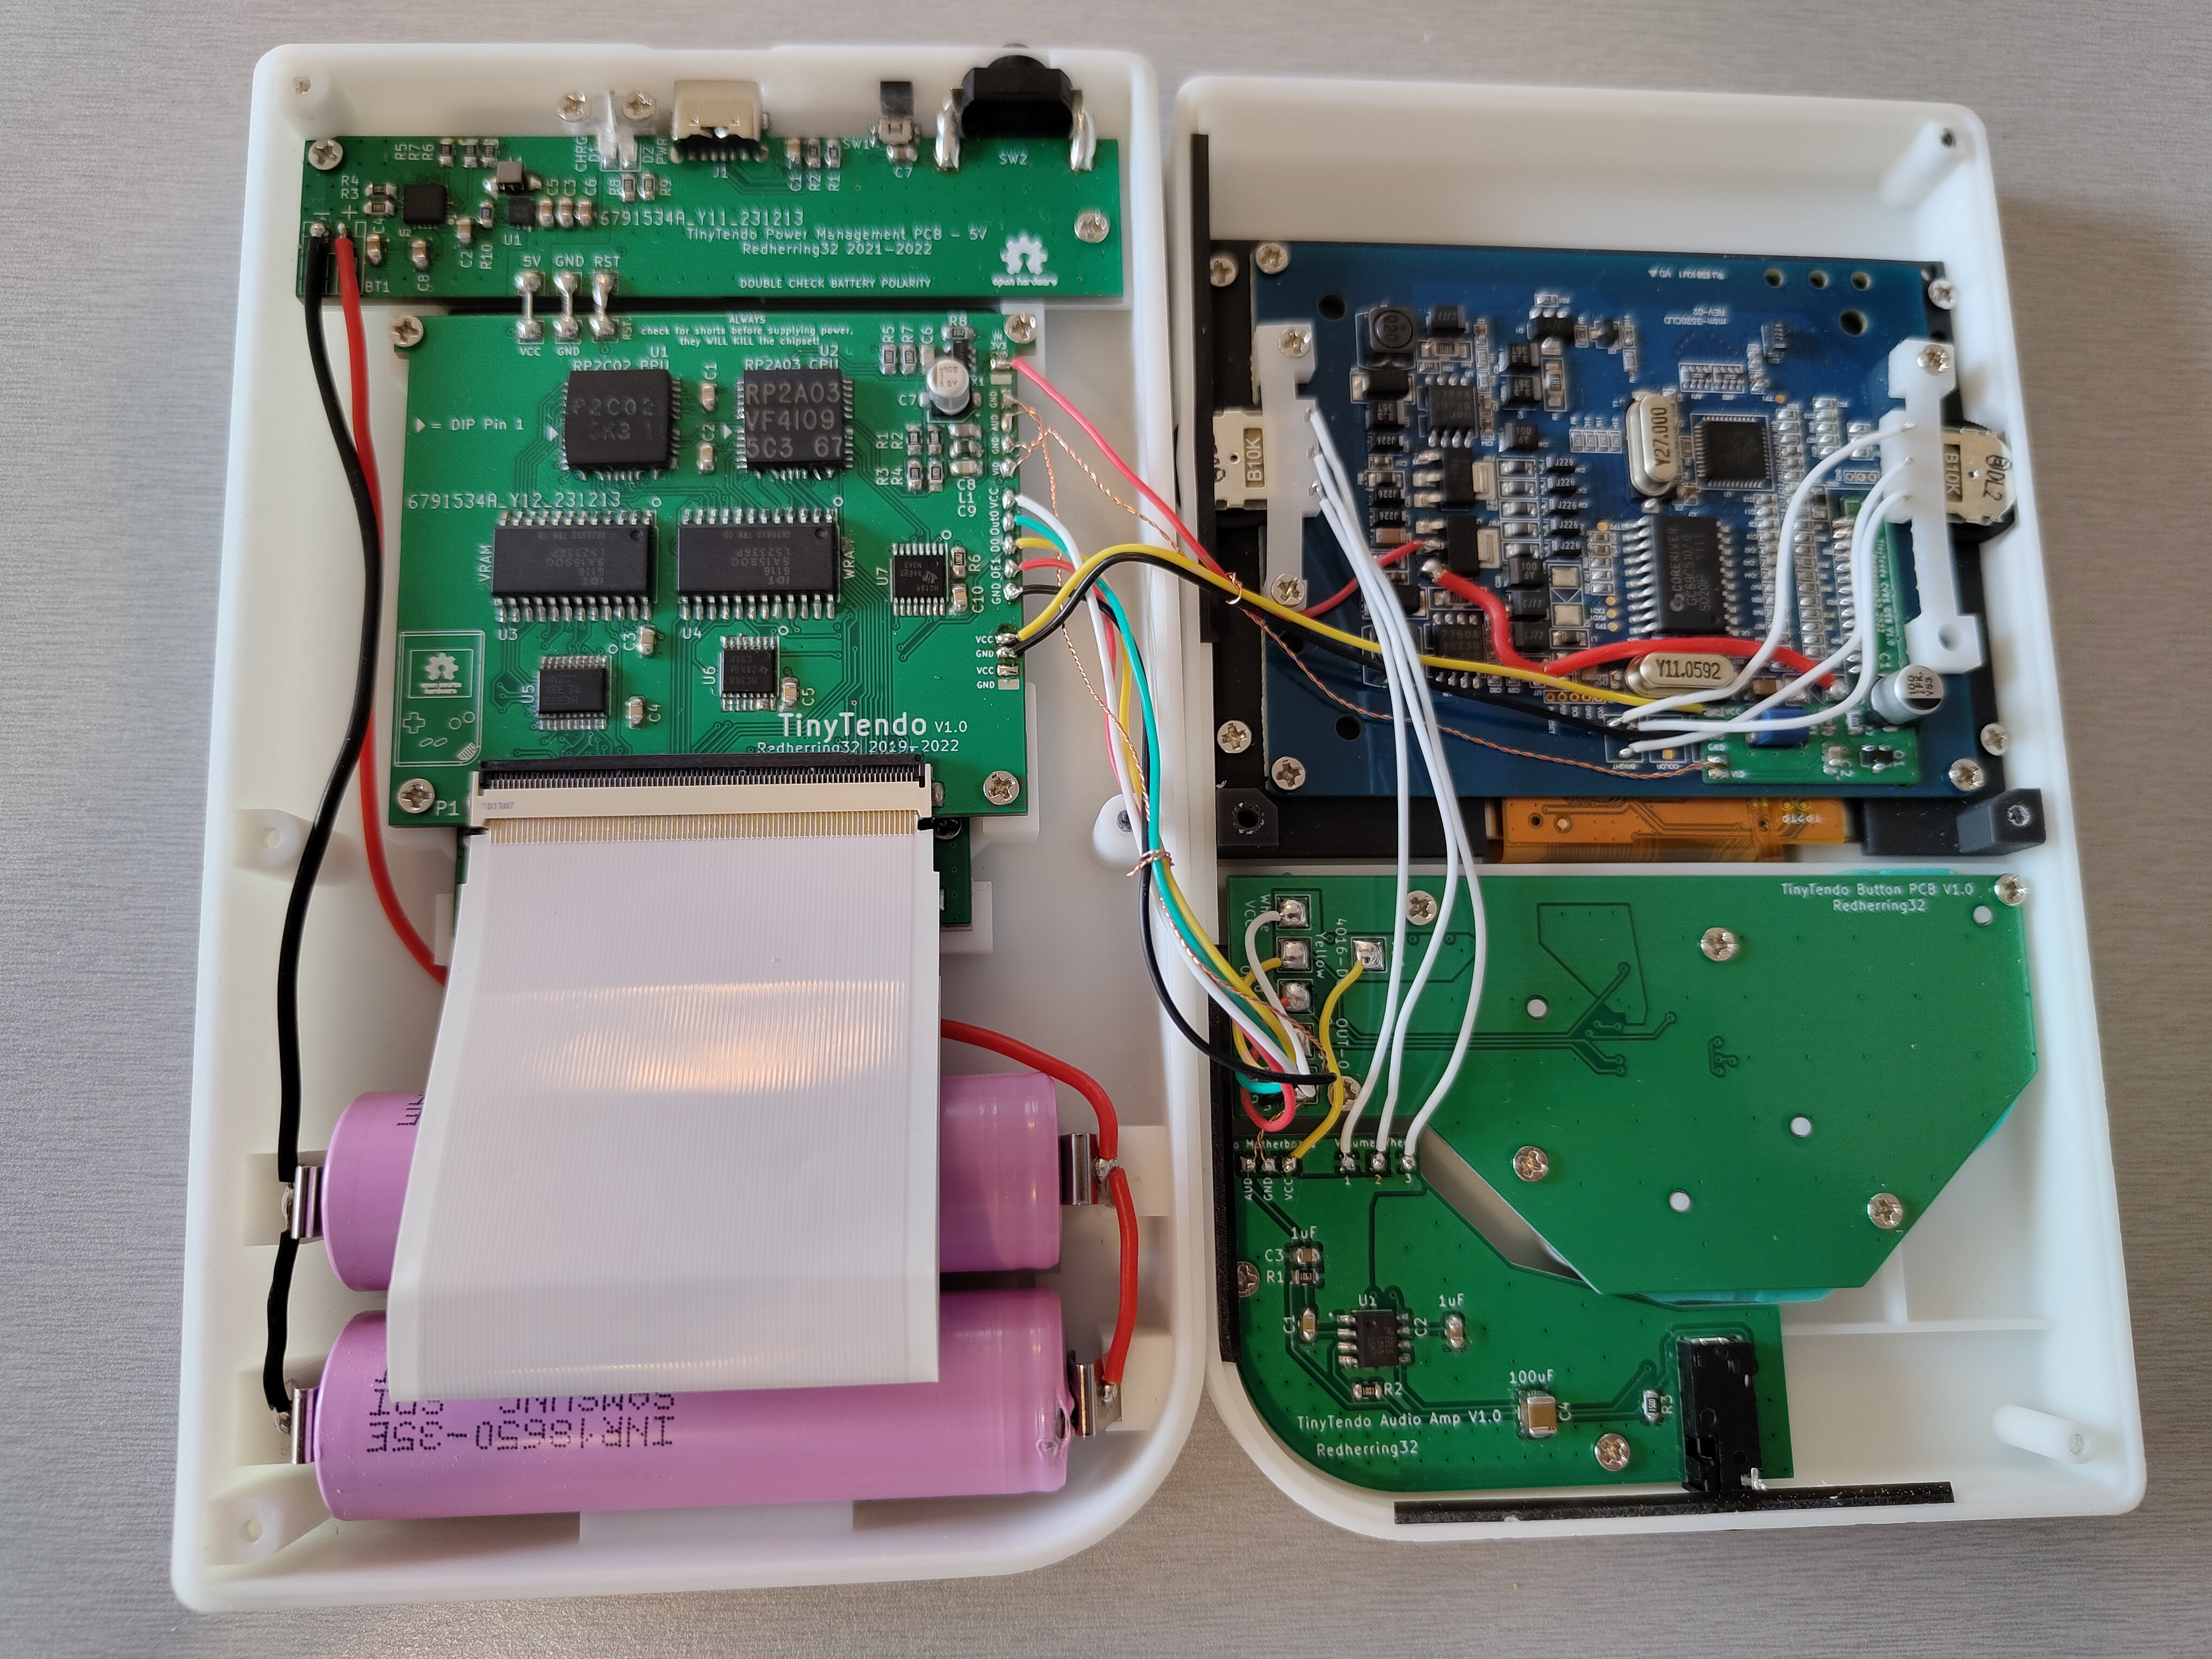
Here is what it looks like from inside:
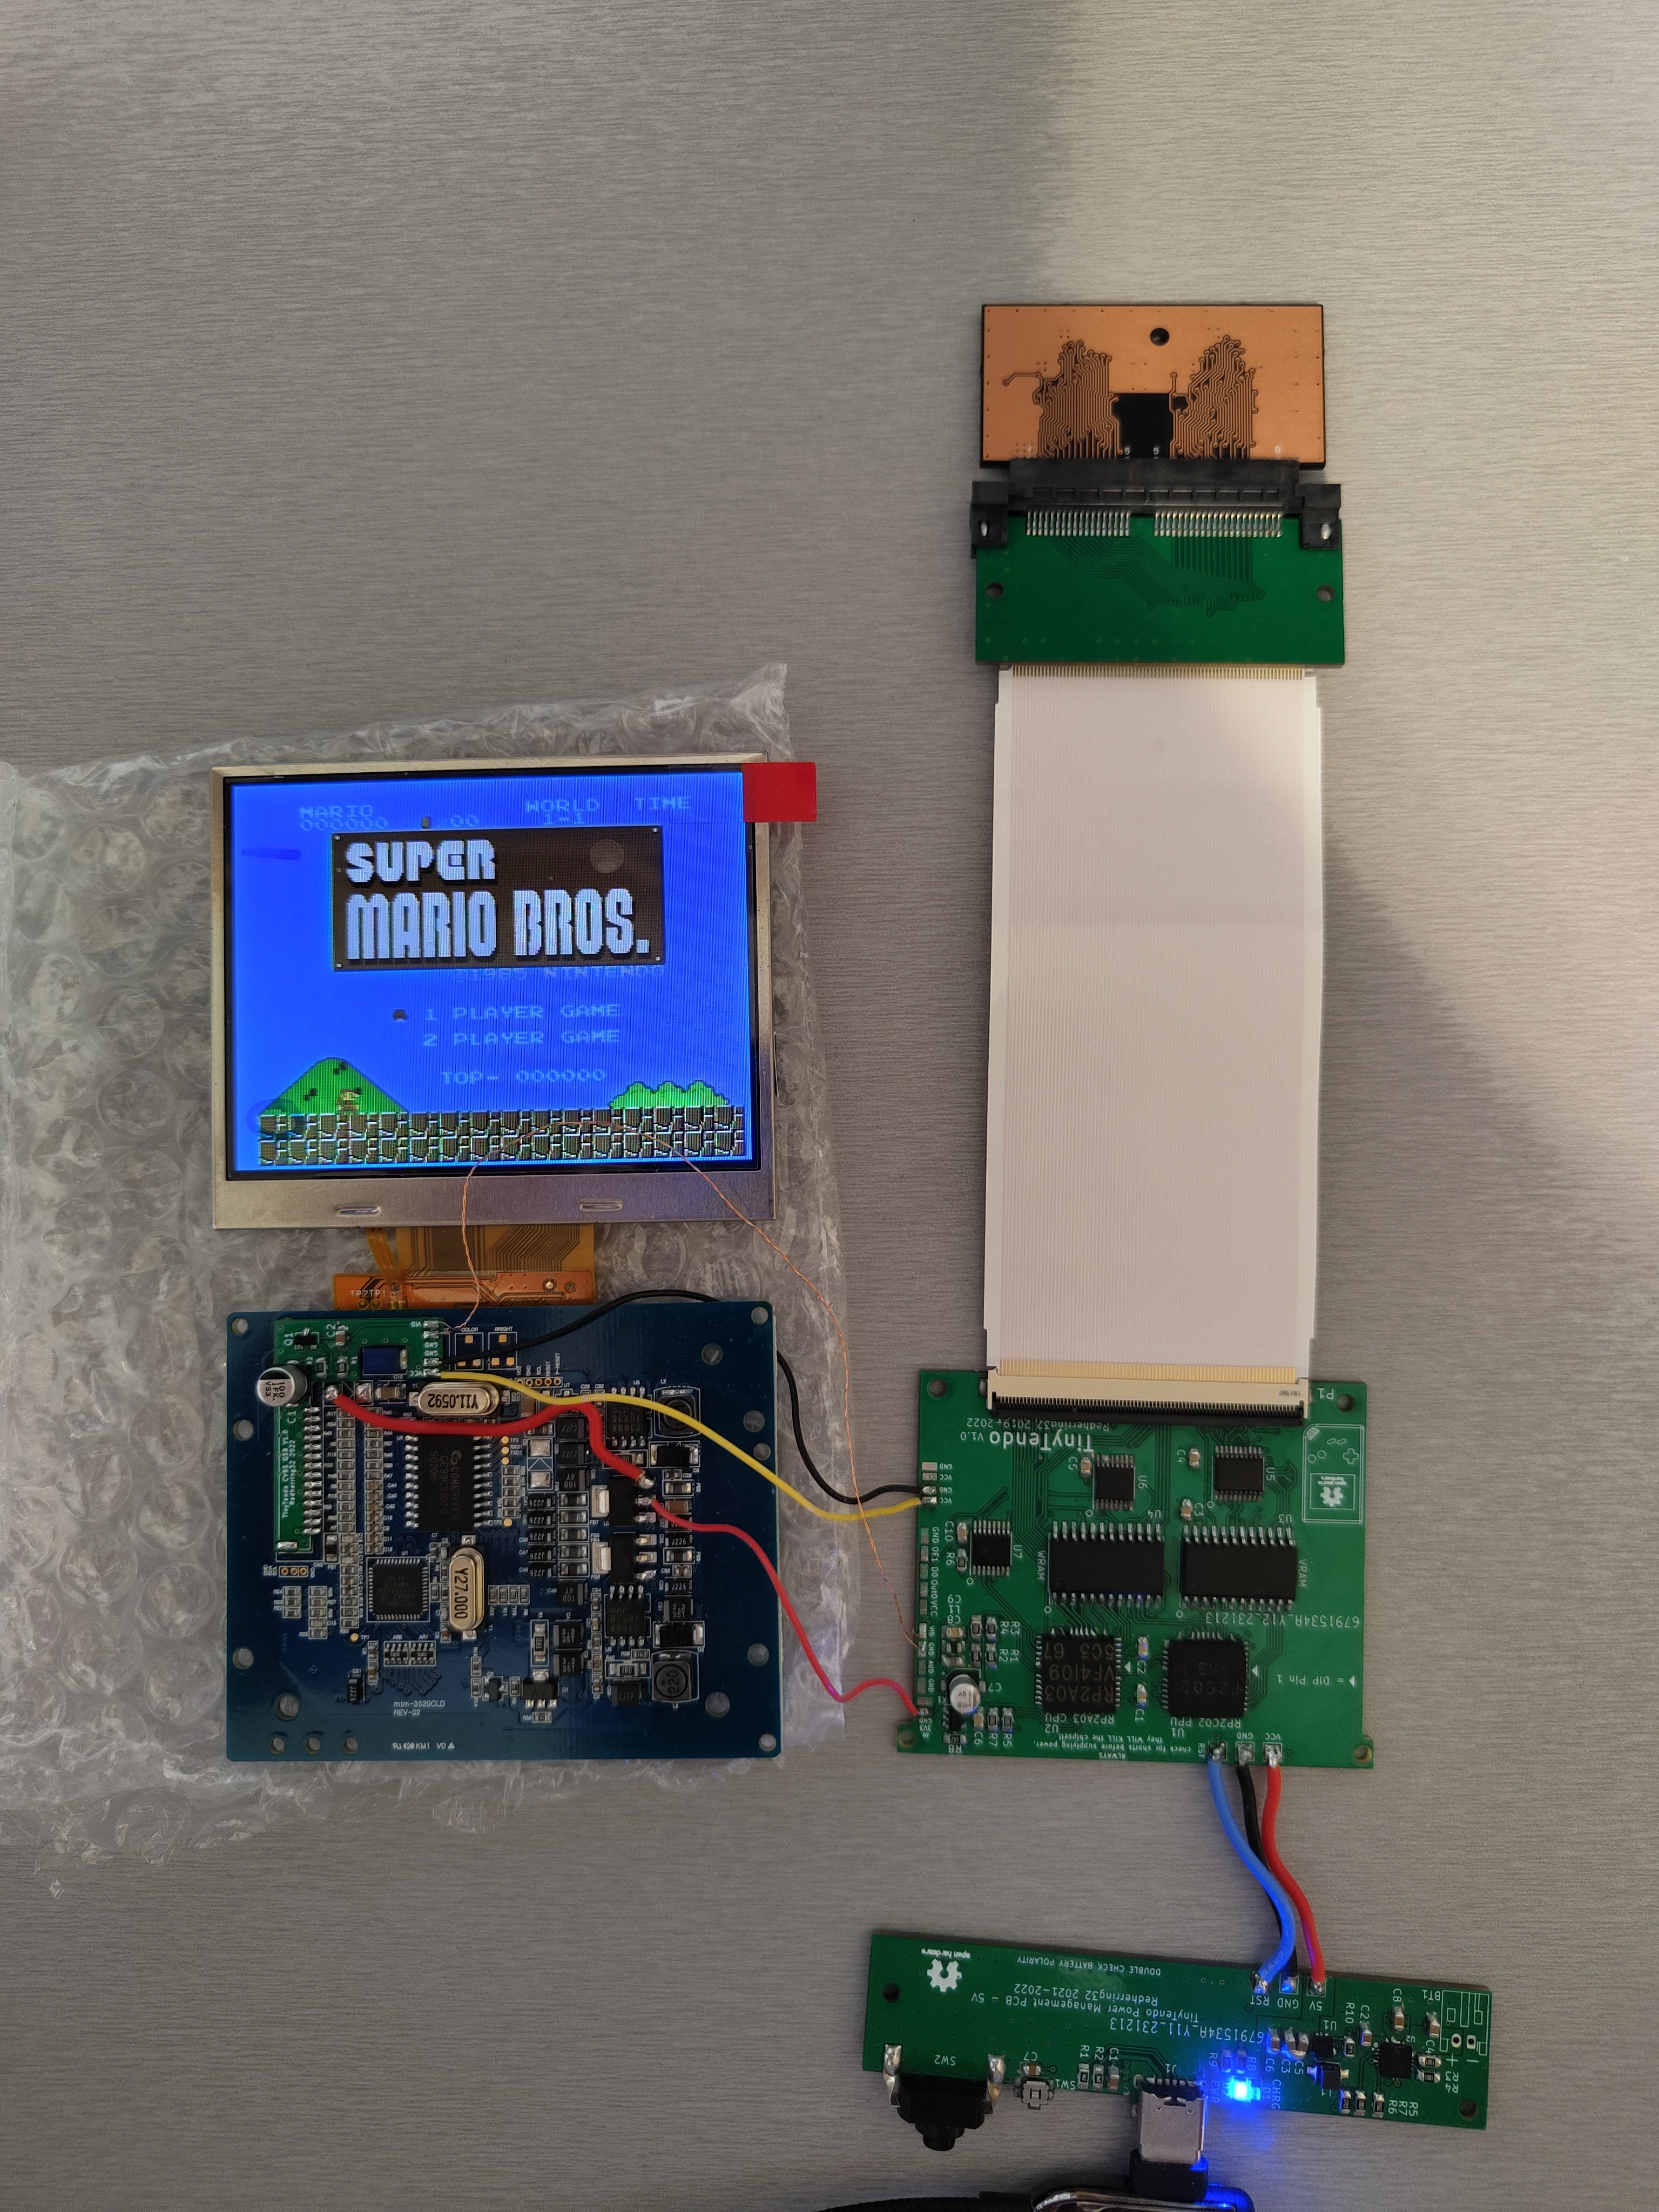
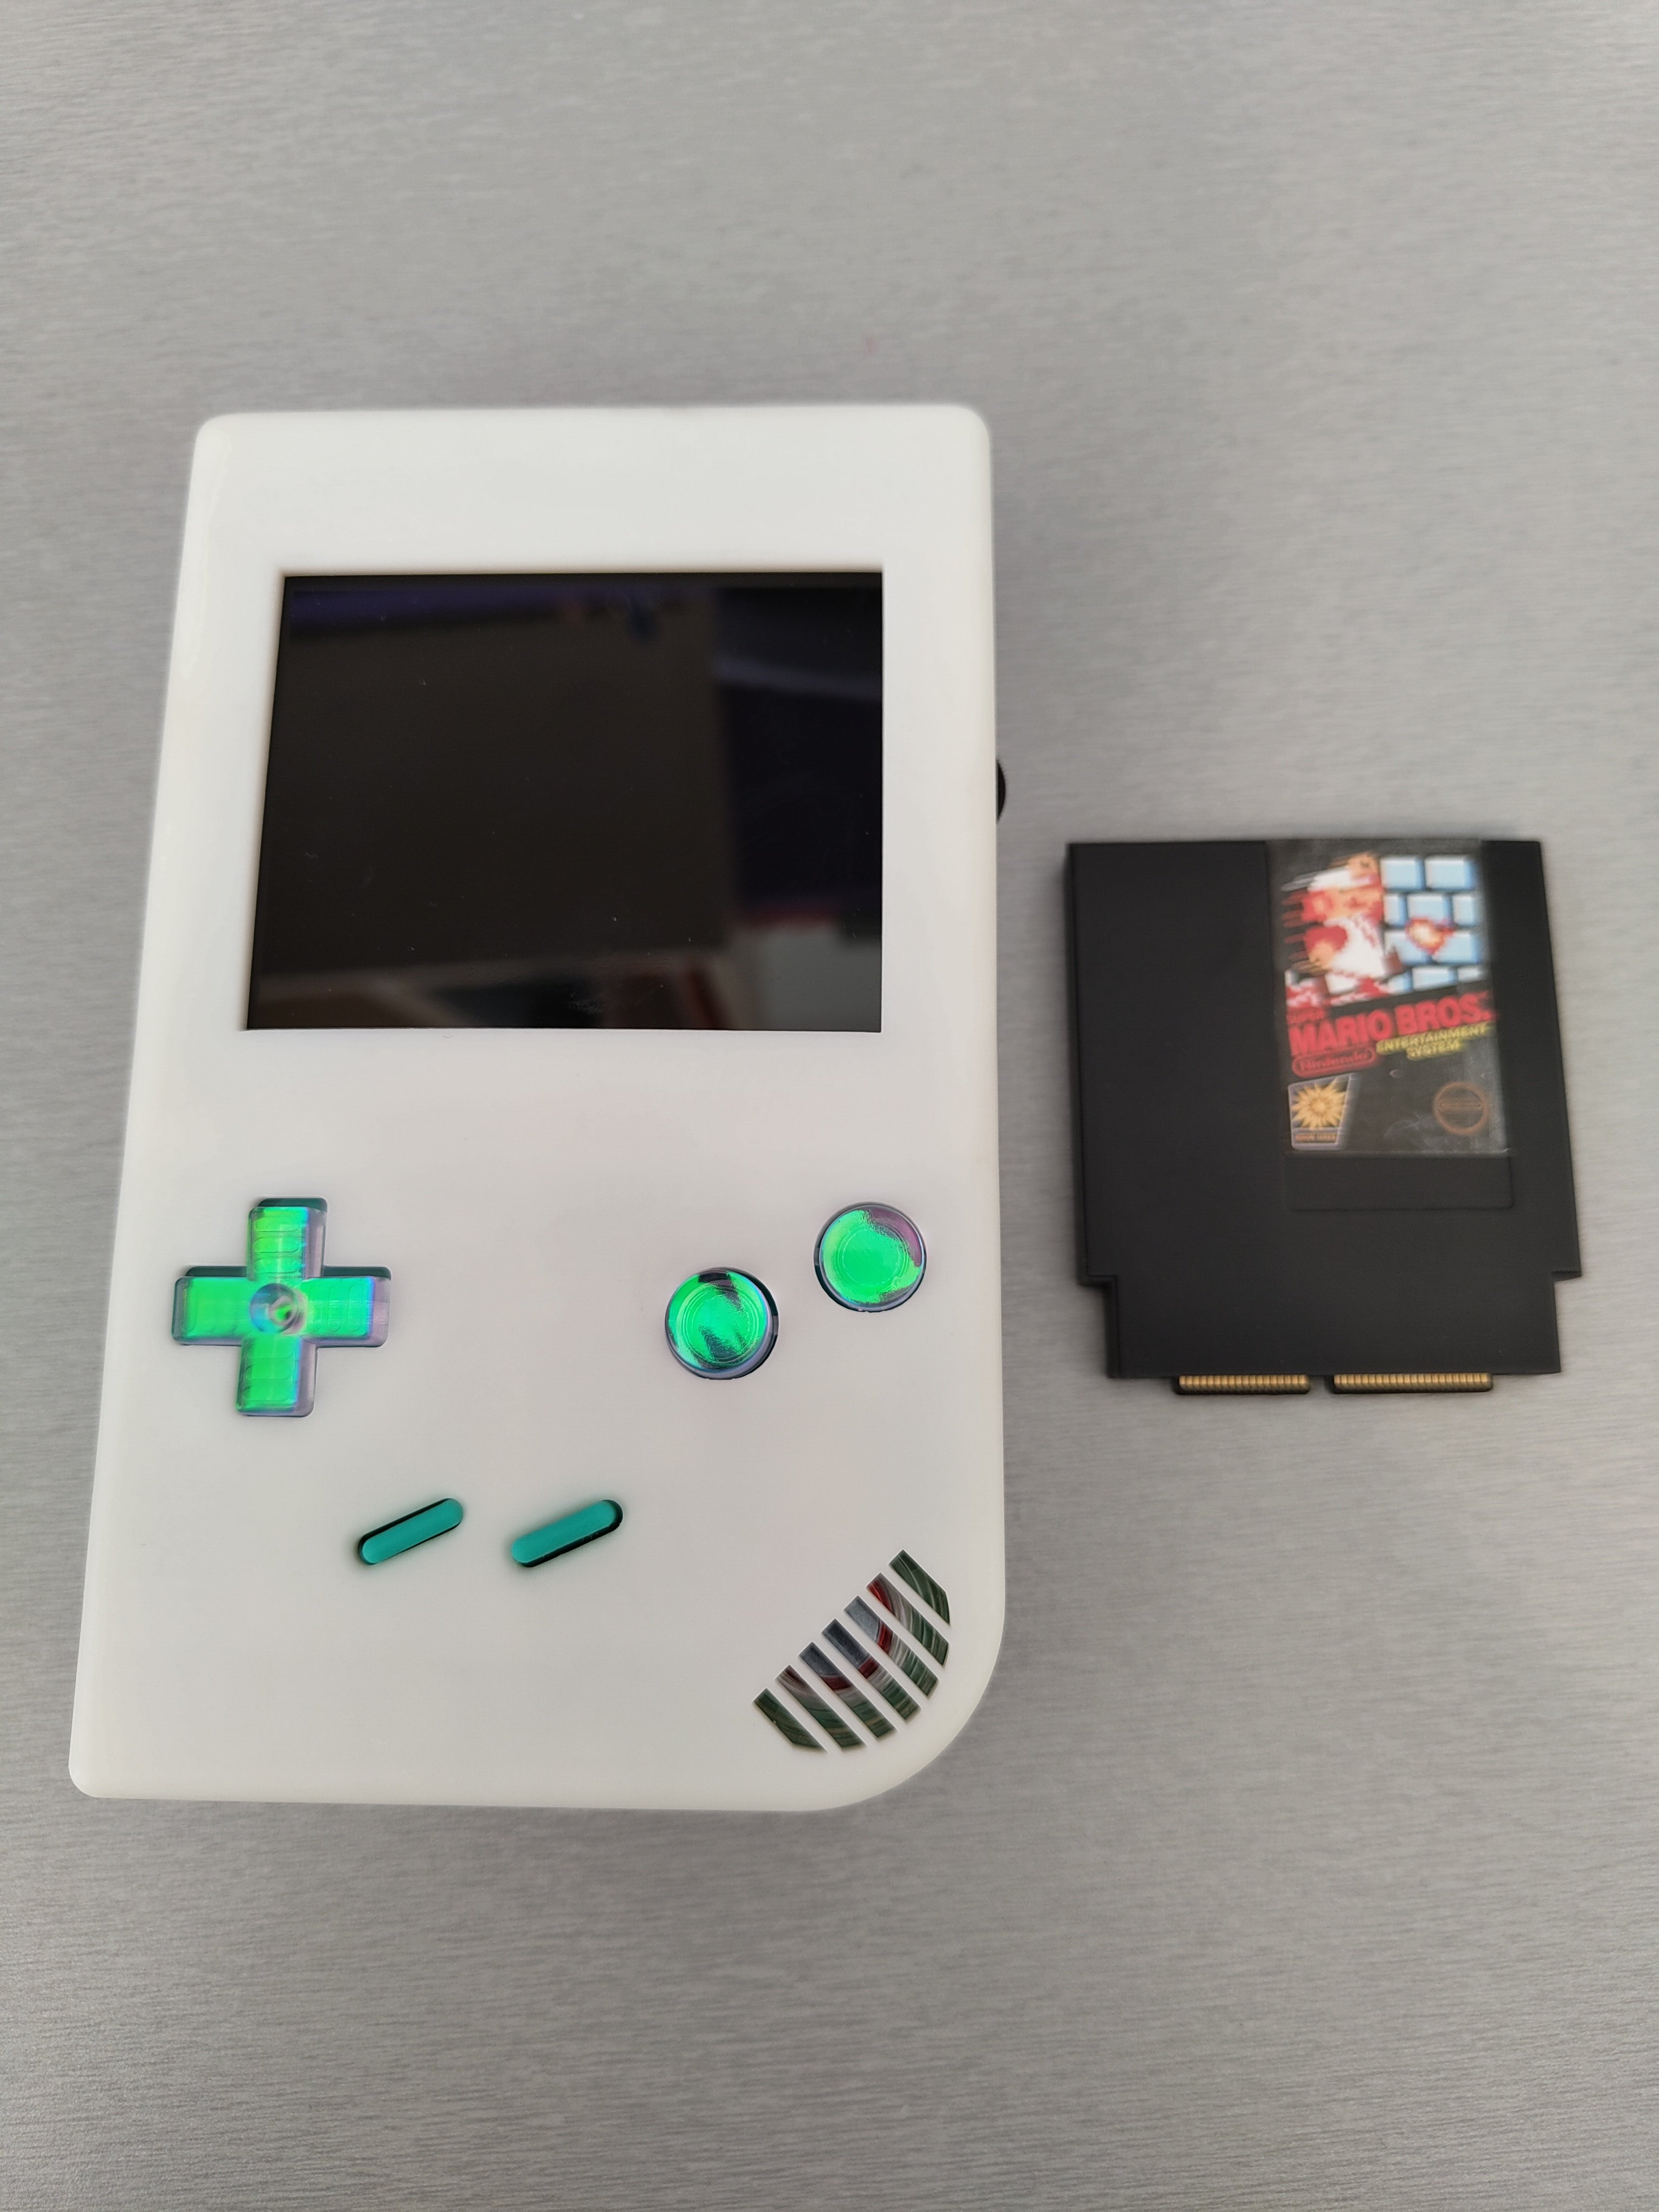
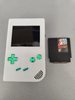
And this is the final product:
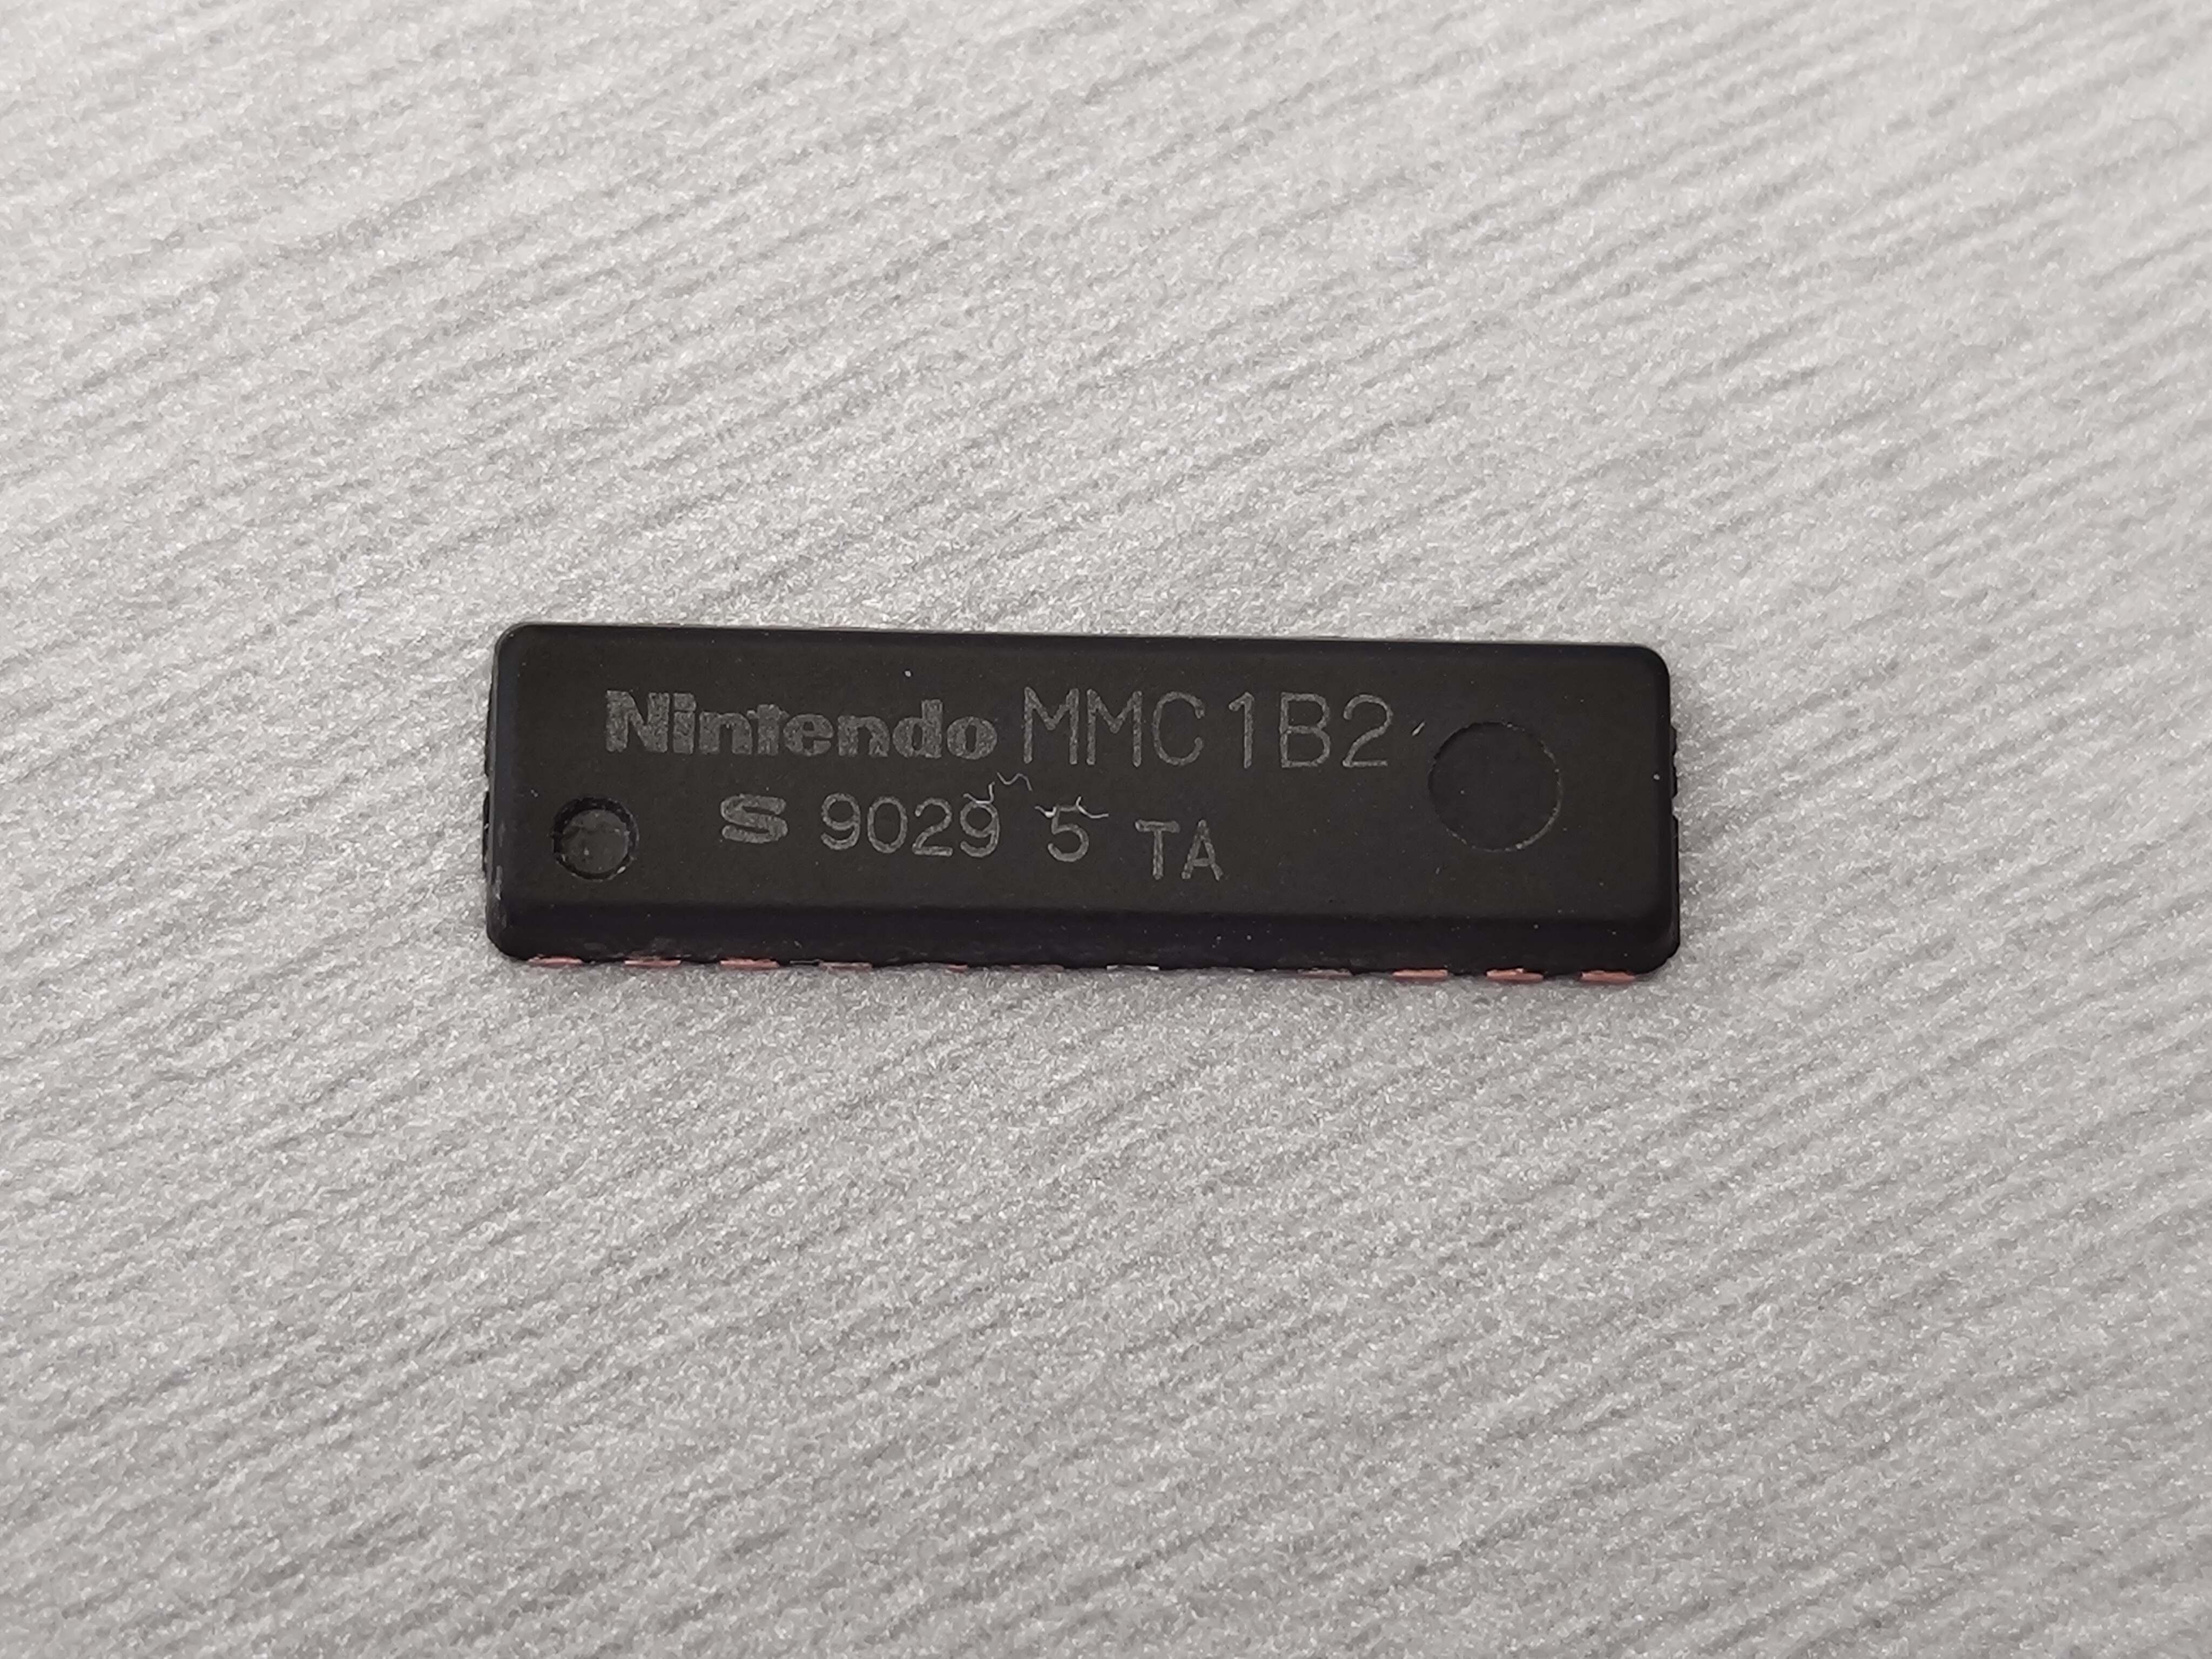
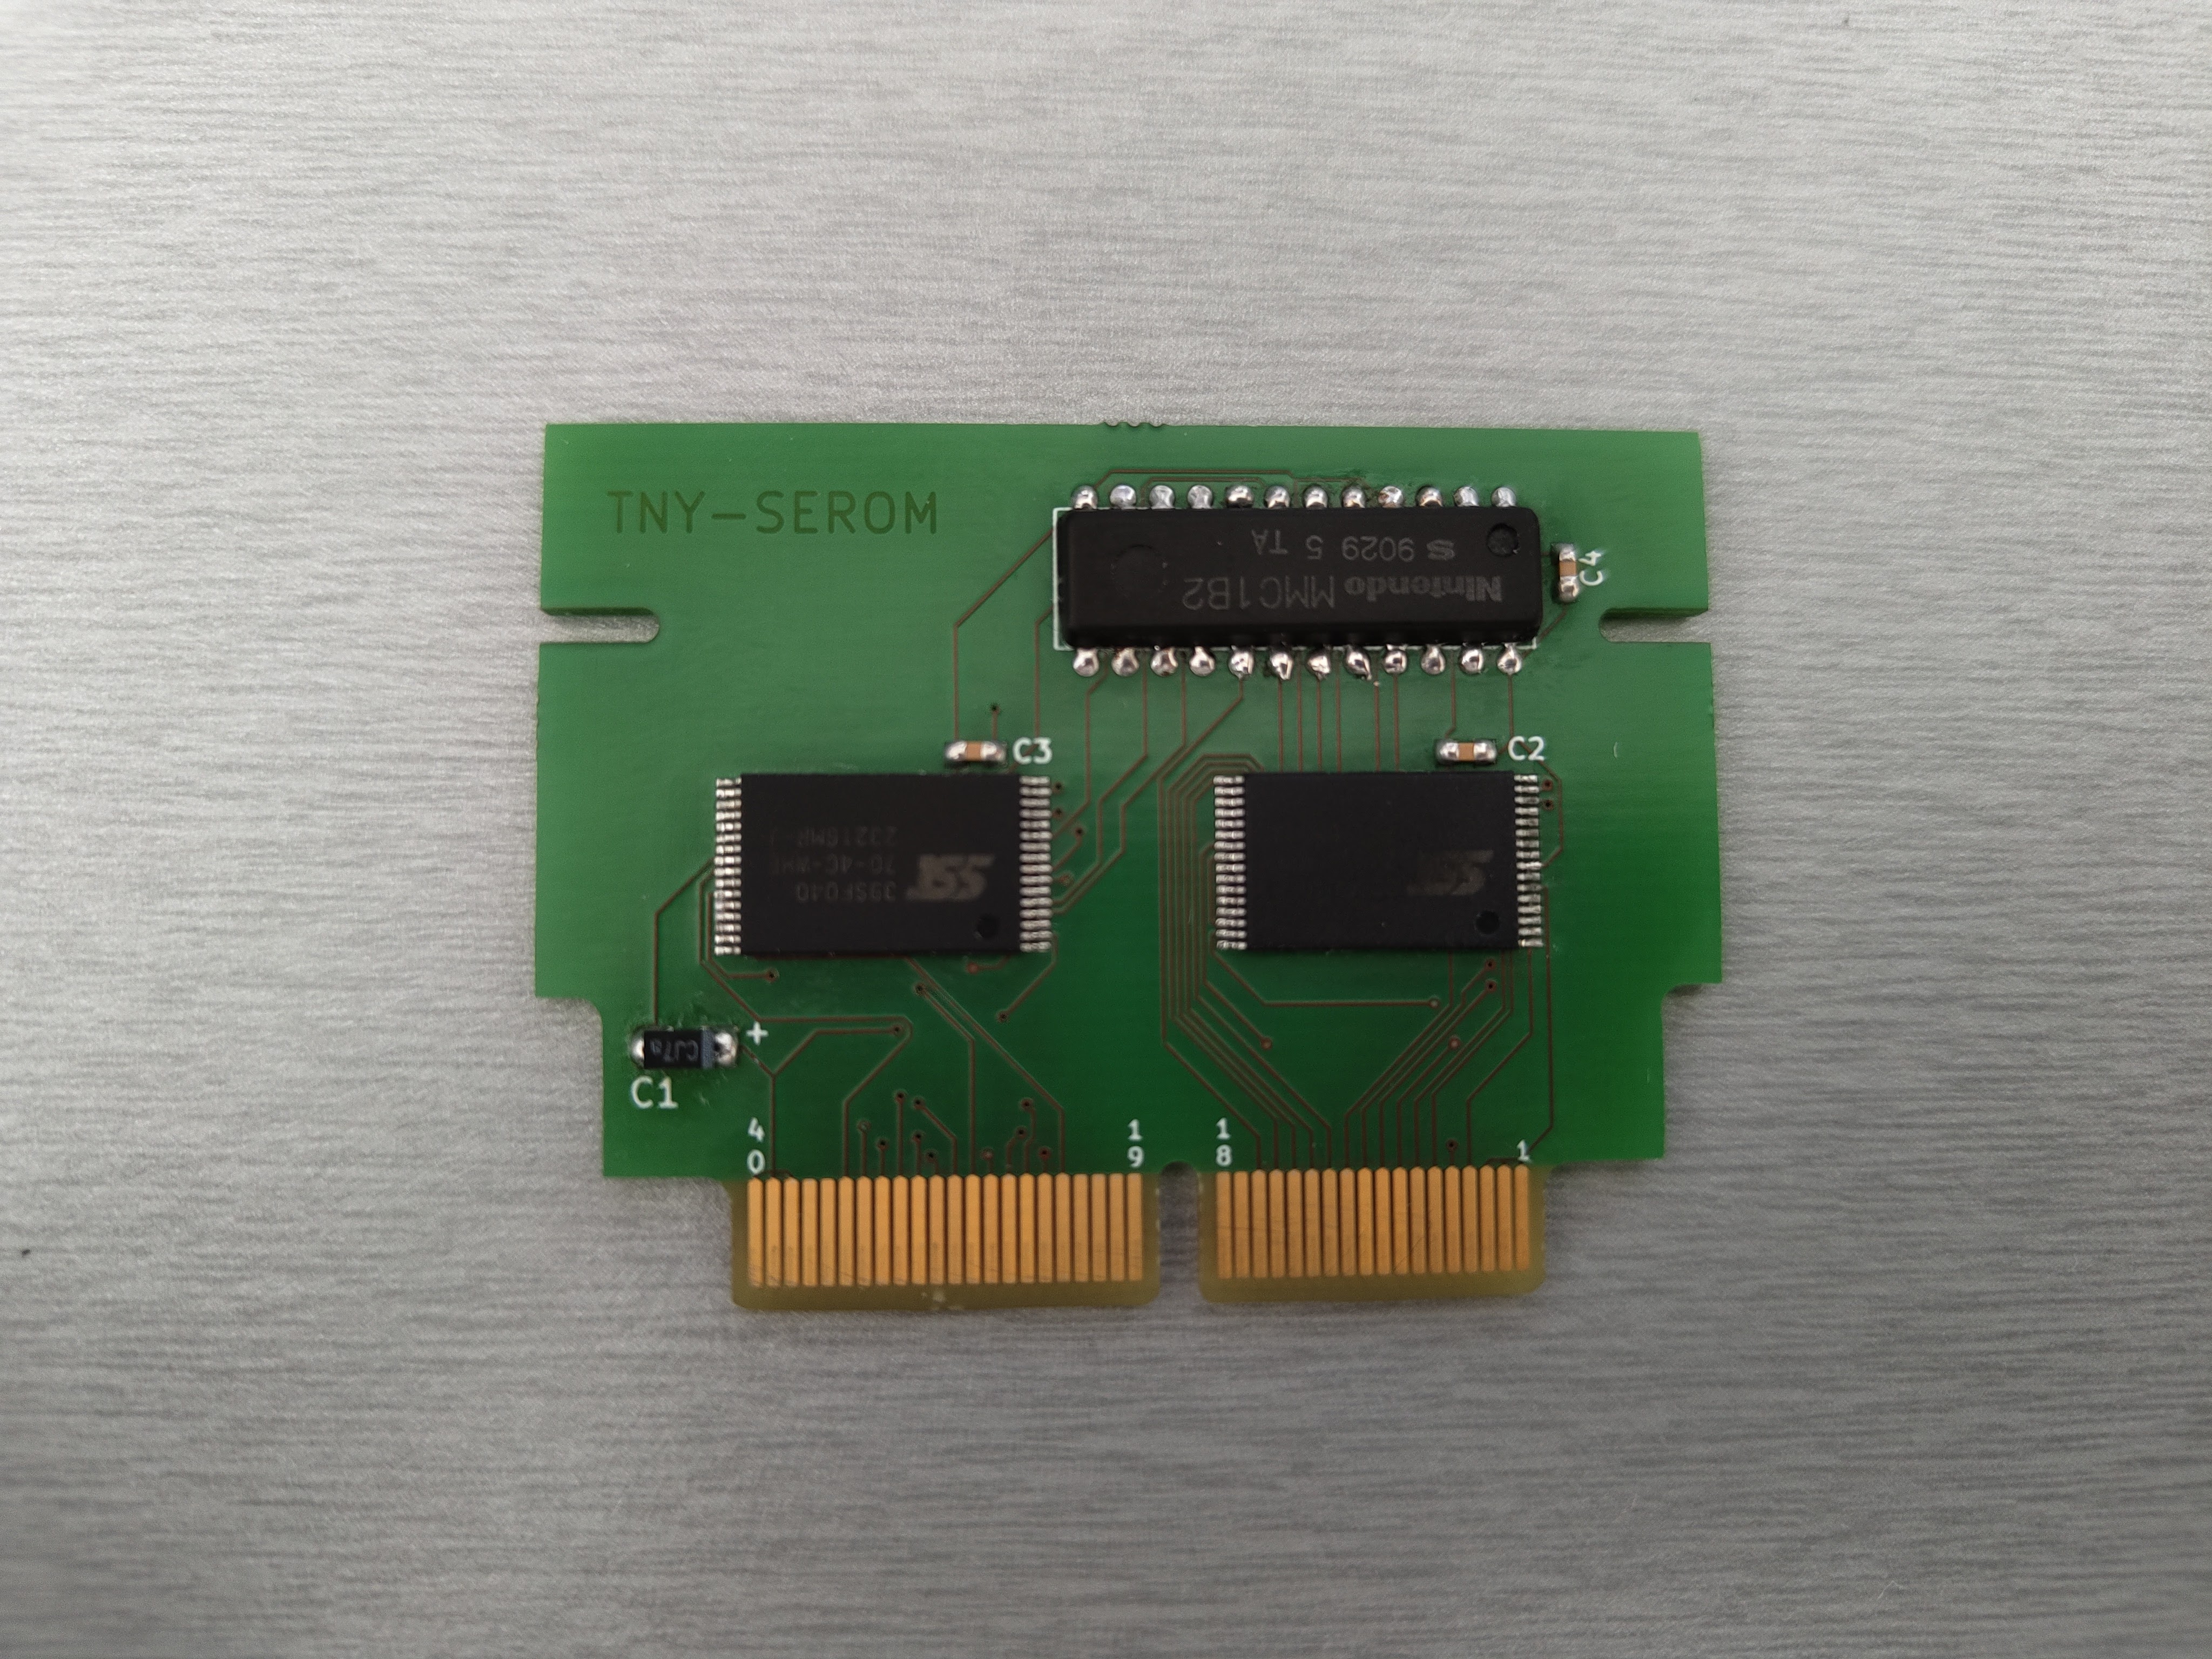
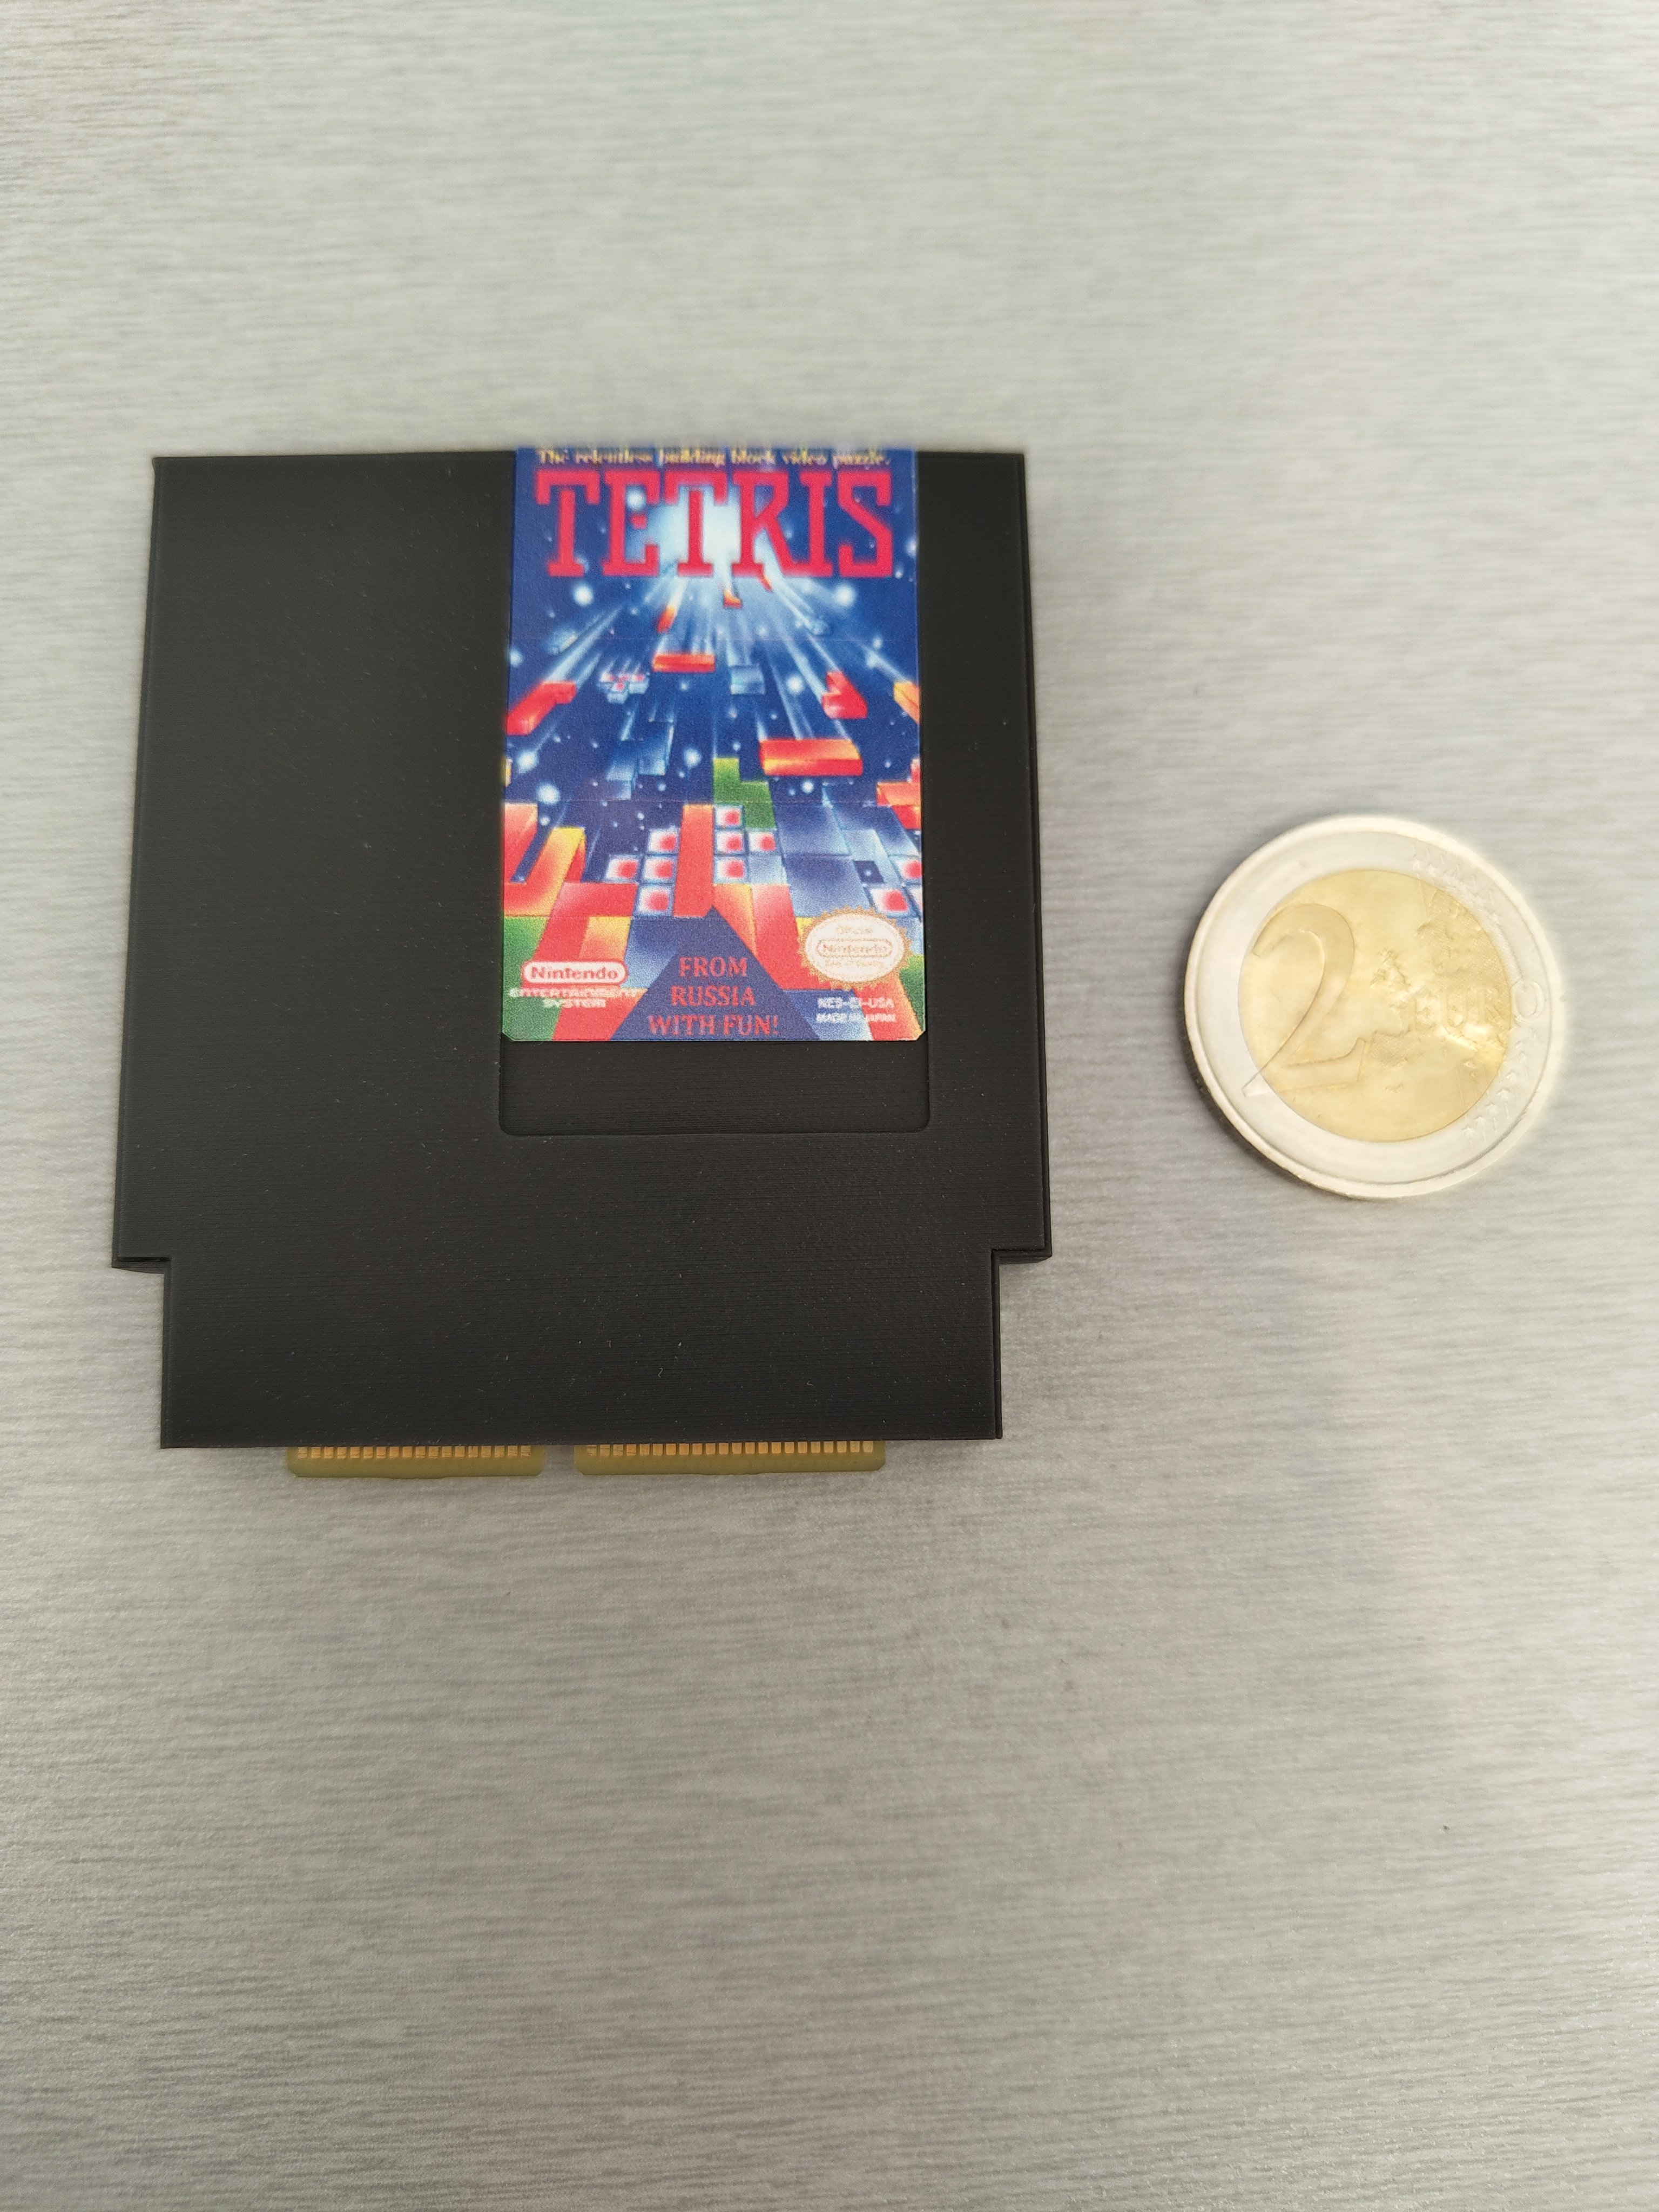
I also made my own Tetris cartridge. For this i had to sand down the MMC1 chip as well:
A big thanks goes out to @Redherring32 for this amazing project. It was definitly the hardest project I have worked on so far.
If you wanna build one yourself, check out his github: https://github.com/Redherring32/TinyTendo
The hardest part of the TinyTendo is of course cutting and sanding the CPU/PPU to a size of 10x10mm.
Here are some pictures of the CPU and PPU before and after I sanded them down:
After some trail and error I finally got it to work:
Here is what it looks like from inside:
And this is the final product:
I also made my own Tetris cartridge. For this i had to sand down the MMC1 chip as well:
A big thanks goes out to @Redherring32 for this amazing project. It was definitly the hardest project I have worked on so far.
If you wanna build one yourself, check out his github: https://github.com/Redherring32/TinyTendo
Attachments
-
 979.9 KB Views: 2
 -
22.6 KB Views: 3
Last edited:

")