
- Joined
- Dec 16, 2016
- Messages
- 1,123
- Likes
- 2,721
- Location
- The Oregon Wildlands
- Portables
- just so many i am so cool
When Spencer retired from portablizing back in 2020, I happened to live in the same town as him. He sold me a bunch of parts and equipment very cheaply, including a sleek, blue case for a portable Wii that he never got around to finishing. Since 2020, the case has lived in various corners of my workbench, never getting the love it deserves. Last week, I finally sat down and got it put together properly.
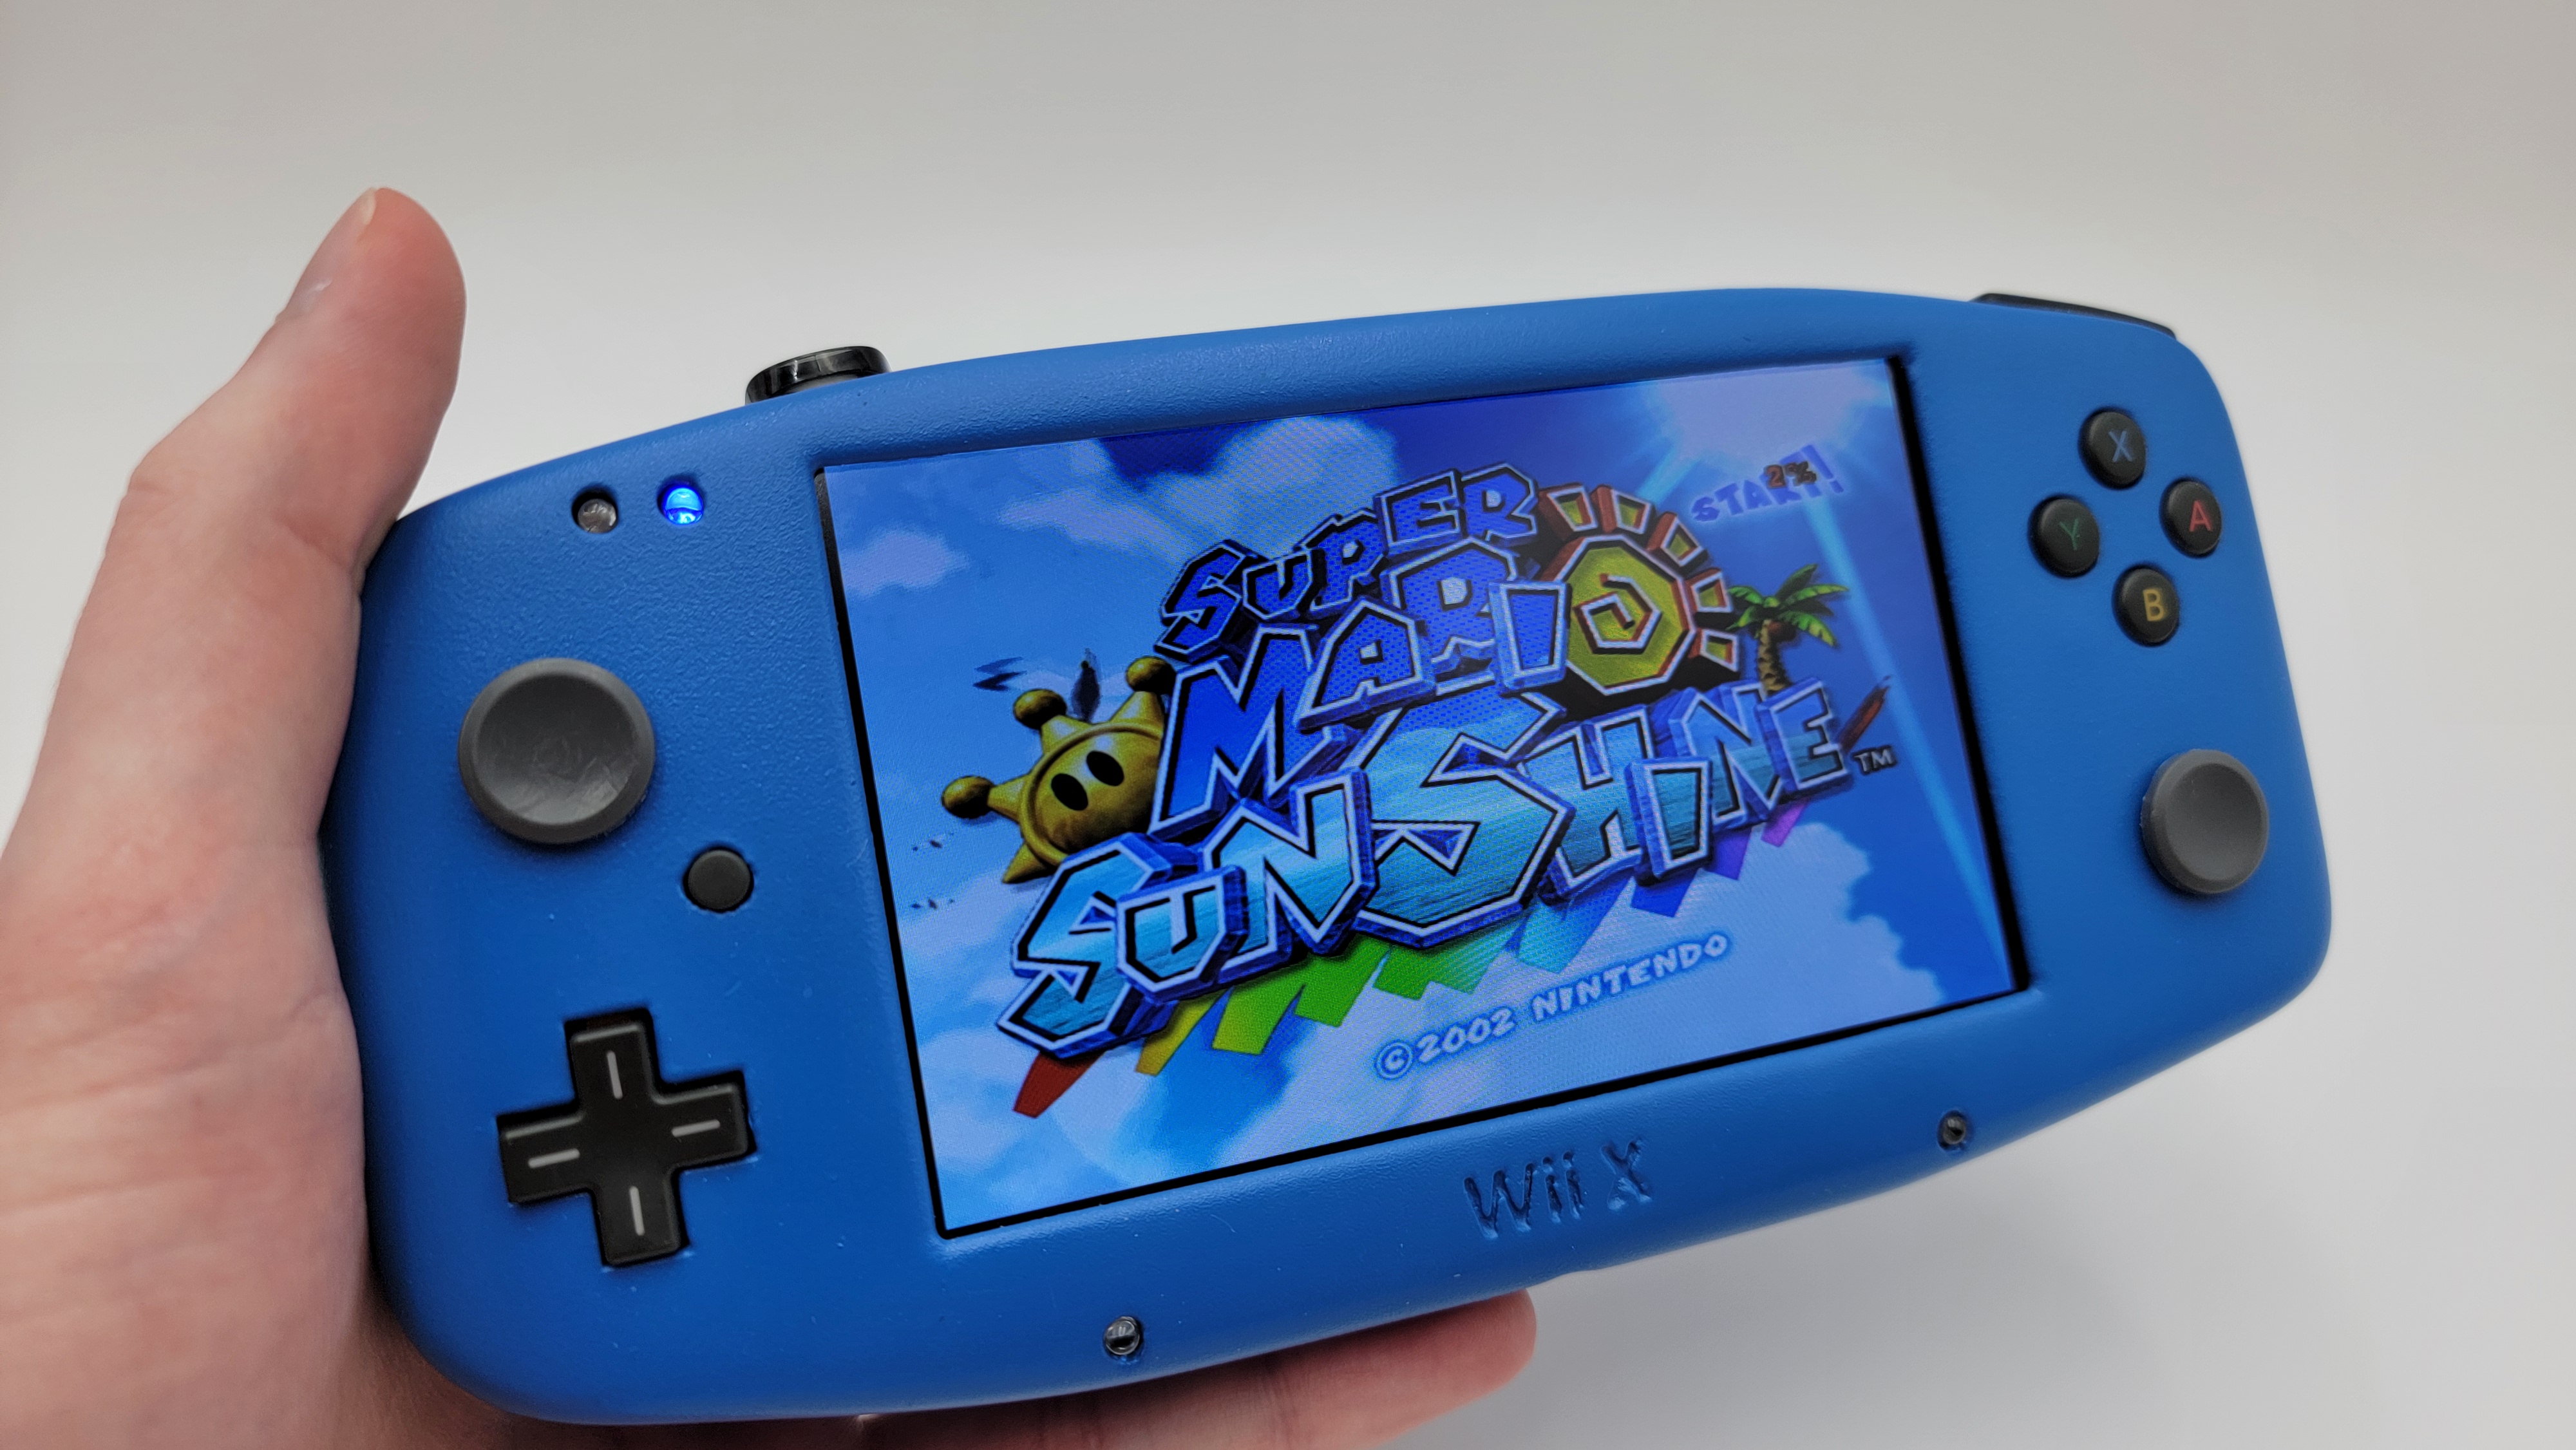
This is the Wii X:

Features:
I really love this little guy. The shape of the case is very comfy to hold, and I really like the trigger. The case could definitely benefit from some updates, as the build required a lot of glue to get everything mounted, but it was fun to go back to the days of needing the hot glue gun every 30 seconds (just this once). The case came with some cracks and smudges (and I've only added to those cosmetic flaws in the four years I've had it), but that just makes the portable feel like its proper age.
Big thanks to @thedrew and @Wesk for putting a bunch of time into documenting undervolts for projects like this. And of course, a massive thanks to @Spencer Richardson for designing and painting this case, and being willing to sell it. This was a very fun build. Please come back to us Spencer, we miss your oddball organic designs and FDM printing wizardry.
This is the Wii X:
Features:
- 5" 480p Eyoyo display. The Eyoyo screen was hot shit back in the day because it handled component video, nowadays the kids take those dandy VGA patches for granted
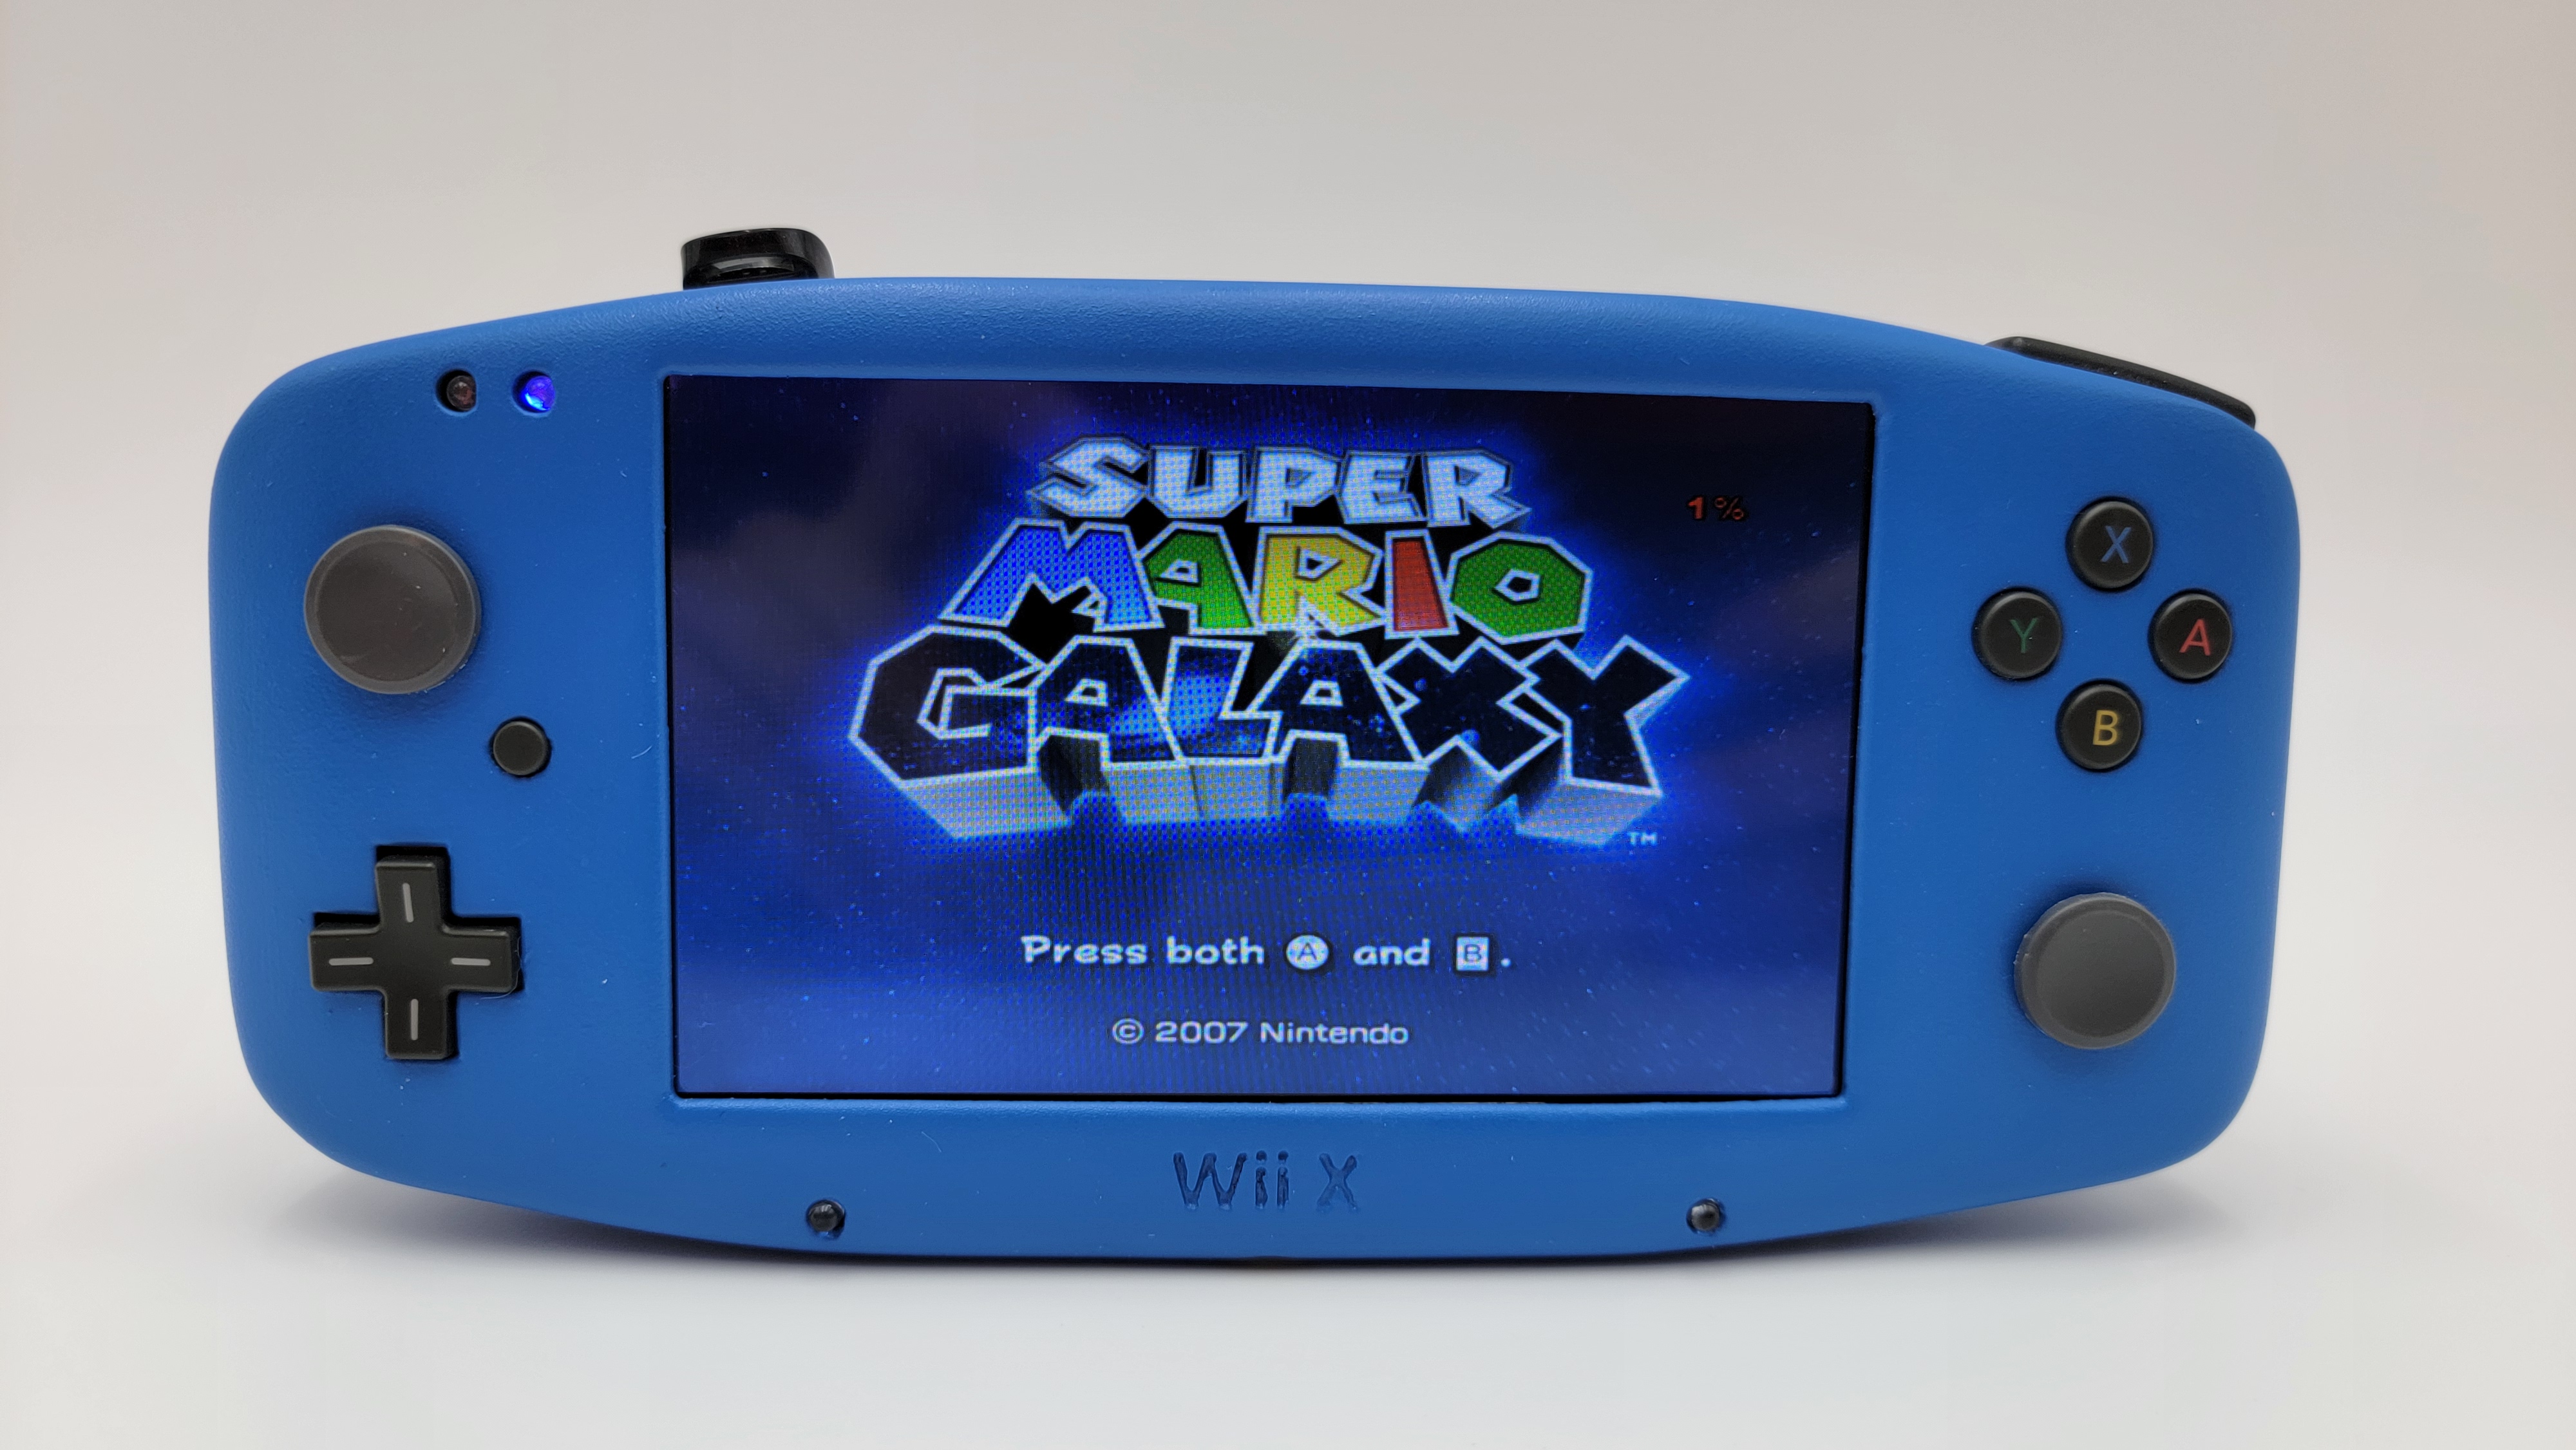
- 3DS sliders and face buttons, along with custom made Z and trigger buttons
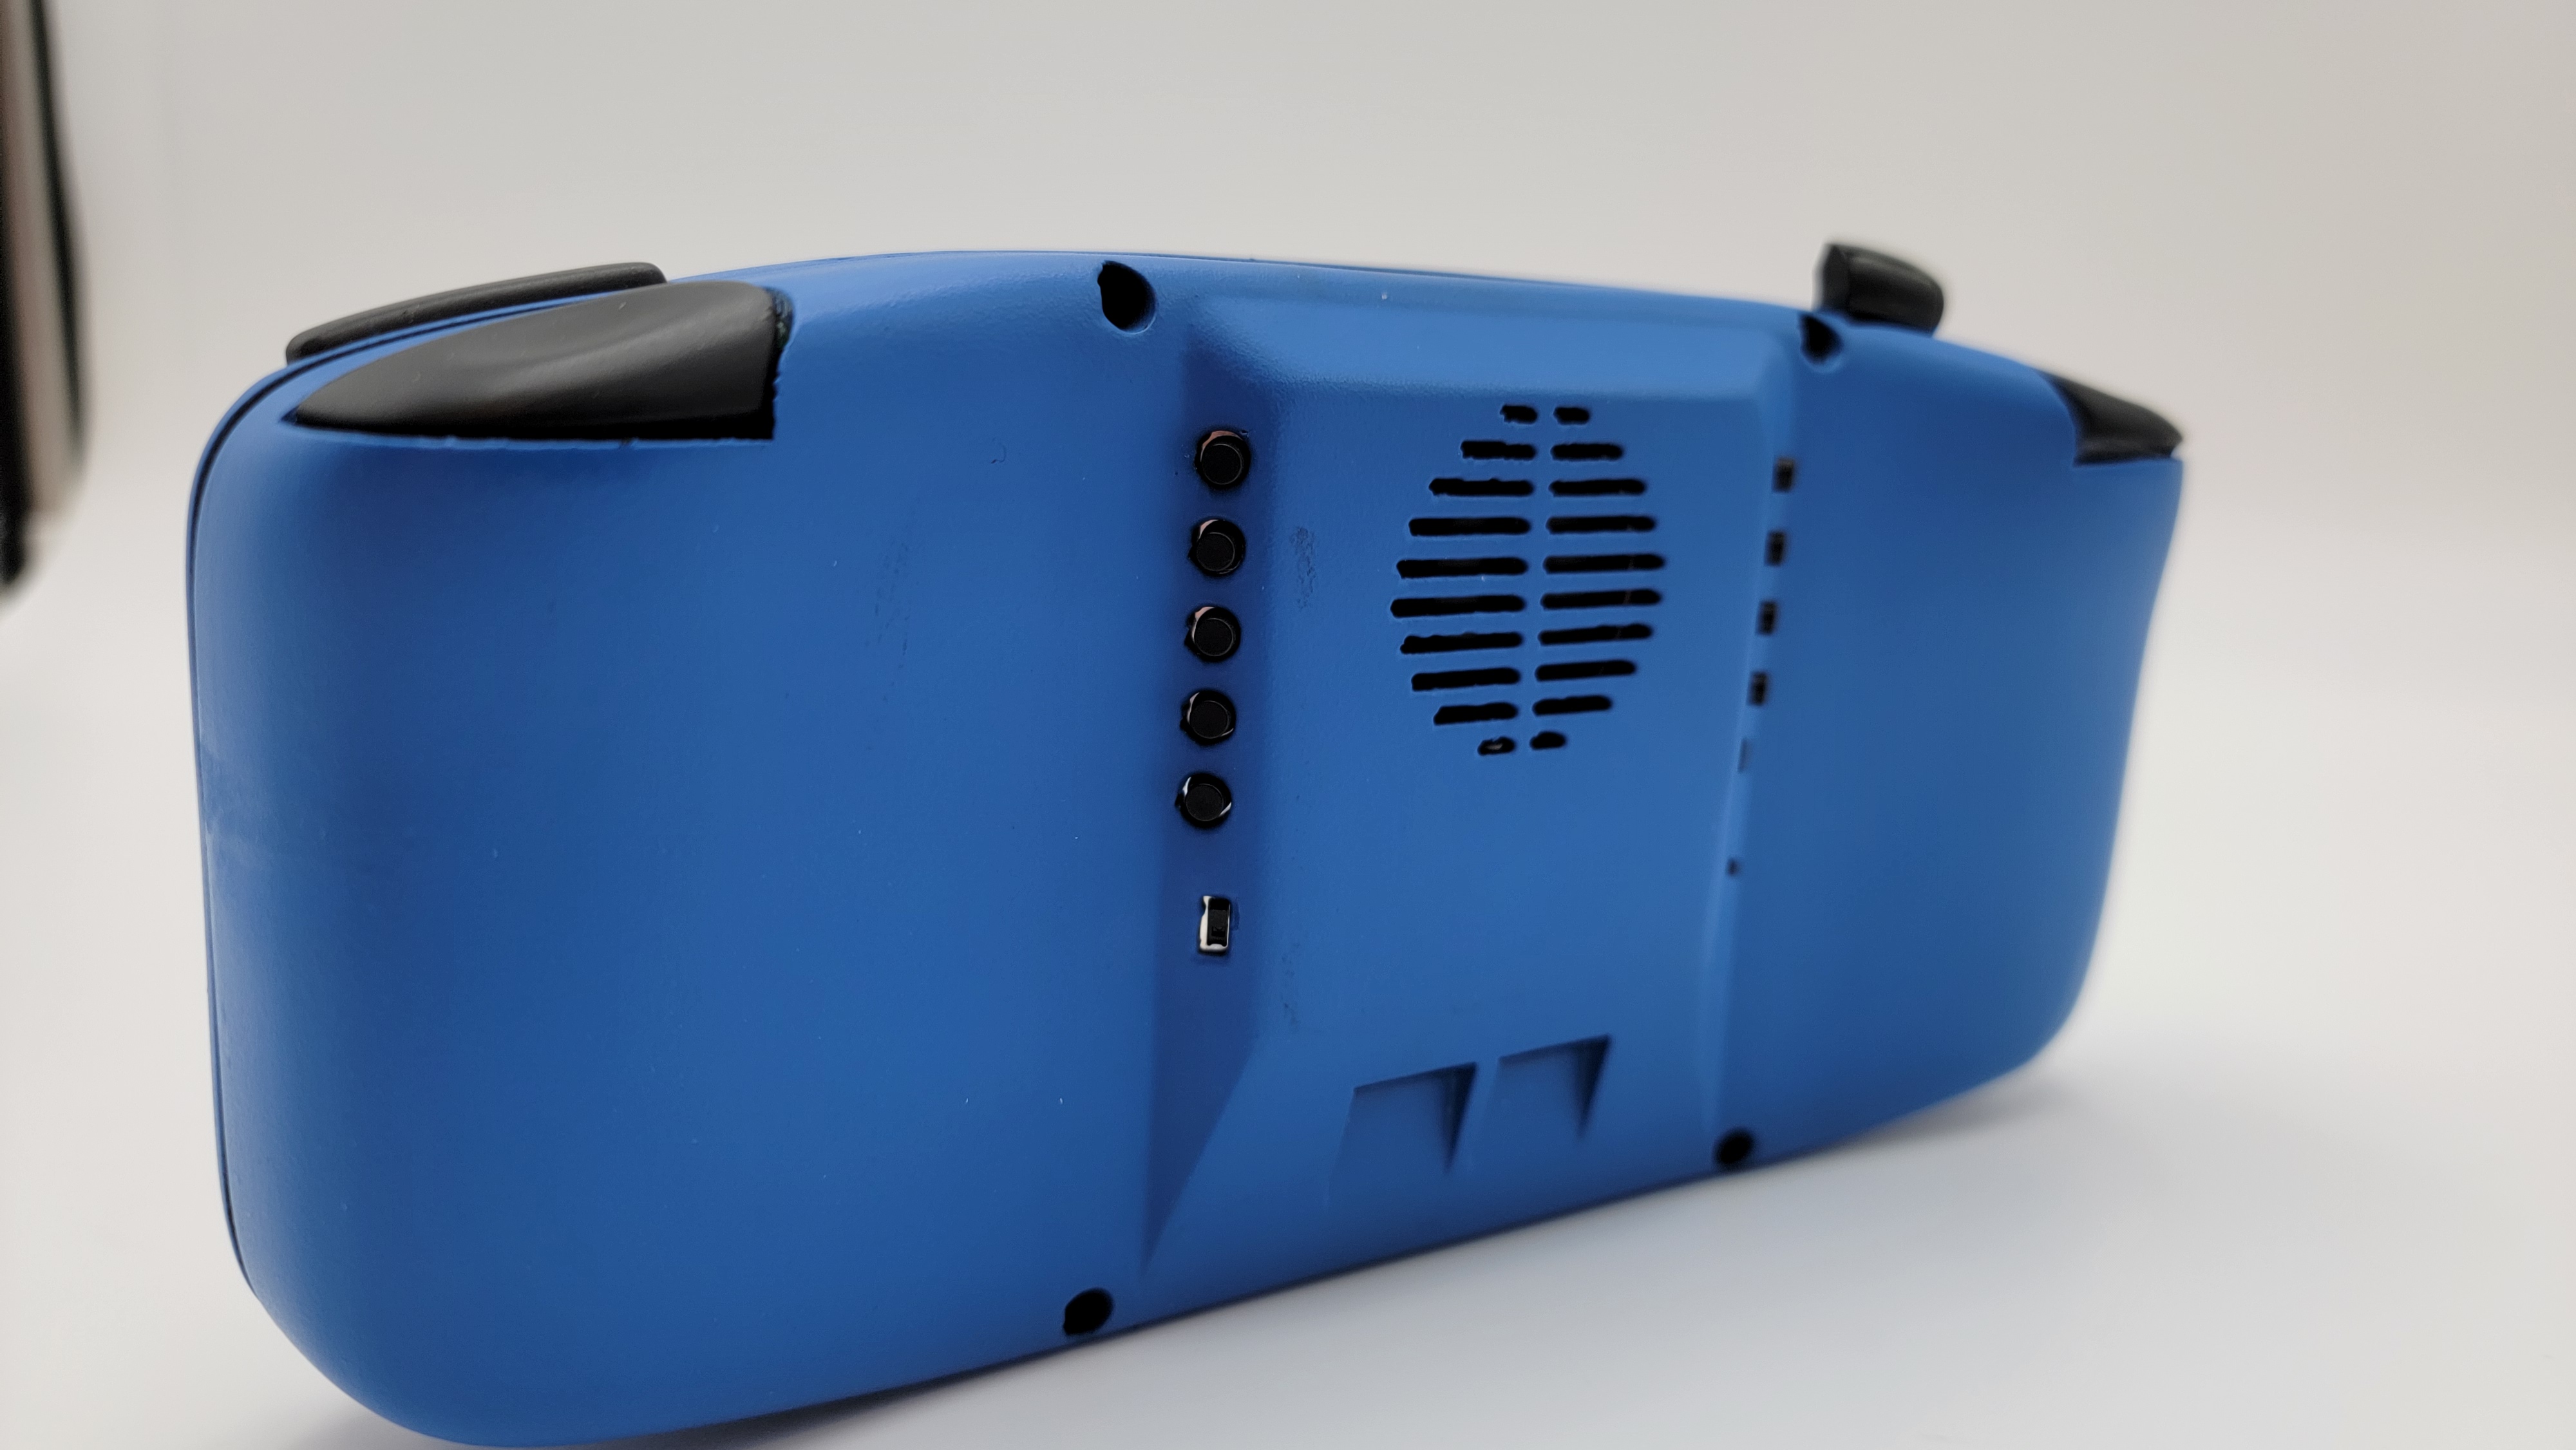
- A whole array of buttons and switches on the back for screen controls, volume, Wii reset and BT sync, along with a switch to toggle the video mode between composite and component. Component is the way to go 99% of the time, but being able to switch back to composite lets the Wii X play that small handful of GC games that don't have the proper 480p patches (Scooby Doo: Night of 1000 Frights and one of the Tenkaichi games are a couple of those)
- Two IR LEDs on the front for Wiimote pointing
- Two rumble motors (which is two too many in my eyes)
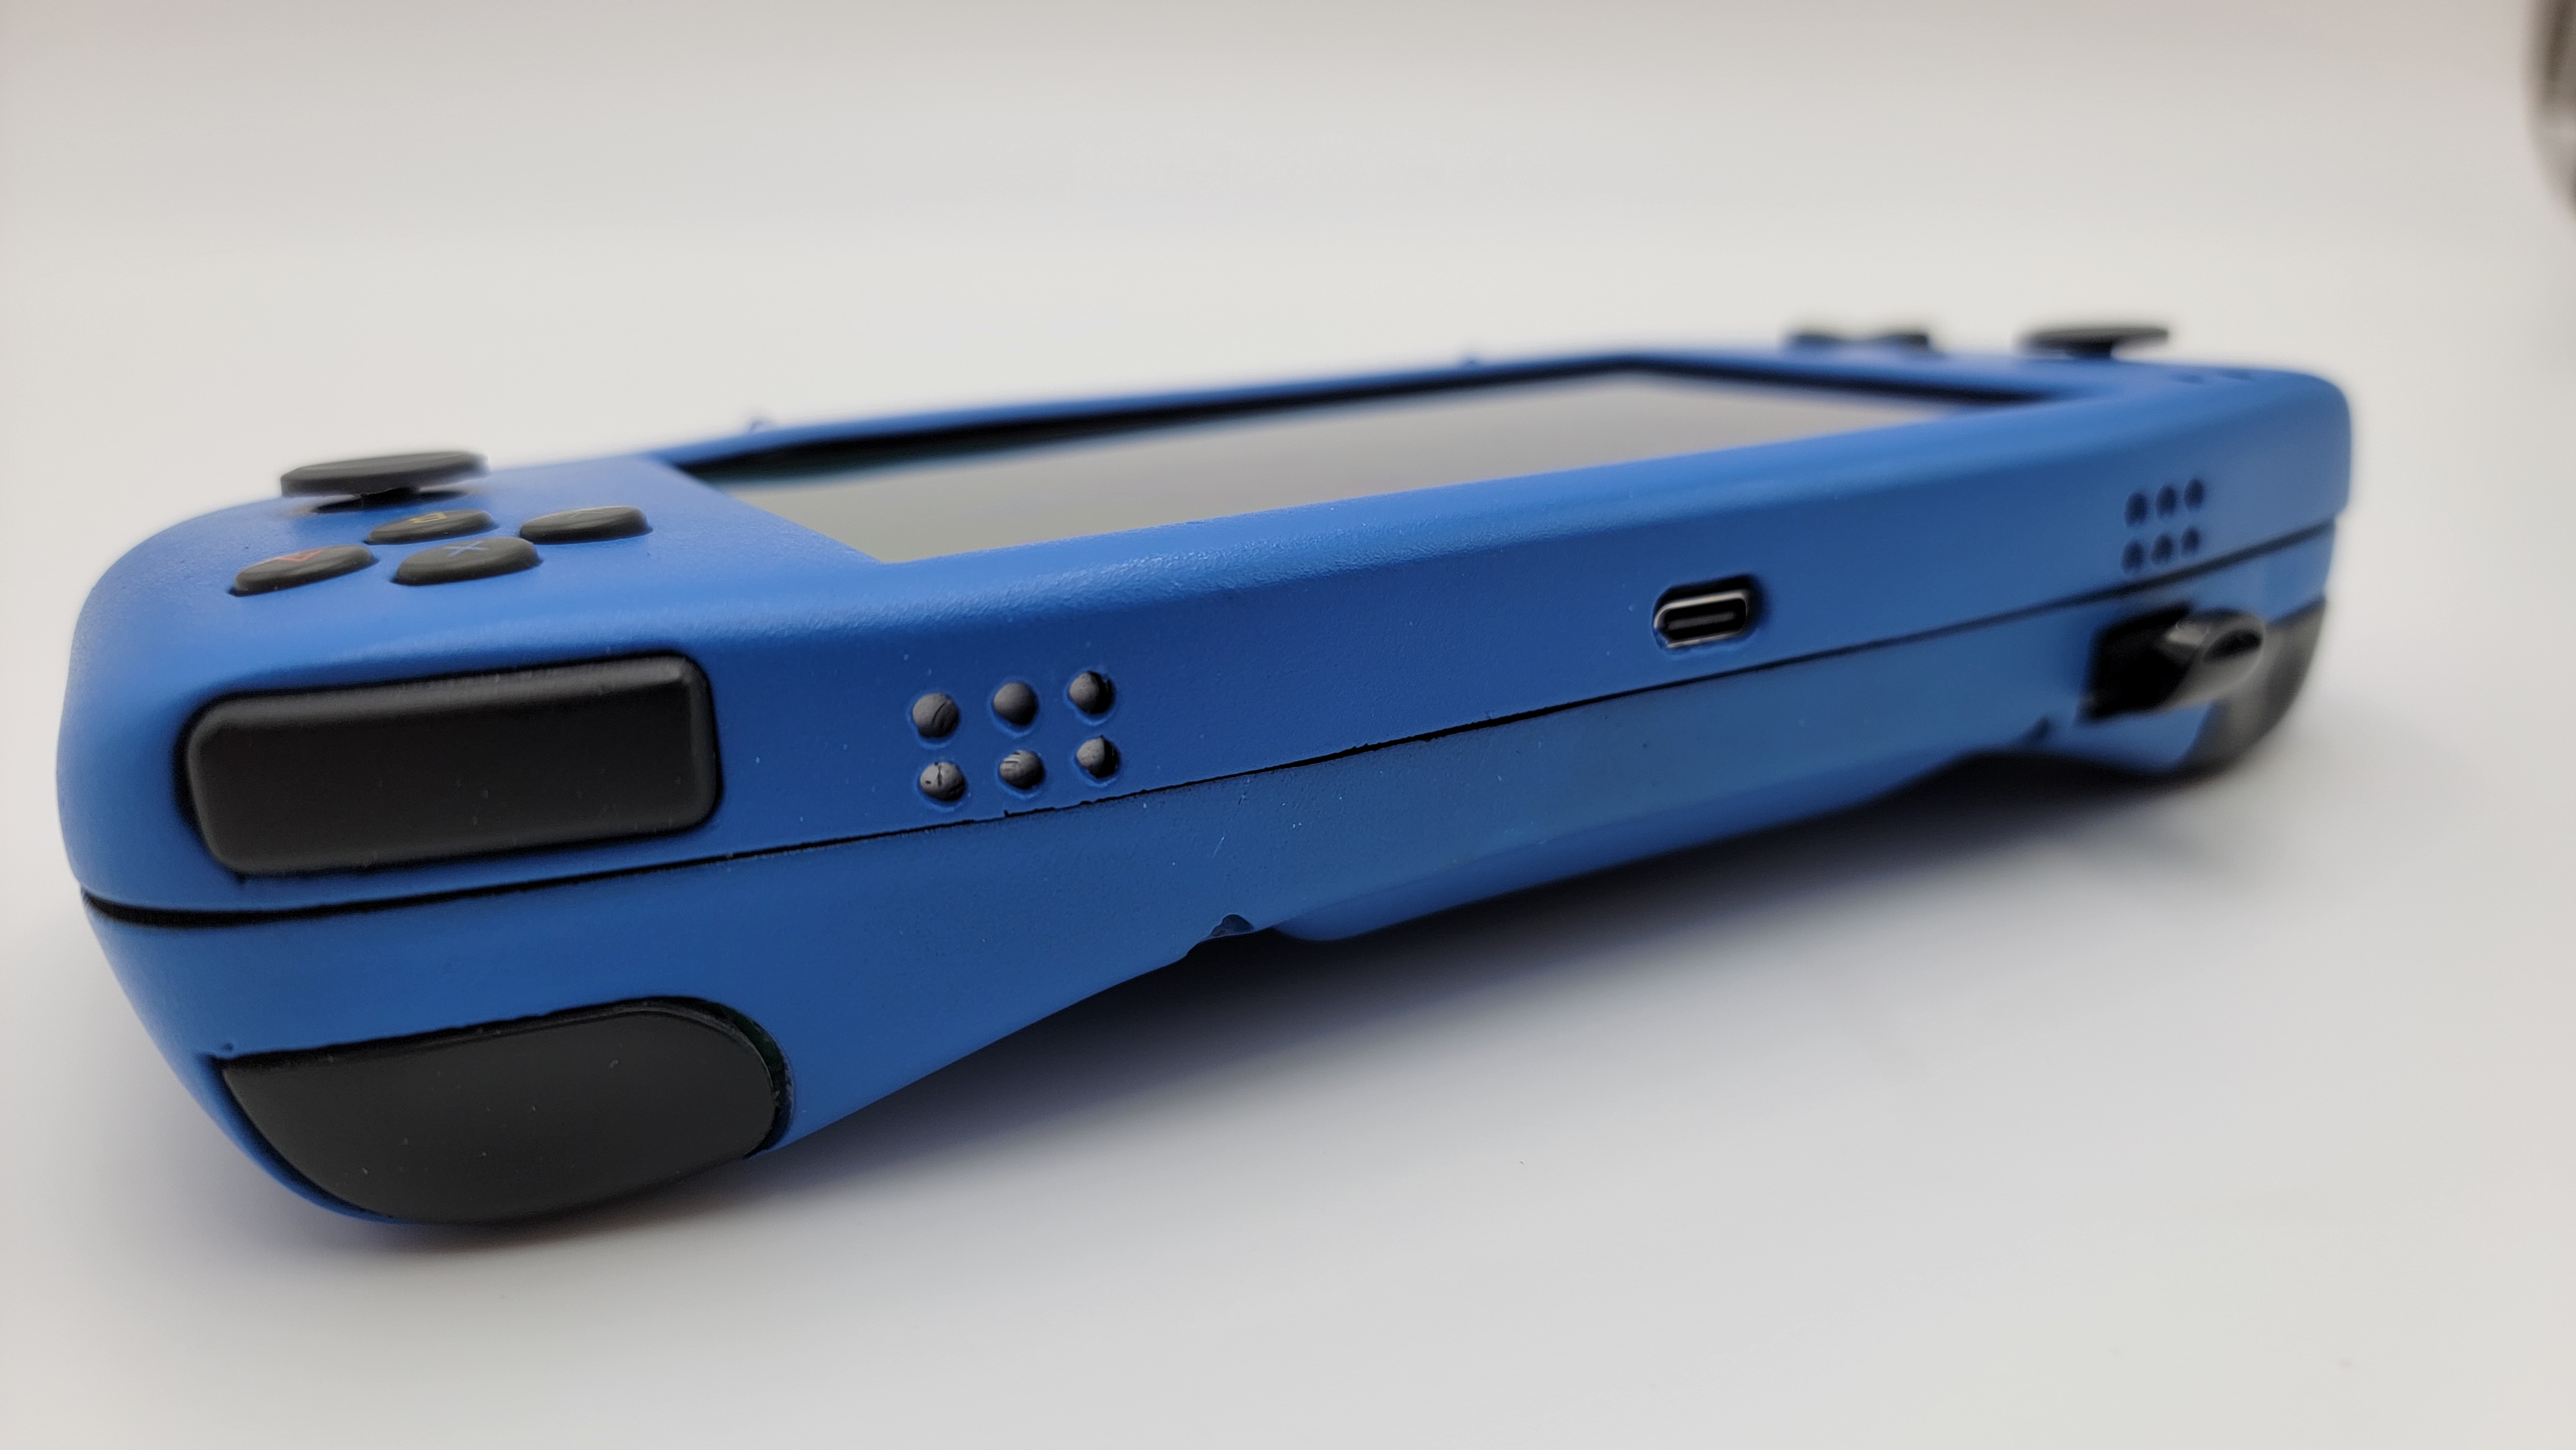
- A 12v barrel jack on the bottom that does nothing and a USB-C port on the top that handles PD charging. Spencer intended the barrel jack to be used for charging and the USB-C port to be used for a custom breakout box, but times have changed and I'd rather have the USB-C port handle the charging.
- 4-Layer Tech Suite, including PMS-2, RVL-Amp, and GC+ 2.0
- An undervolted Wii, for lowered heat output and improved battery life. Currently running the 1.8v line off of 1.45v and the 1.15v line on just 1v. Will report back on how the device handles the undervolt in the long term.
- 3 18650 batteries for around 4 hours of battery life (I think, haven't given it a proper test yet)
- A screw mount on the bottom for mounting a tripod to the portable, a common staple of Spencer portables.
I really love this little guy. The shape of the case is very comfy to hold, and I really like the trigger. The case could definitely benefit from some updates, as the build required a lot of glue to get everything mounted, but it was fun to go back to the days of needing the hot glue gun every 30 seconds (just this once). The case came with some cracks and smudges (and I've only added to those cosmetic flaws in the four years I've had it), but that just makes the portable feel like its proper age.
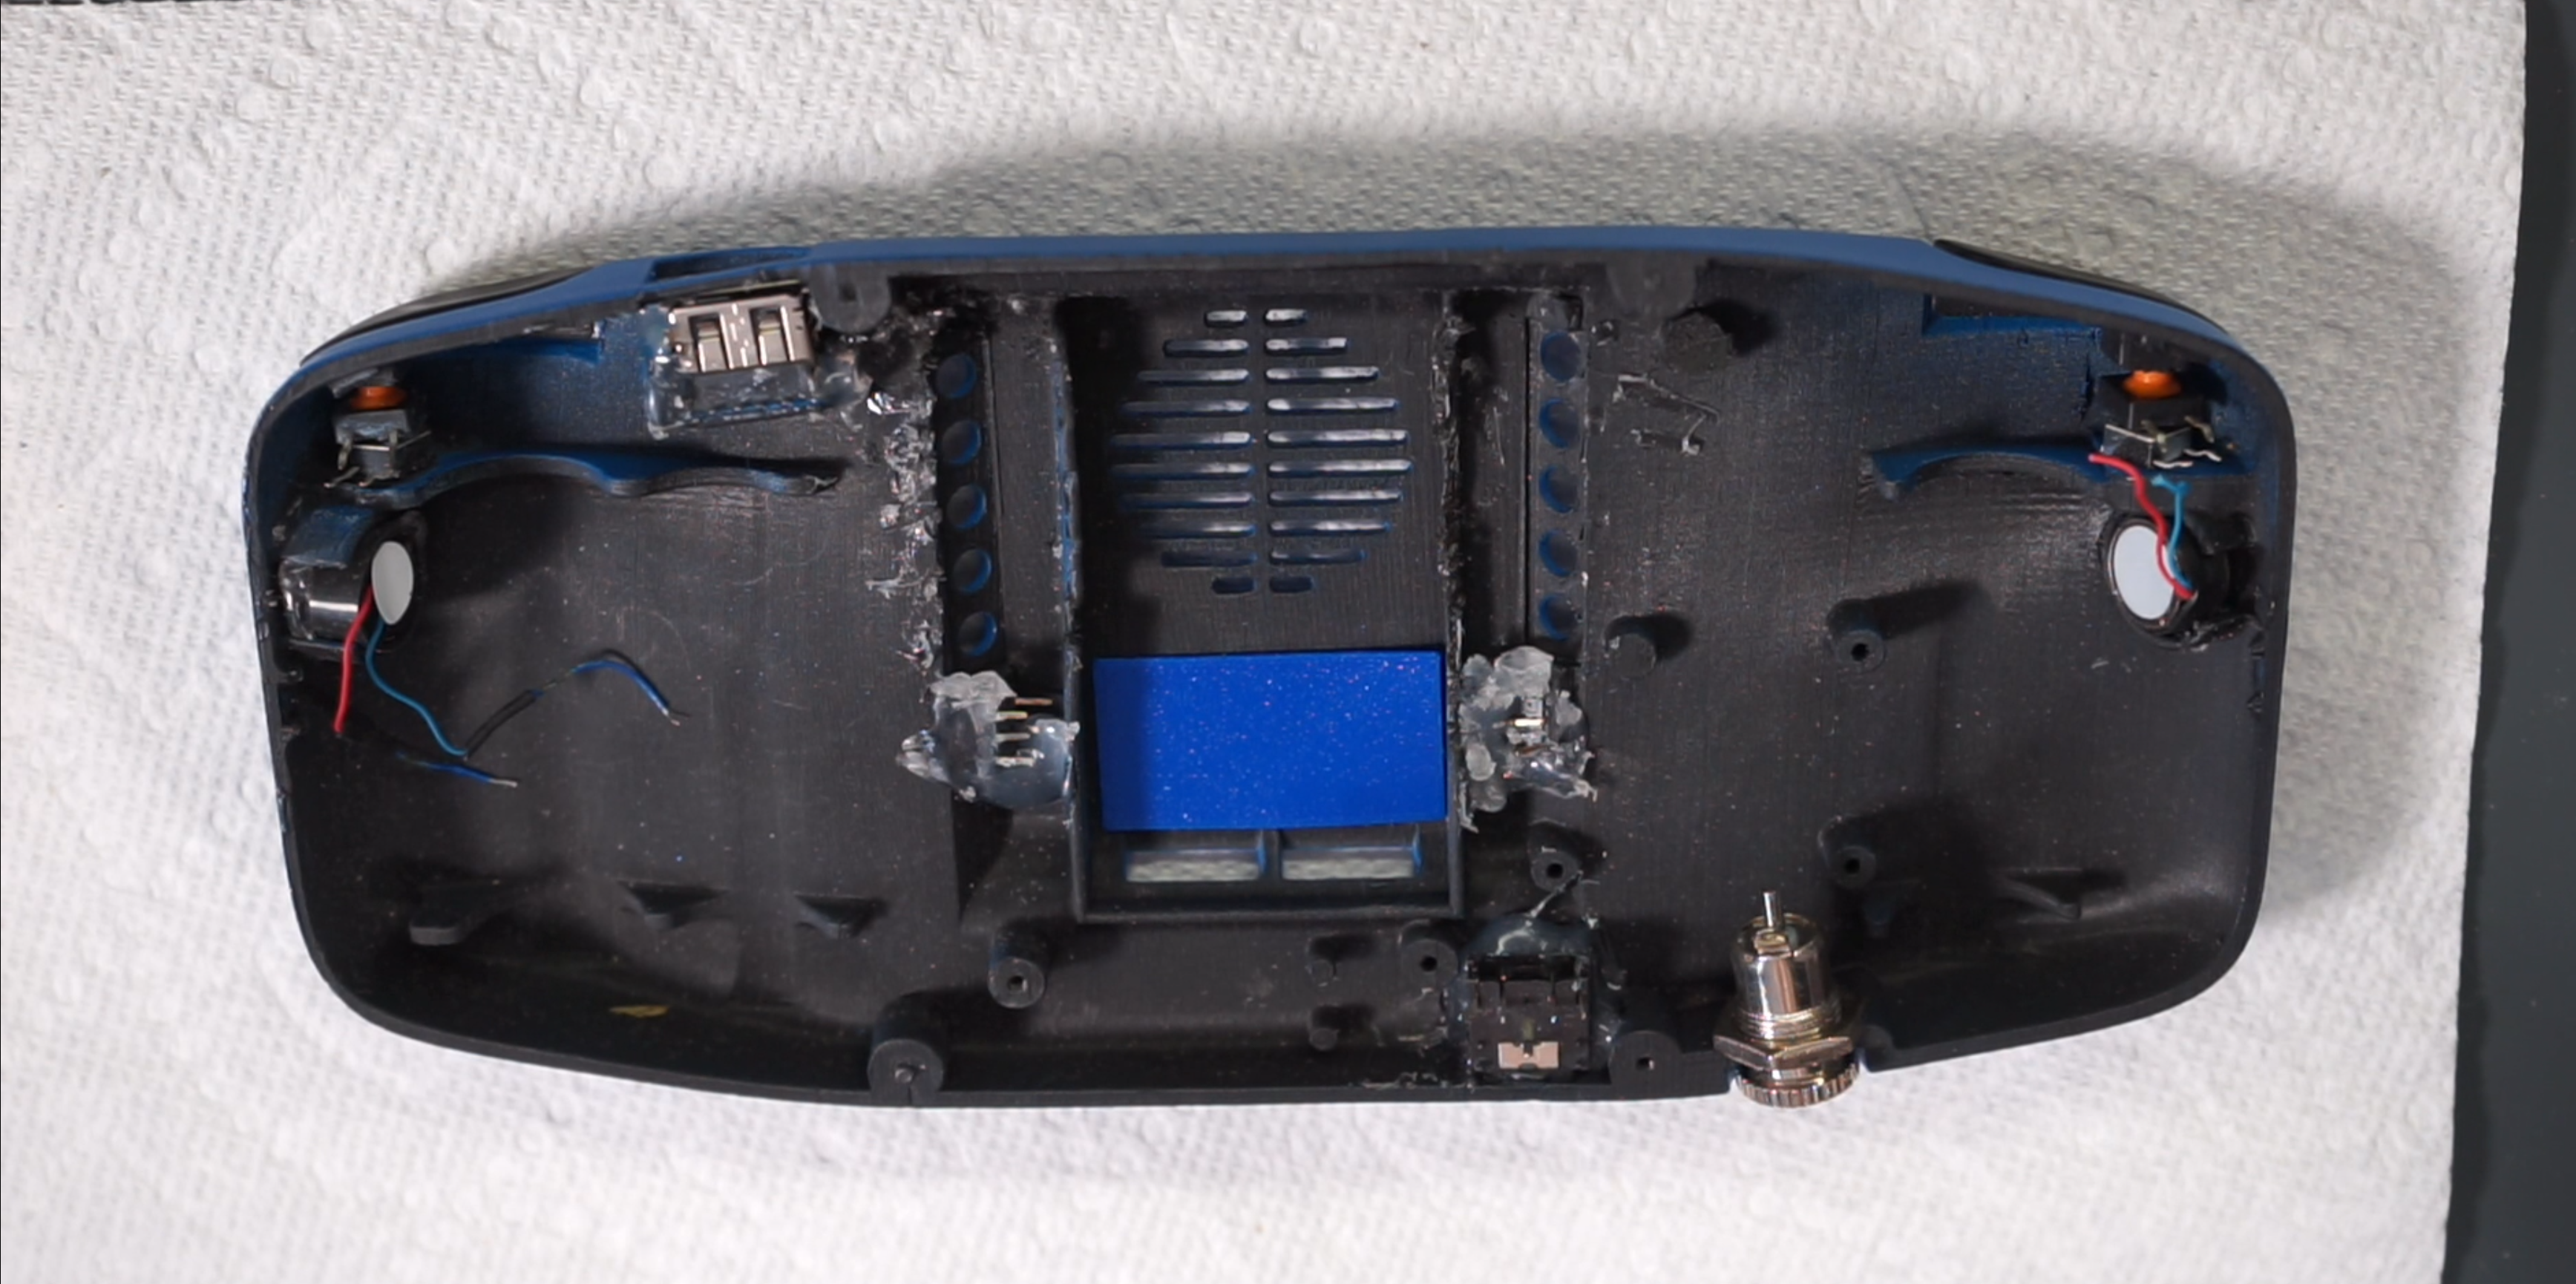
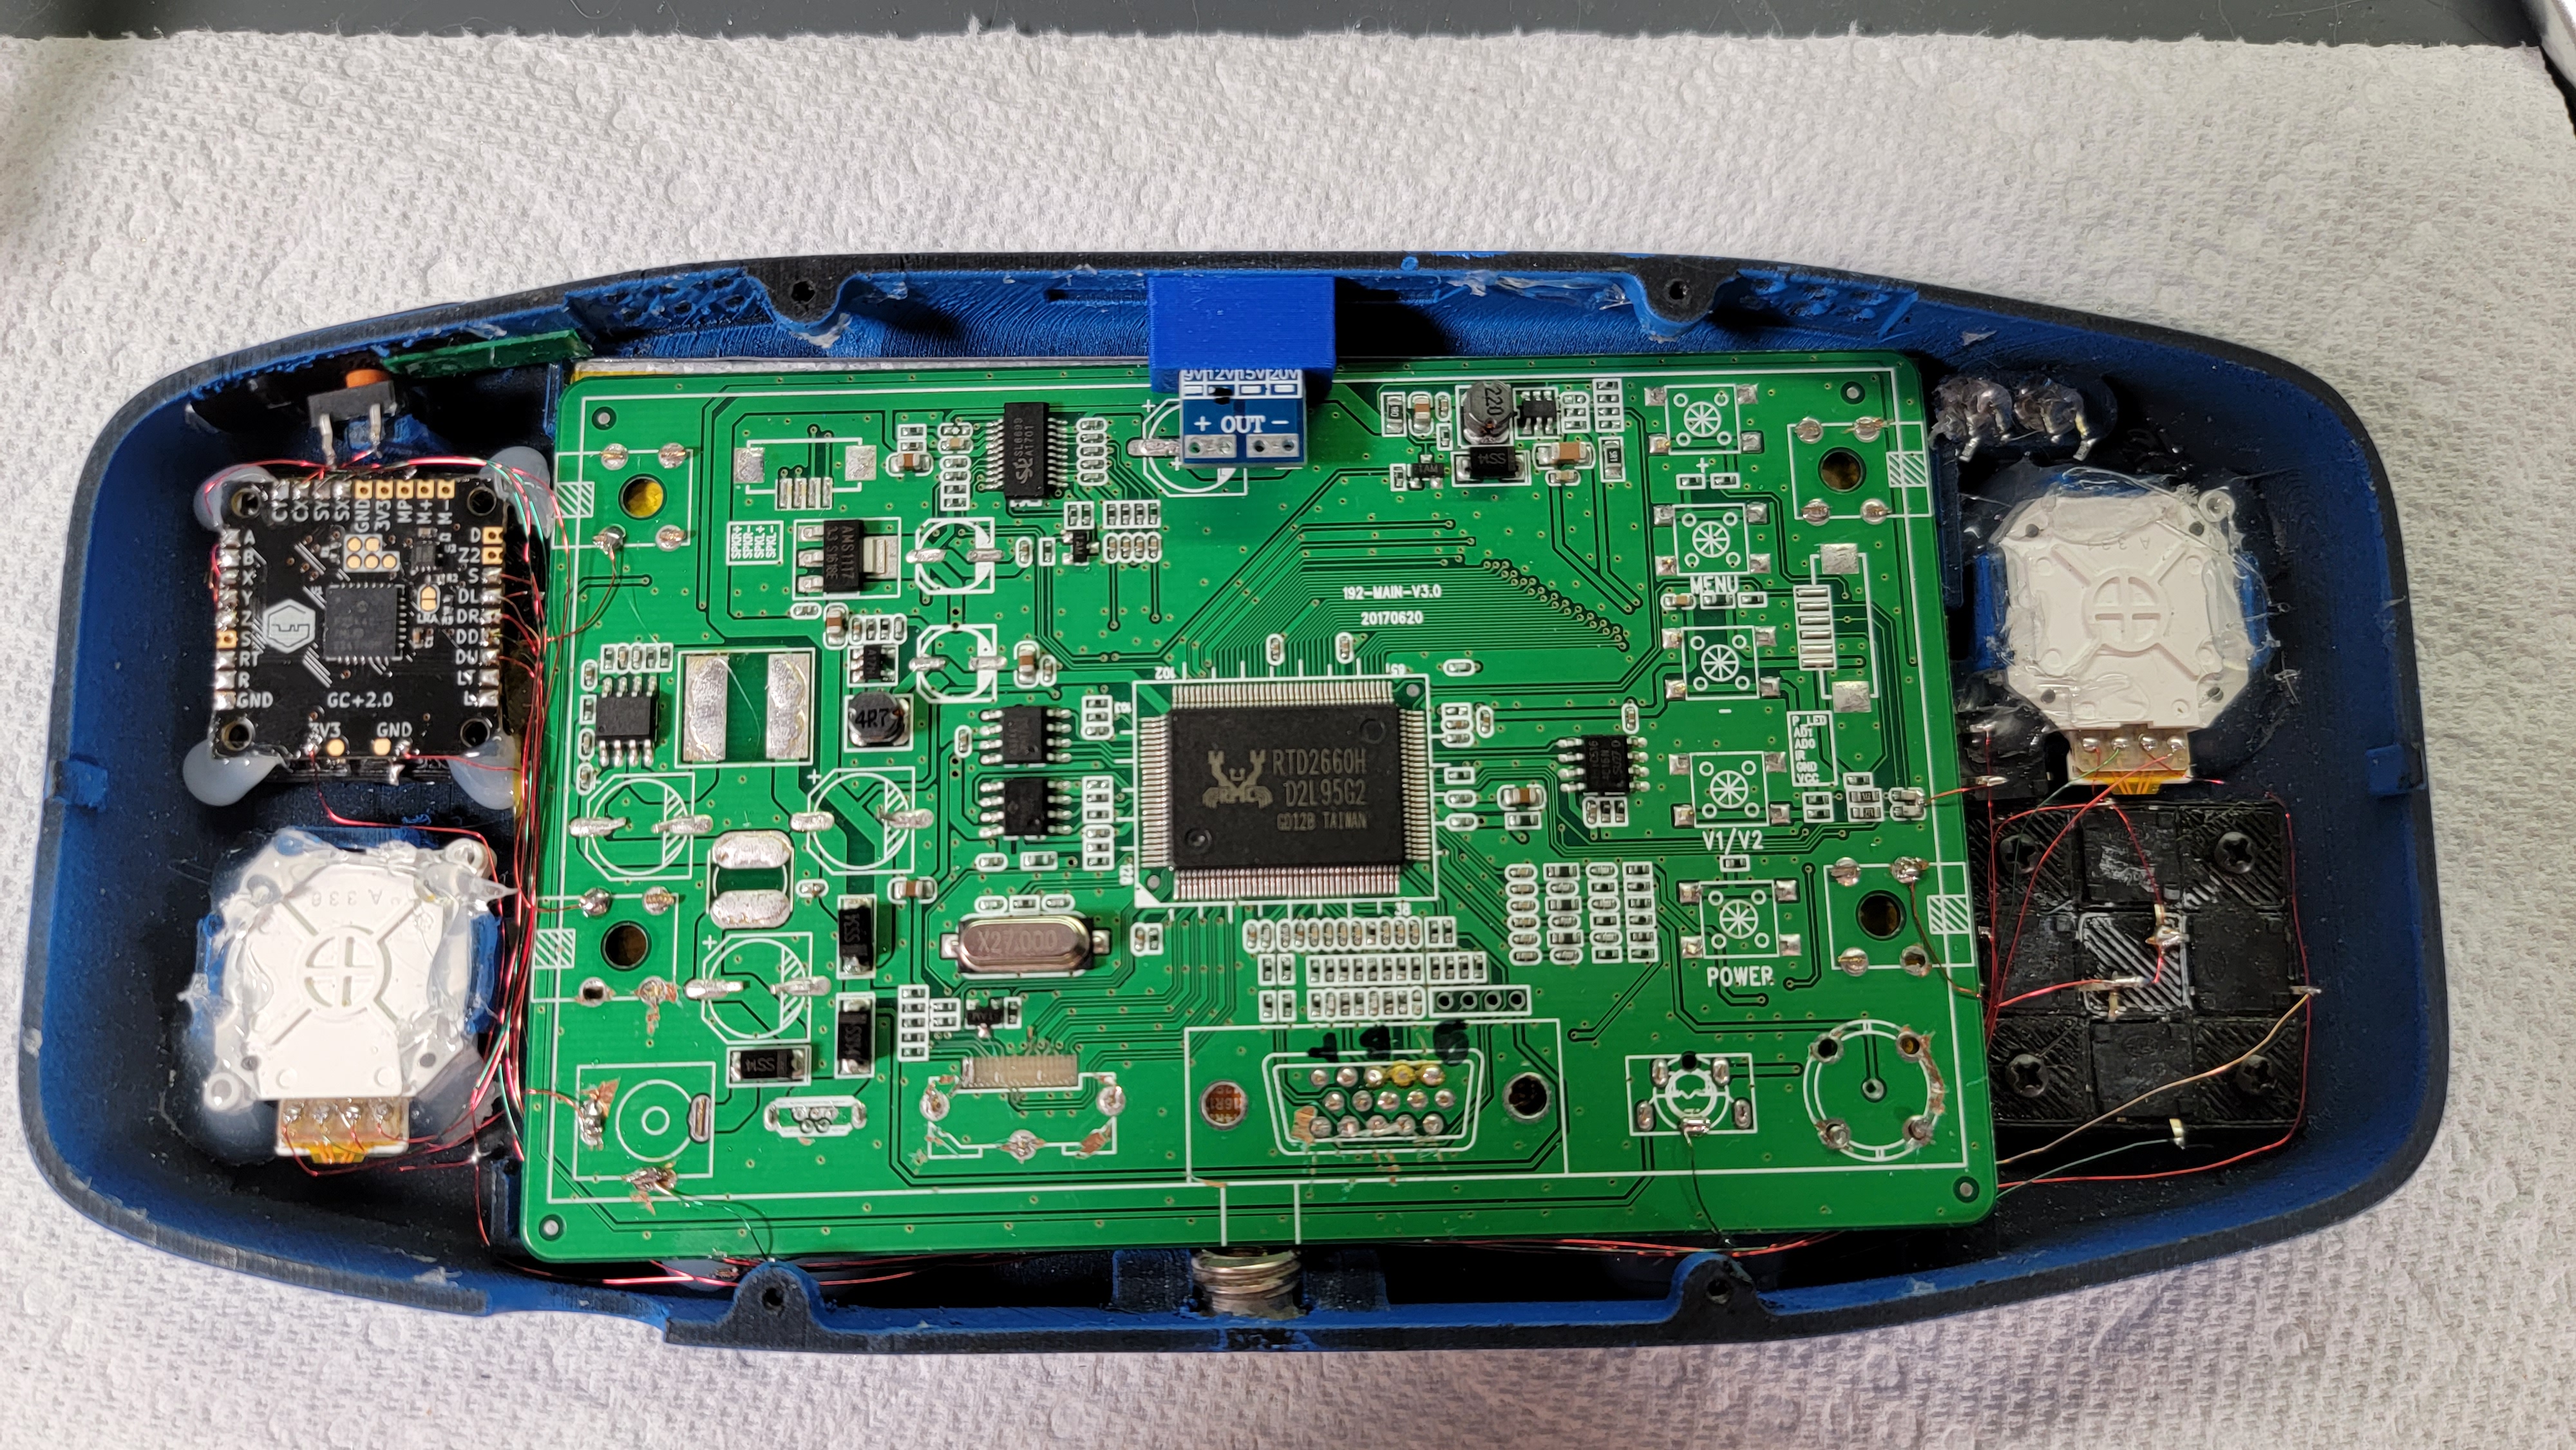
This is the state of the case when I recieved it. Already had all of the buttons sticks, and ports glued into place.
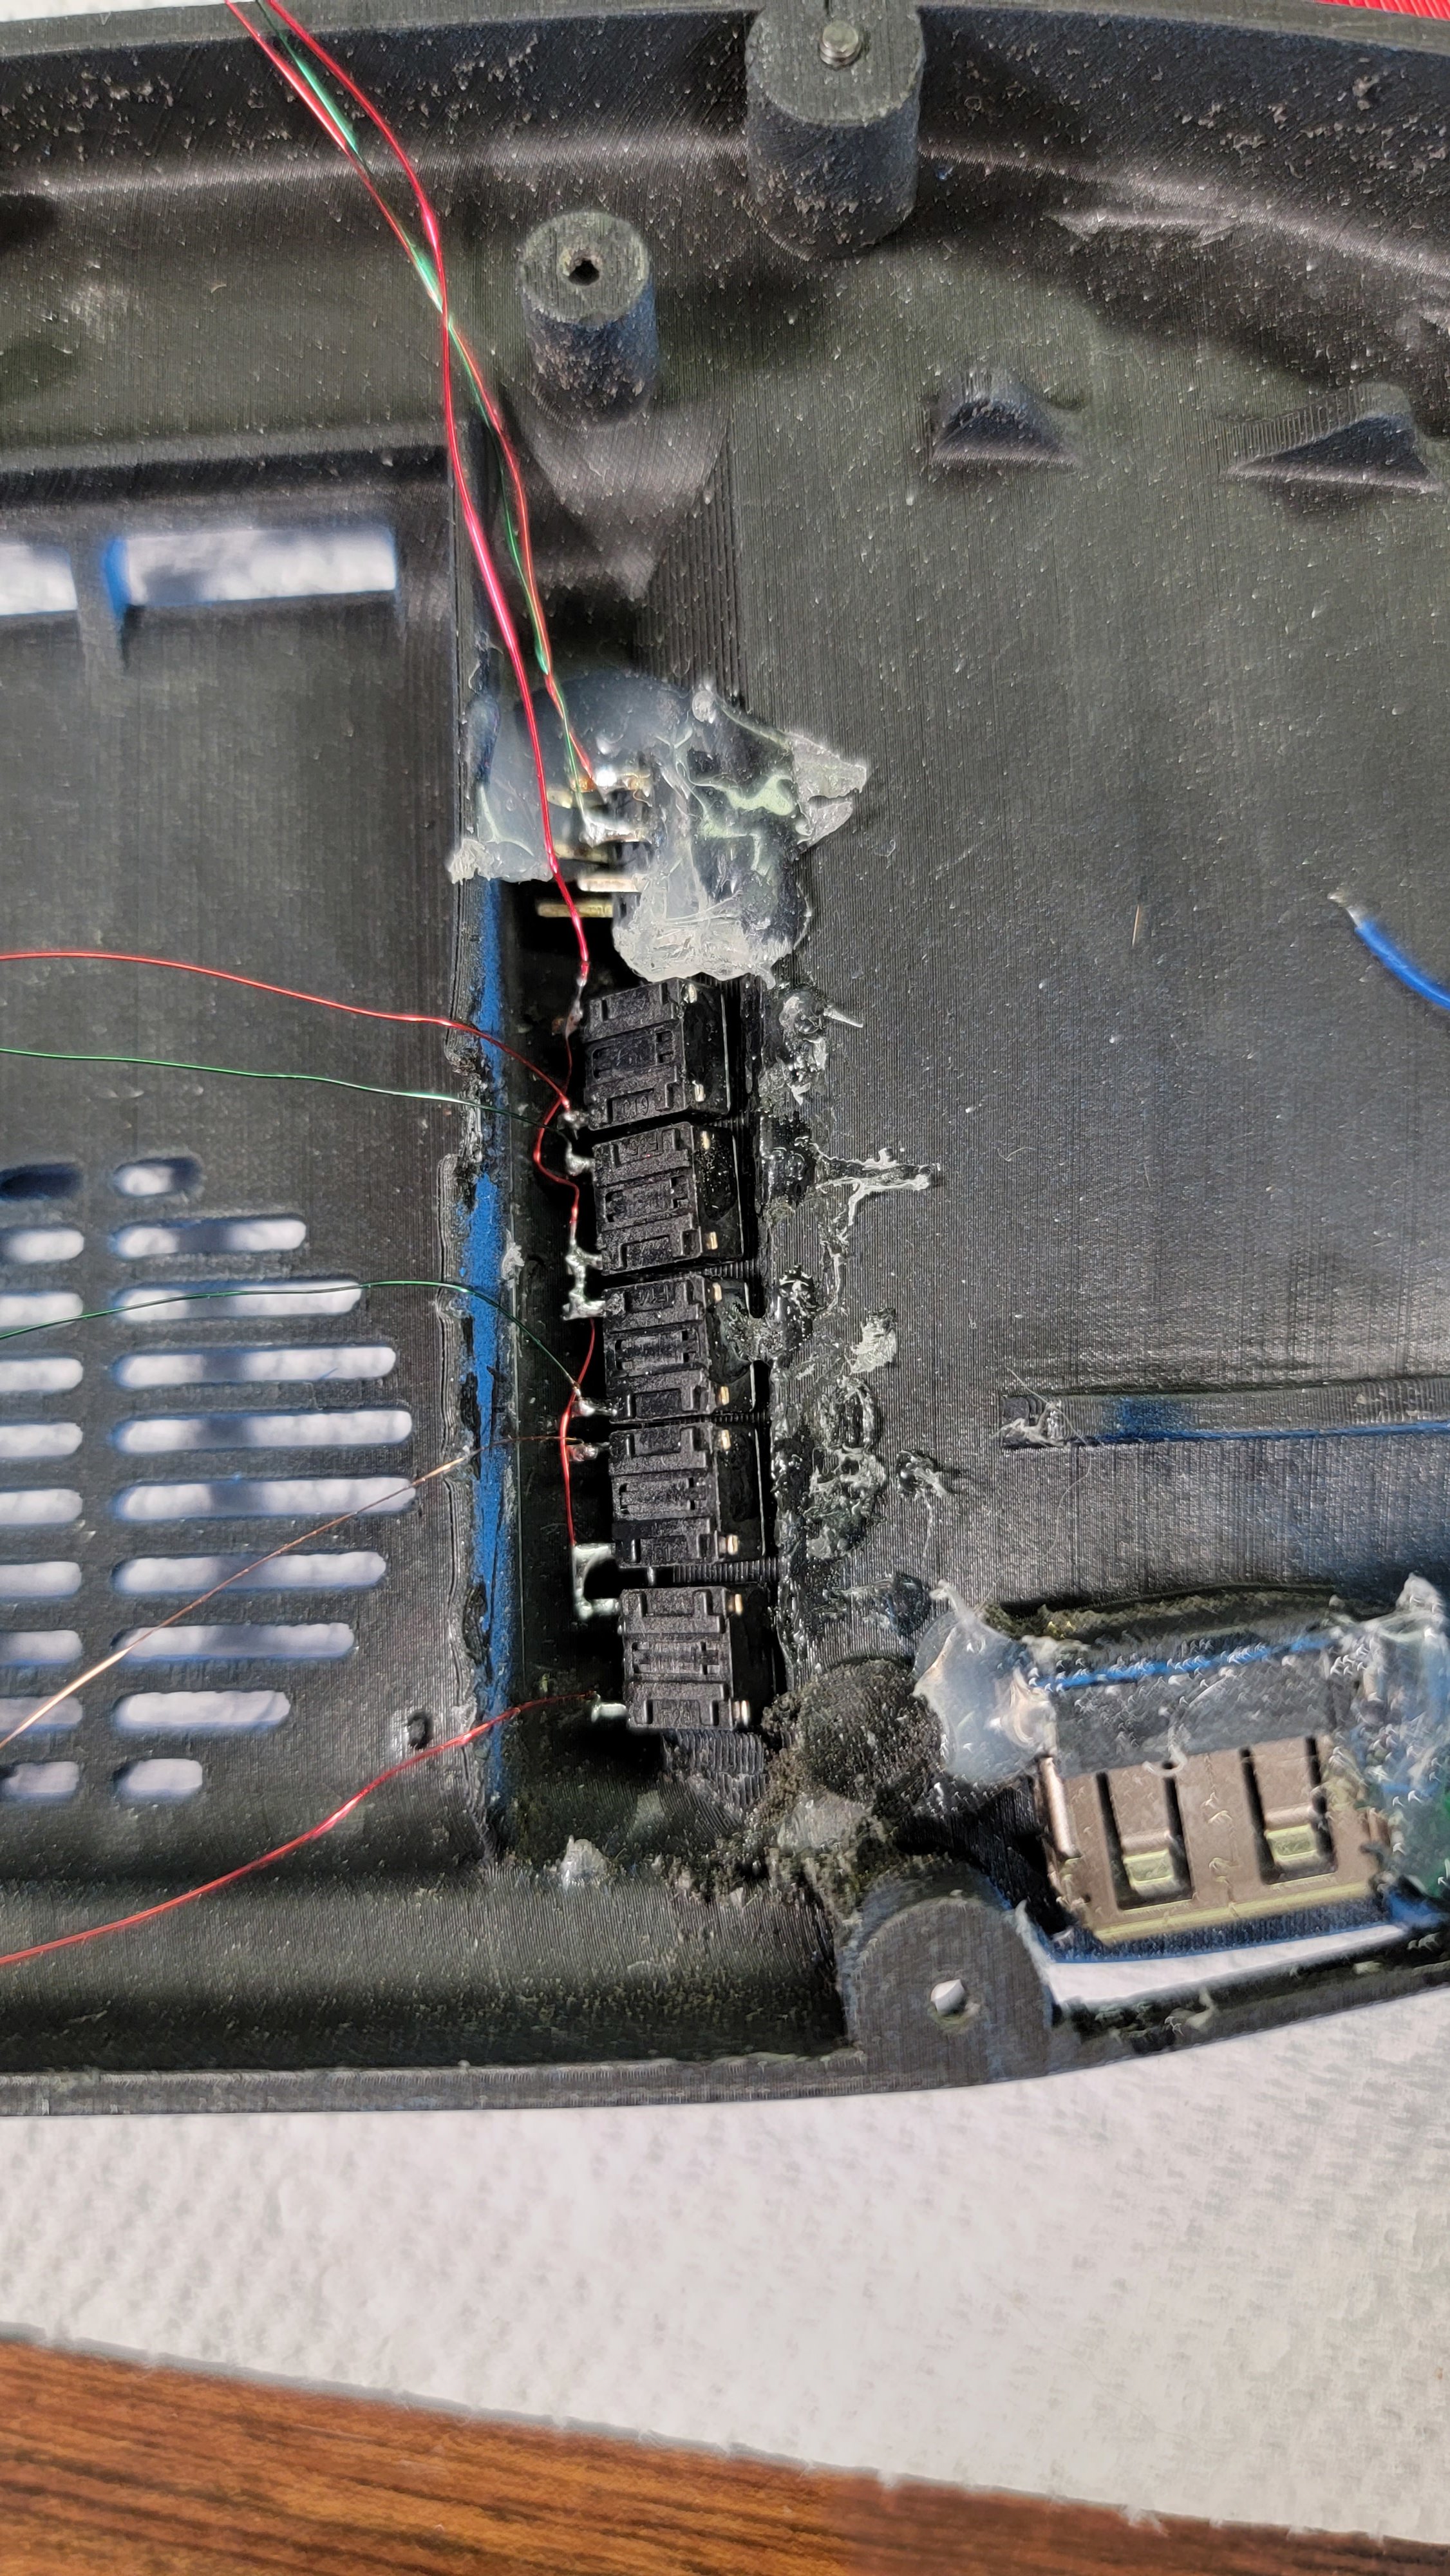
Having to glue this many tact switches at this angle without getting them gummed up with super glue fuckin sucked. RIP to the 5 or so fallen sticky switches
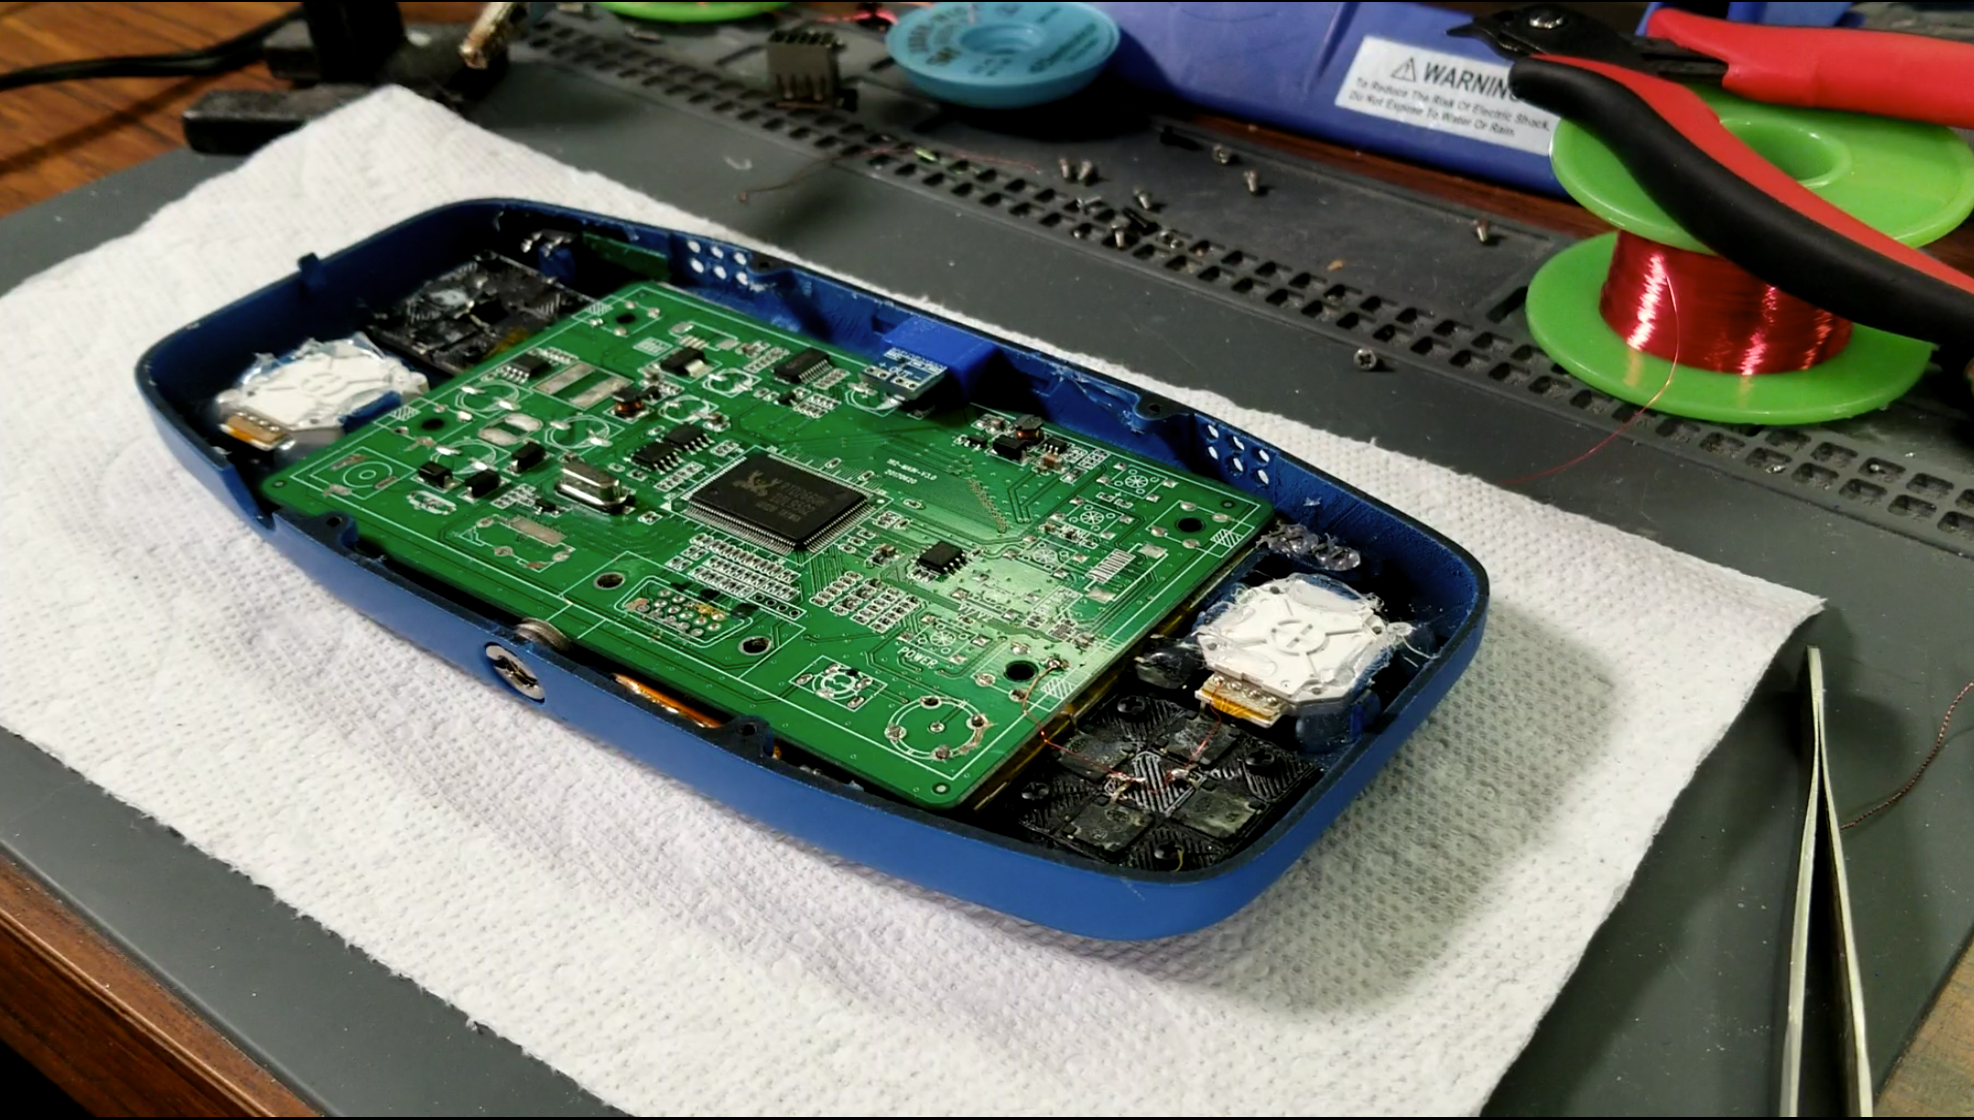
Had to use the ole "hacksaw on the heatsink" trick to make it fit in the stubby cooling well.
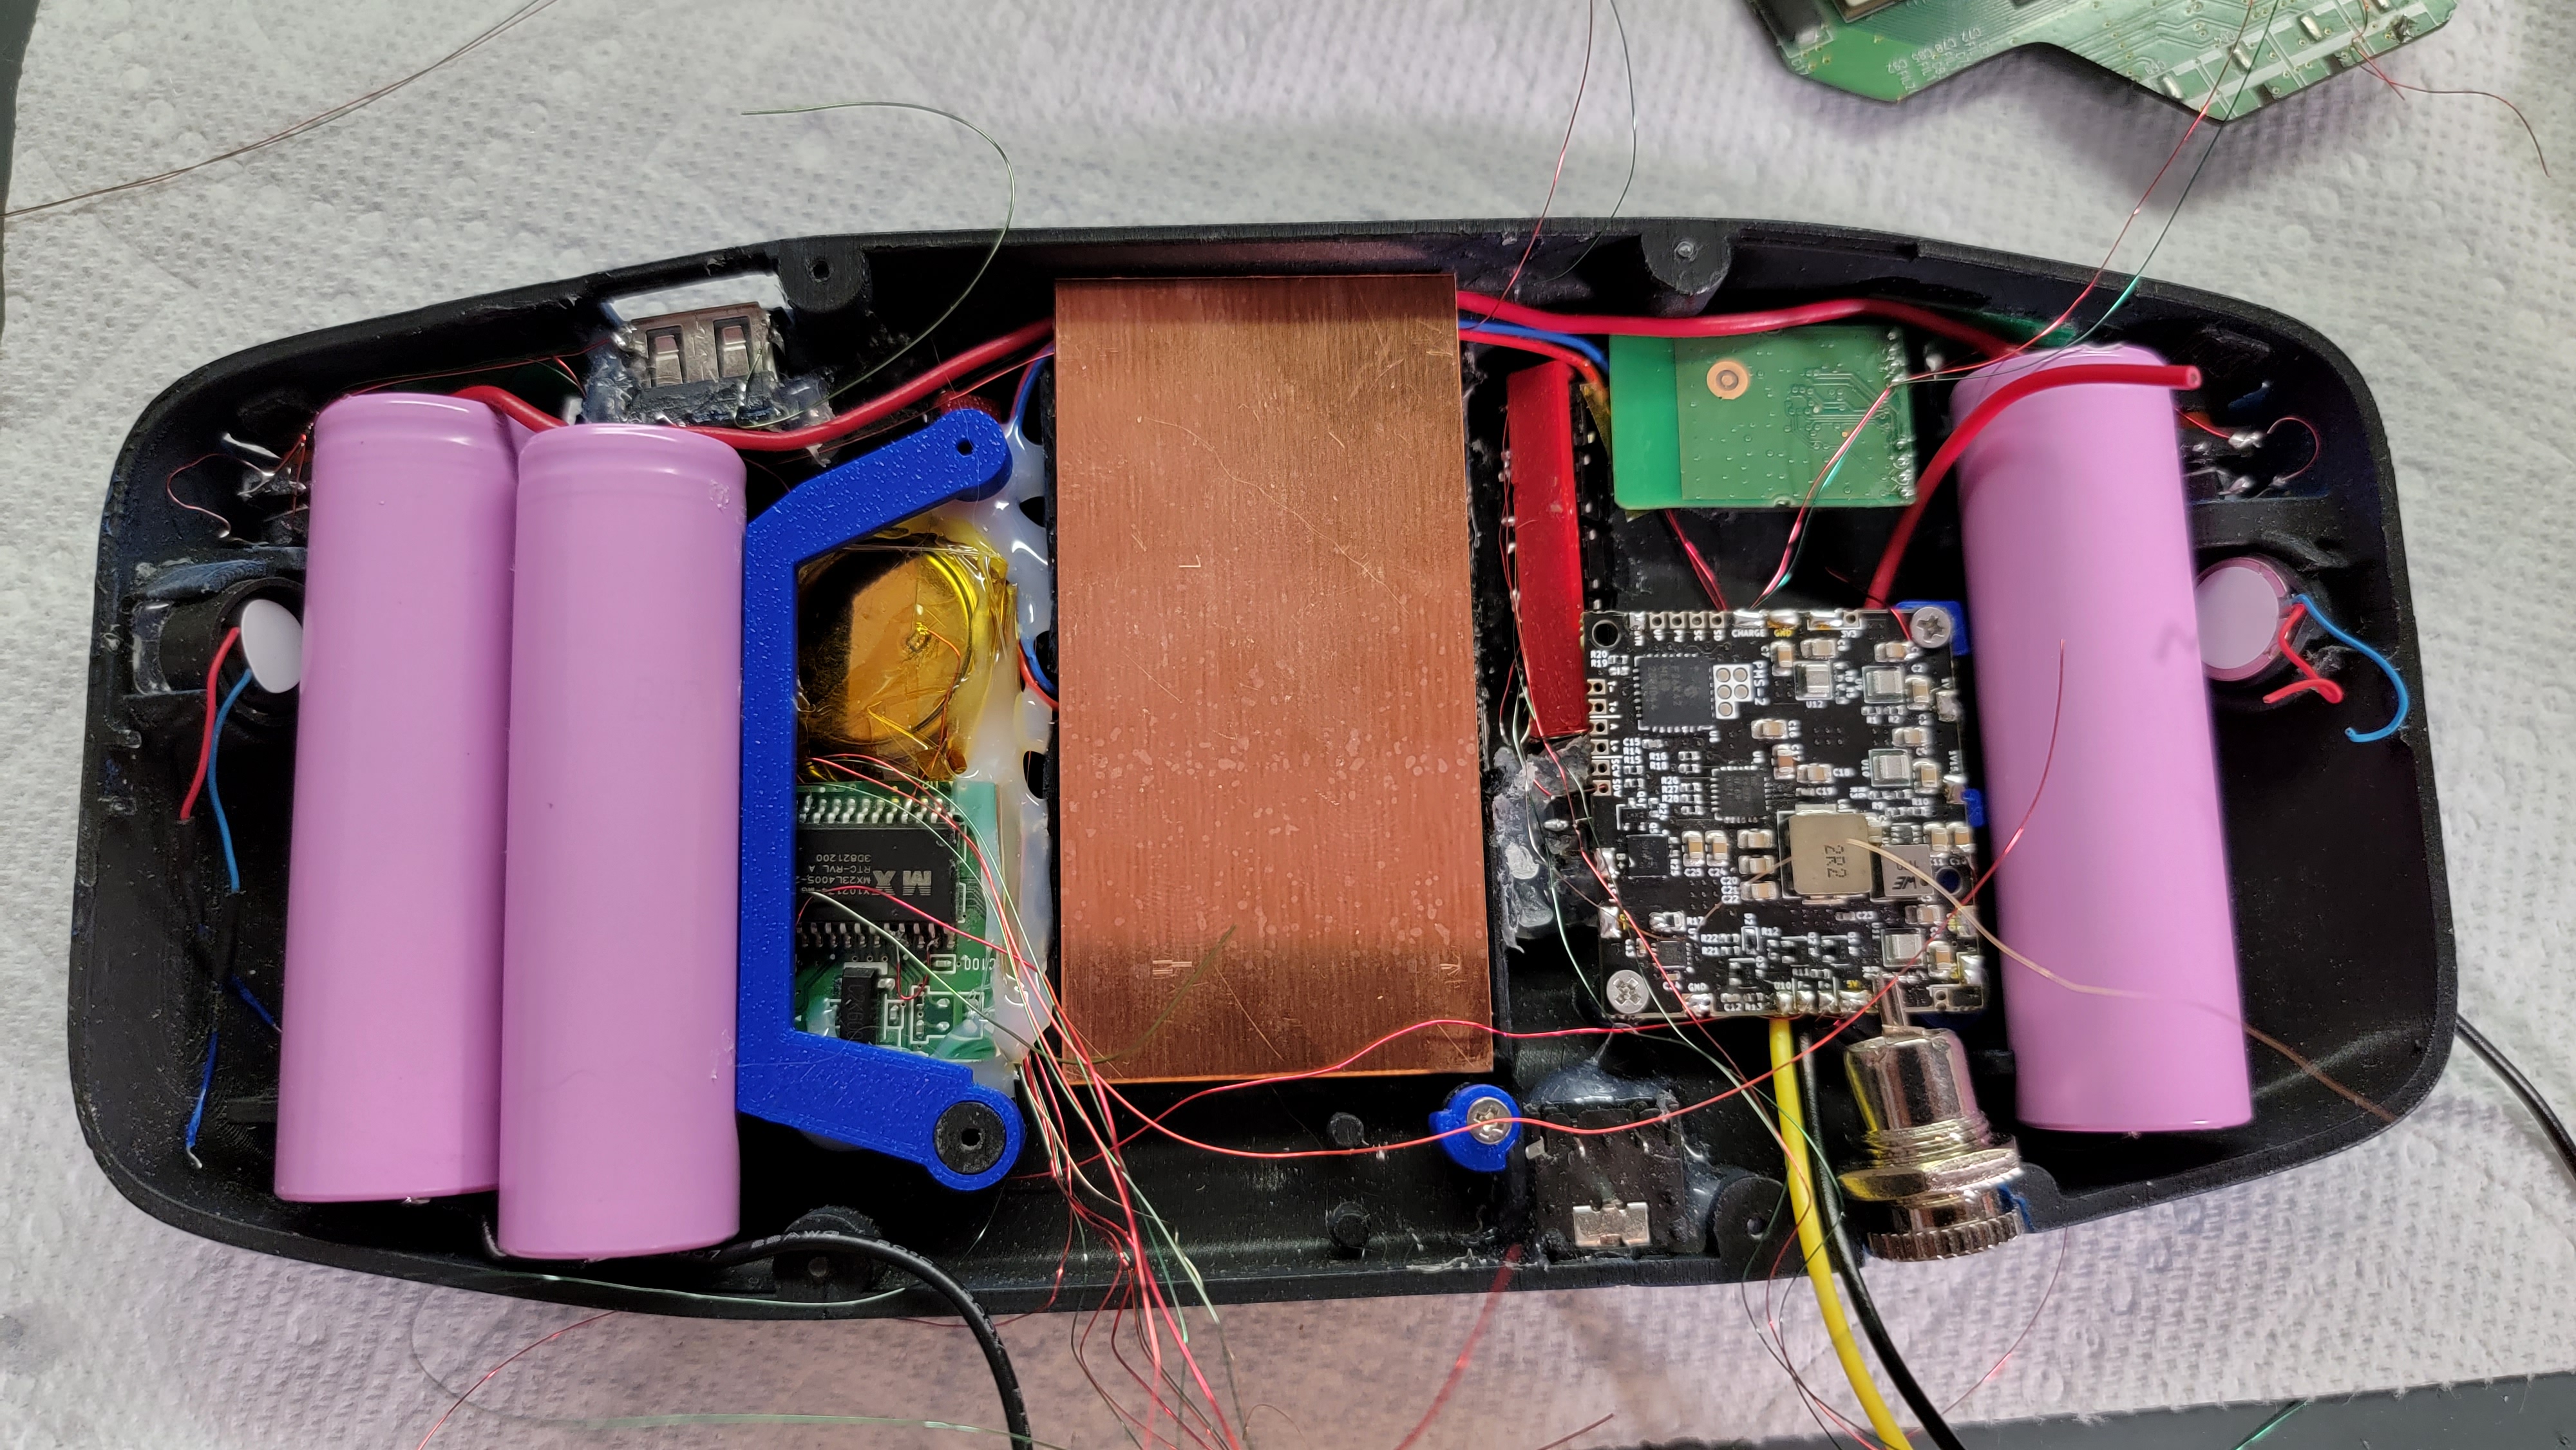
Lots of glue for the MX mounts and BT. Designed some very hacky screwpost extensions for the PMS and the Wii, as I still have zero clue how Spencer intended the Wii motehrboard to be mounted in this guy.
Goofy Wii trim and RVL amp in place
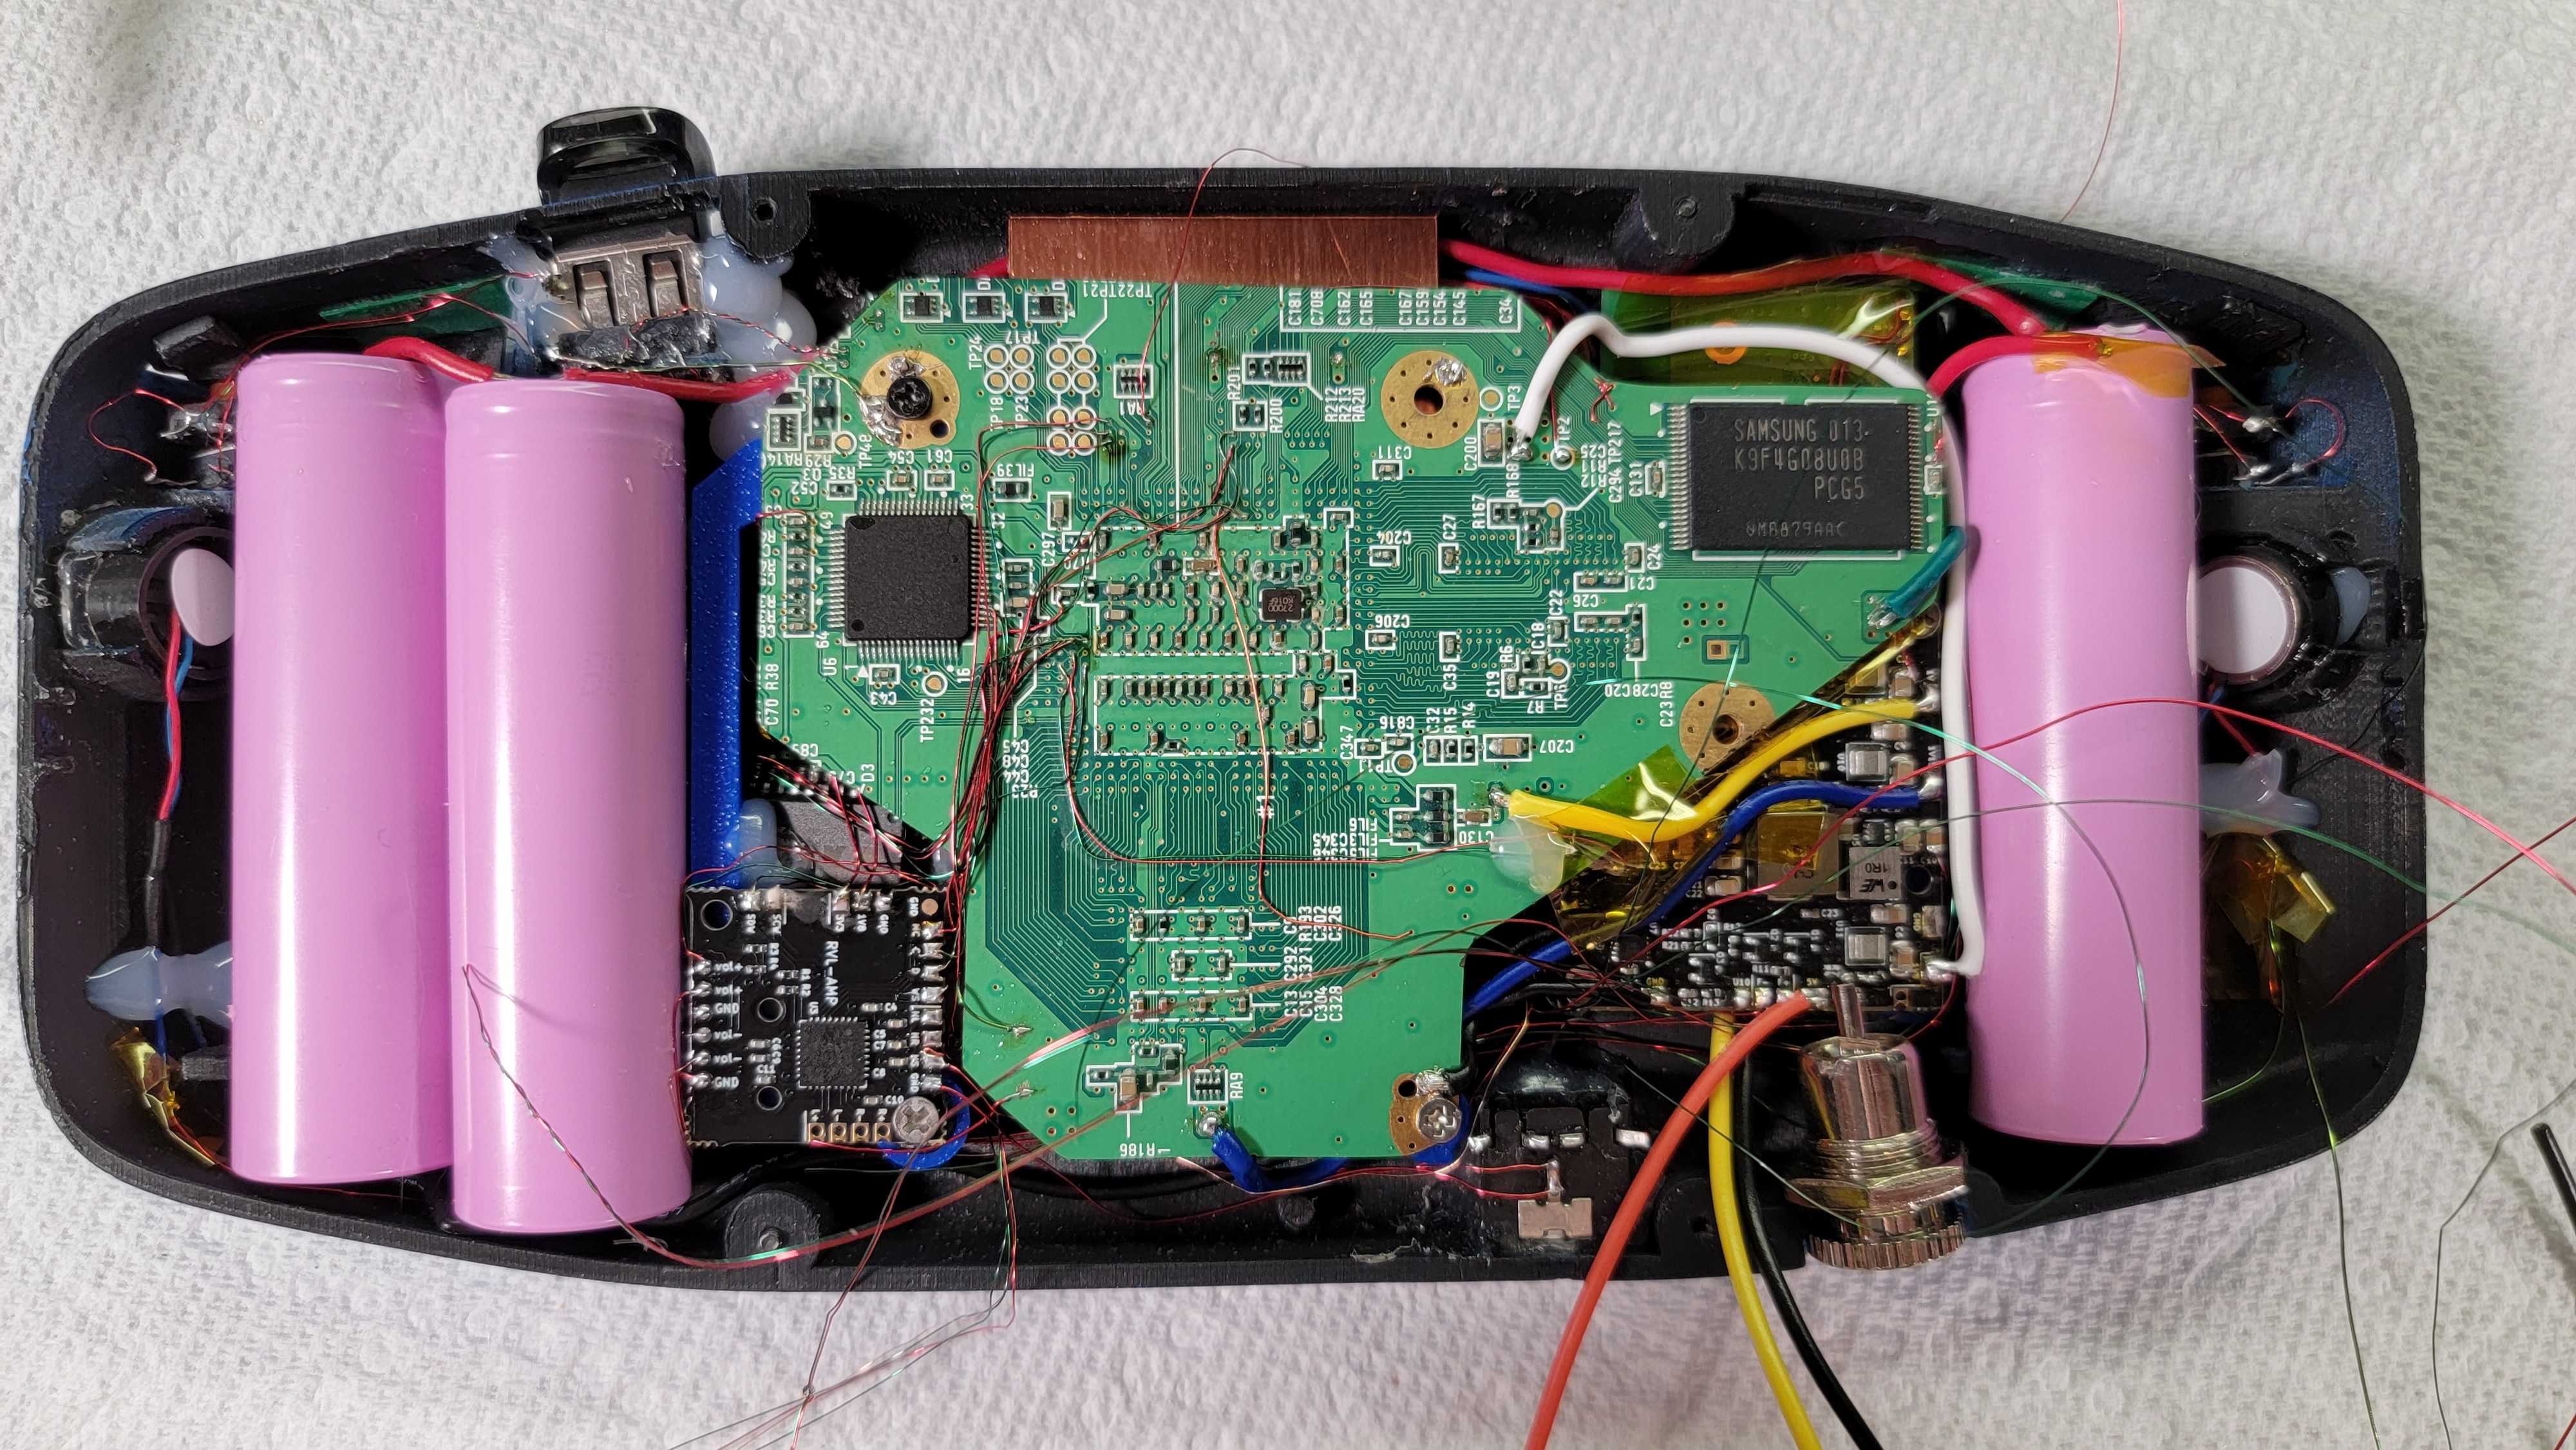
Front half was reasonably straightforward, just the old "magnet wire it all together" method
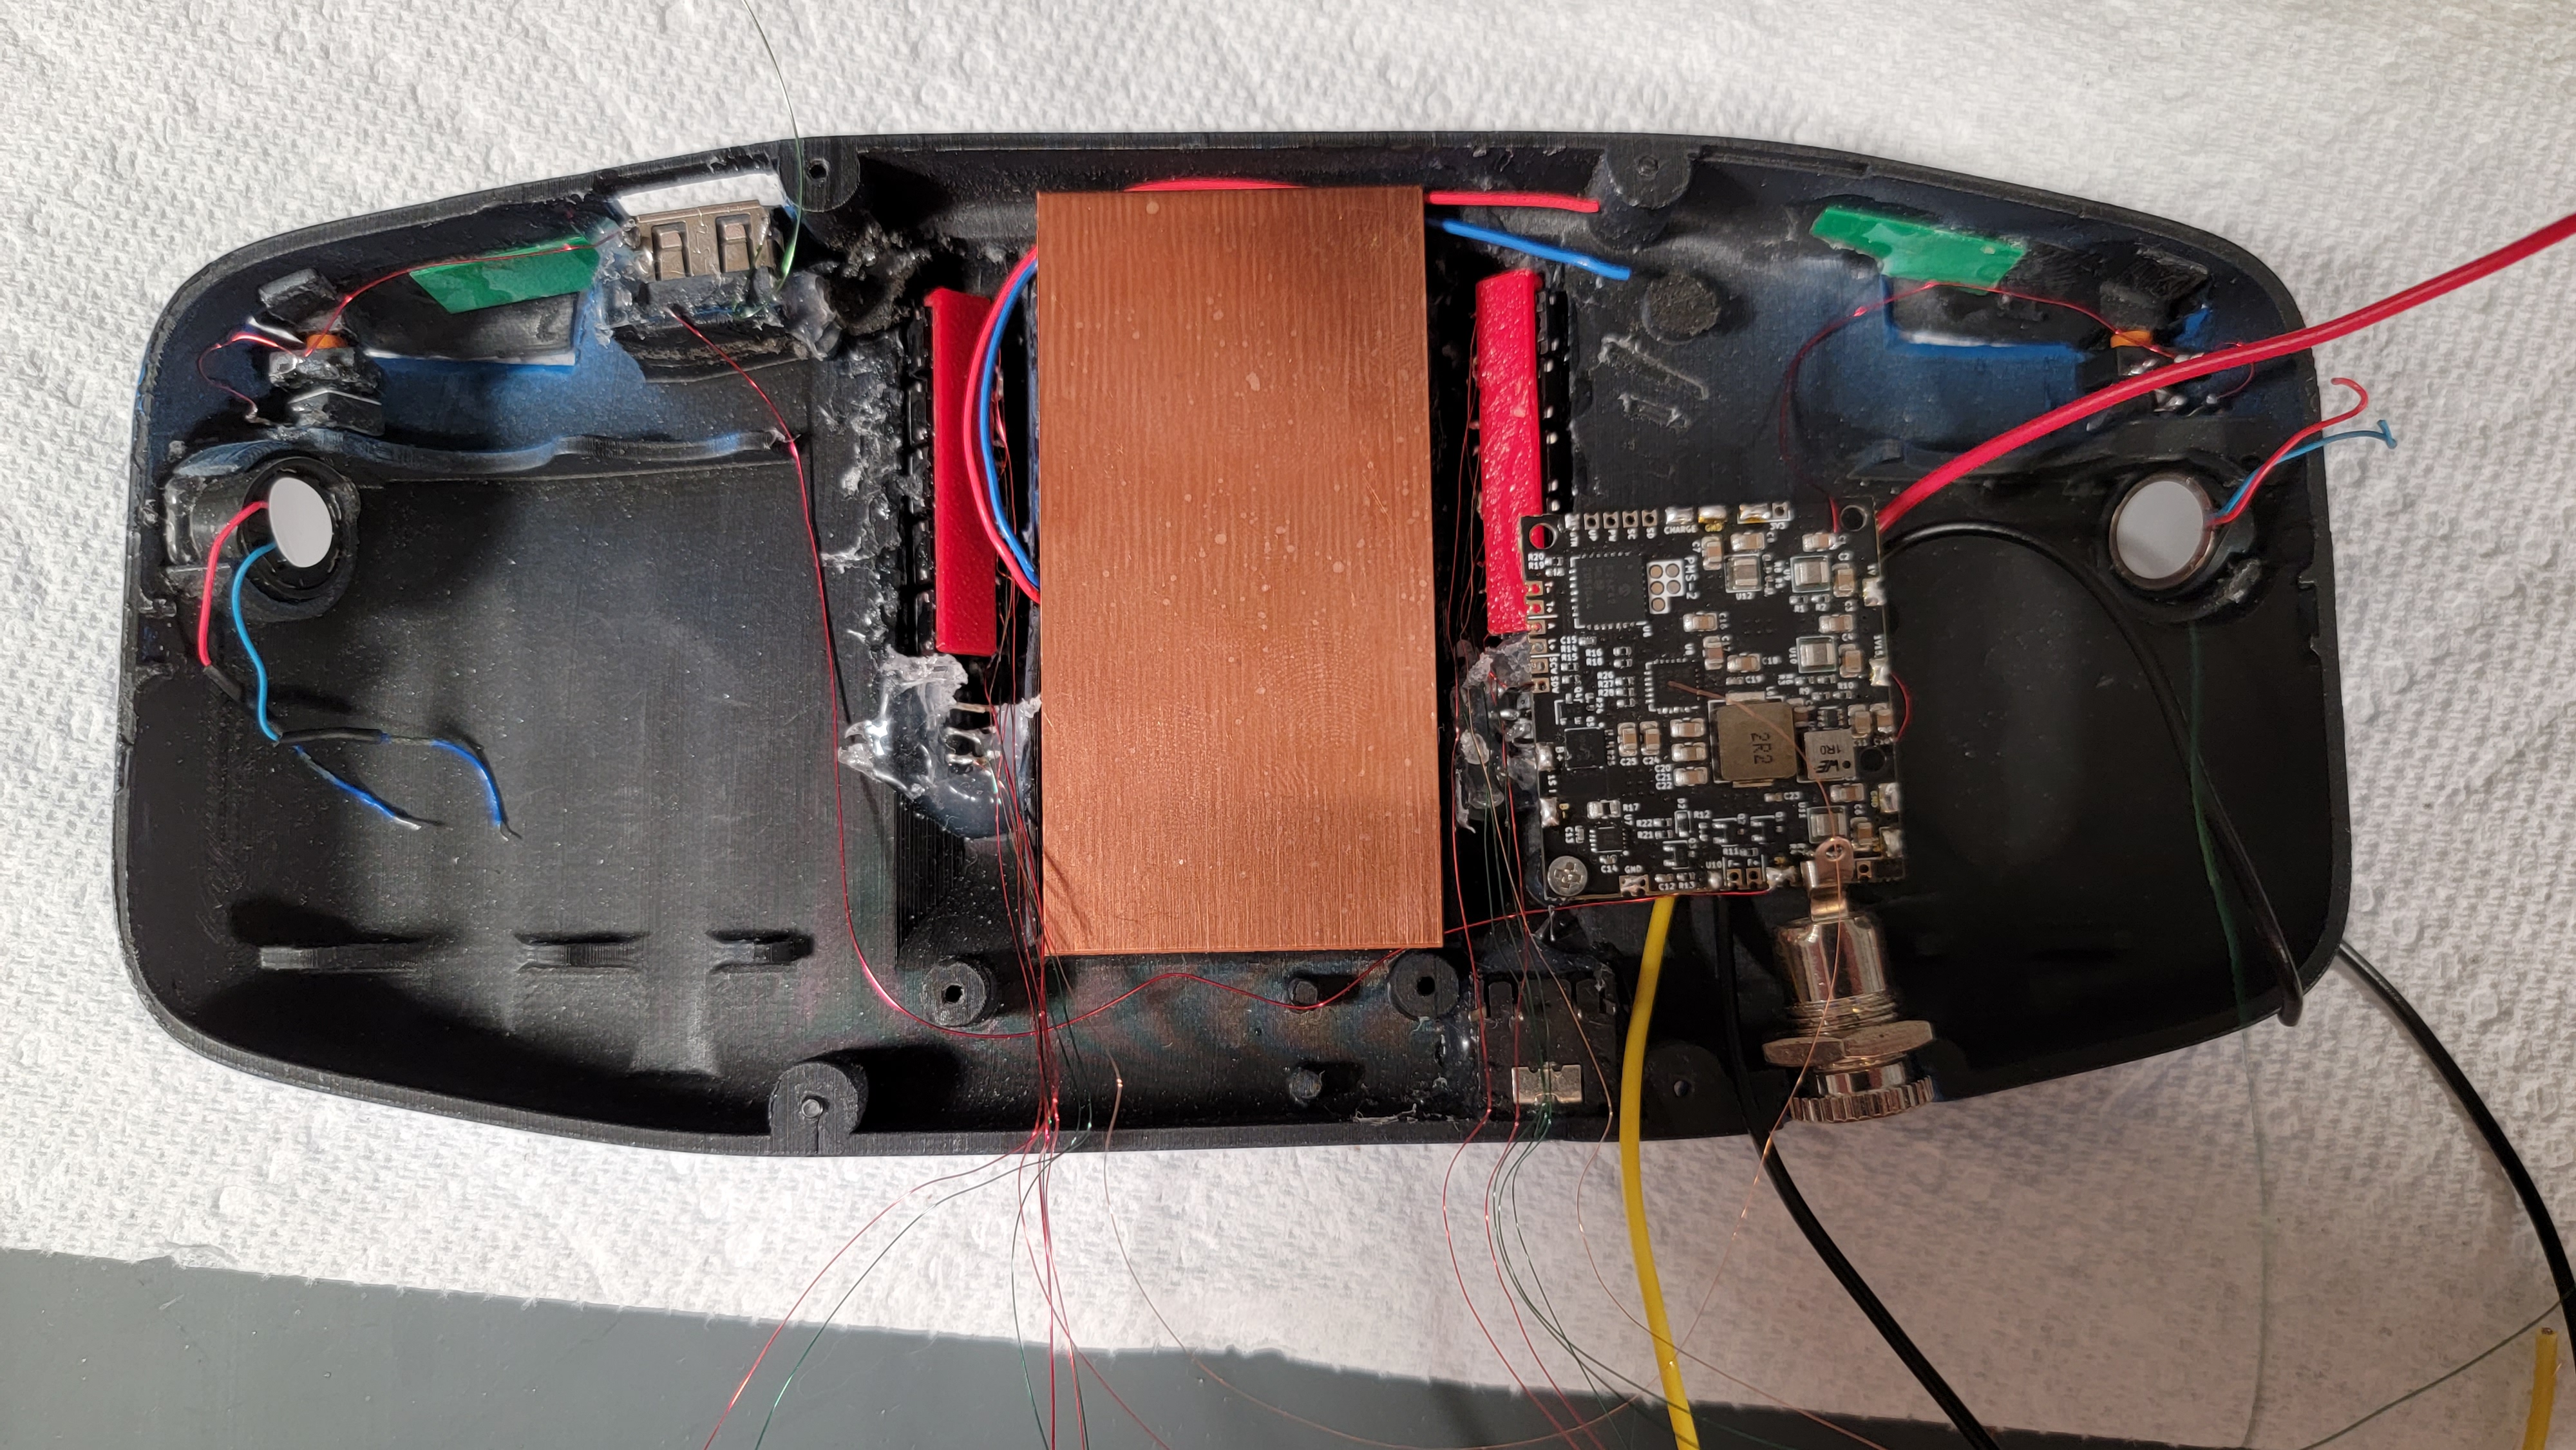
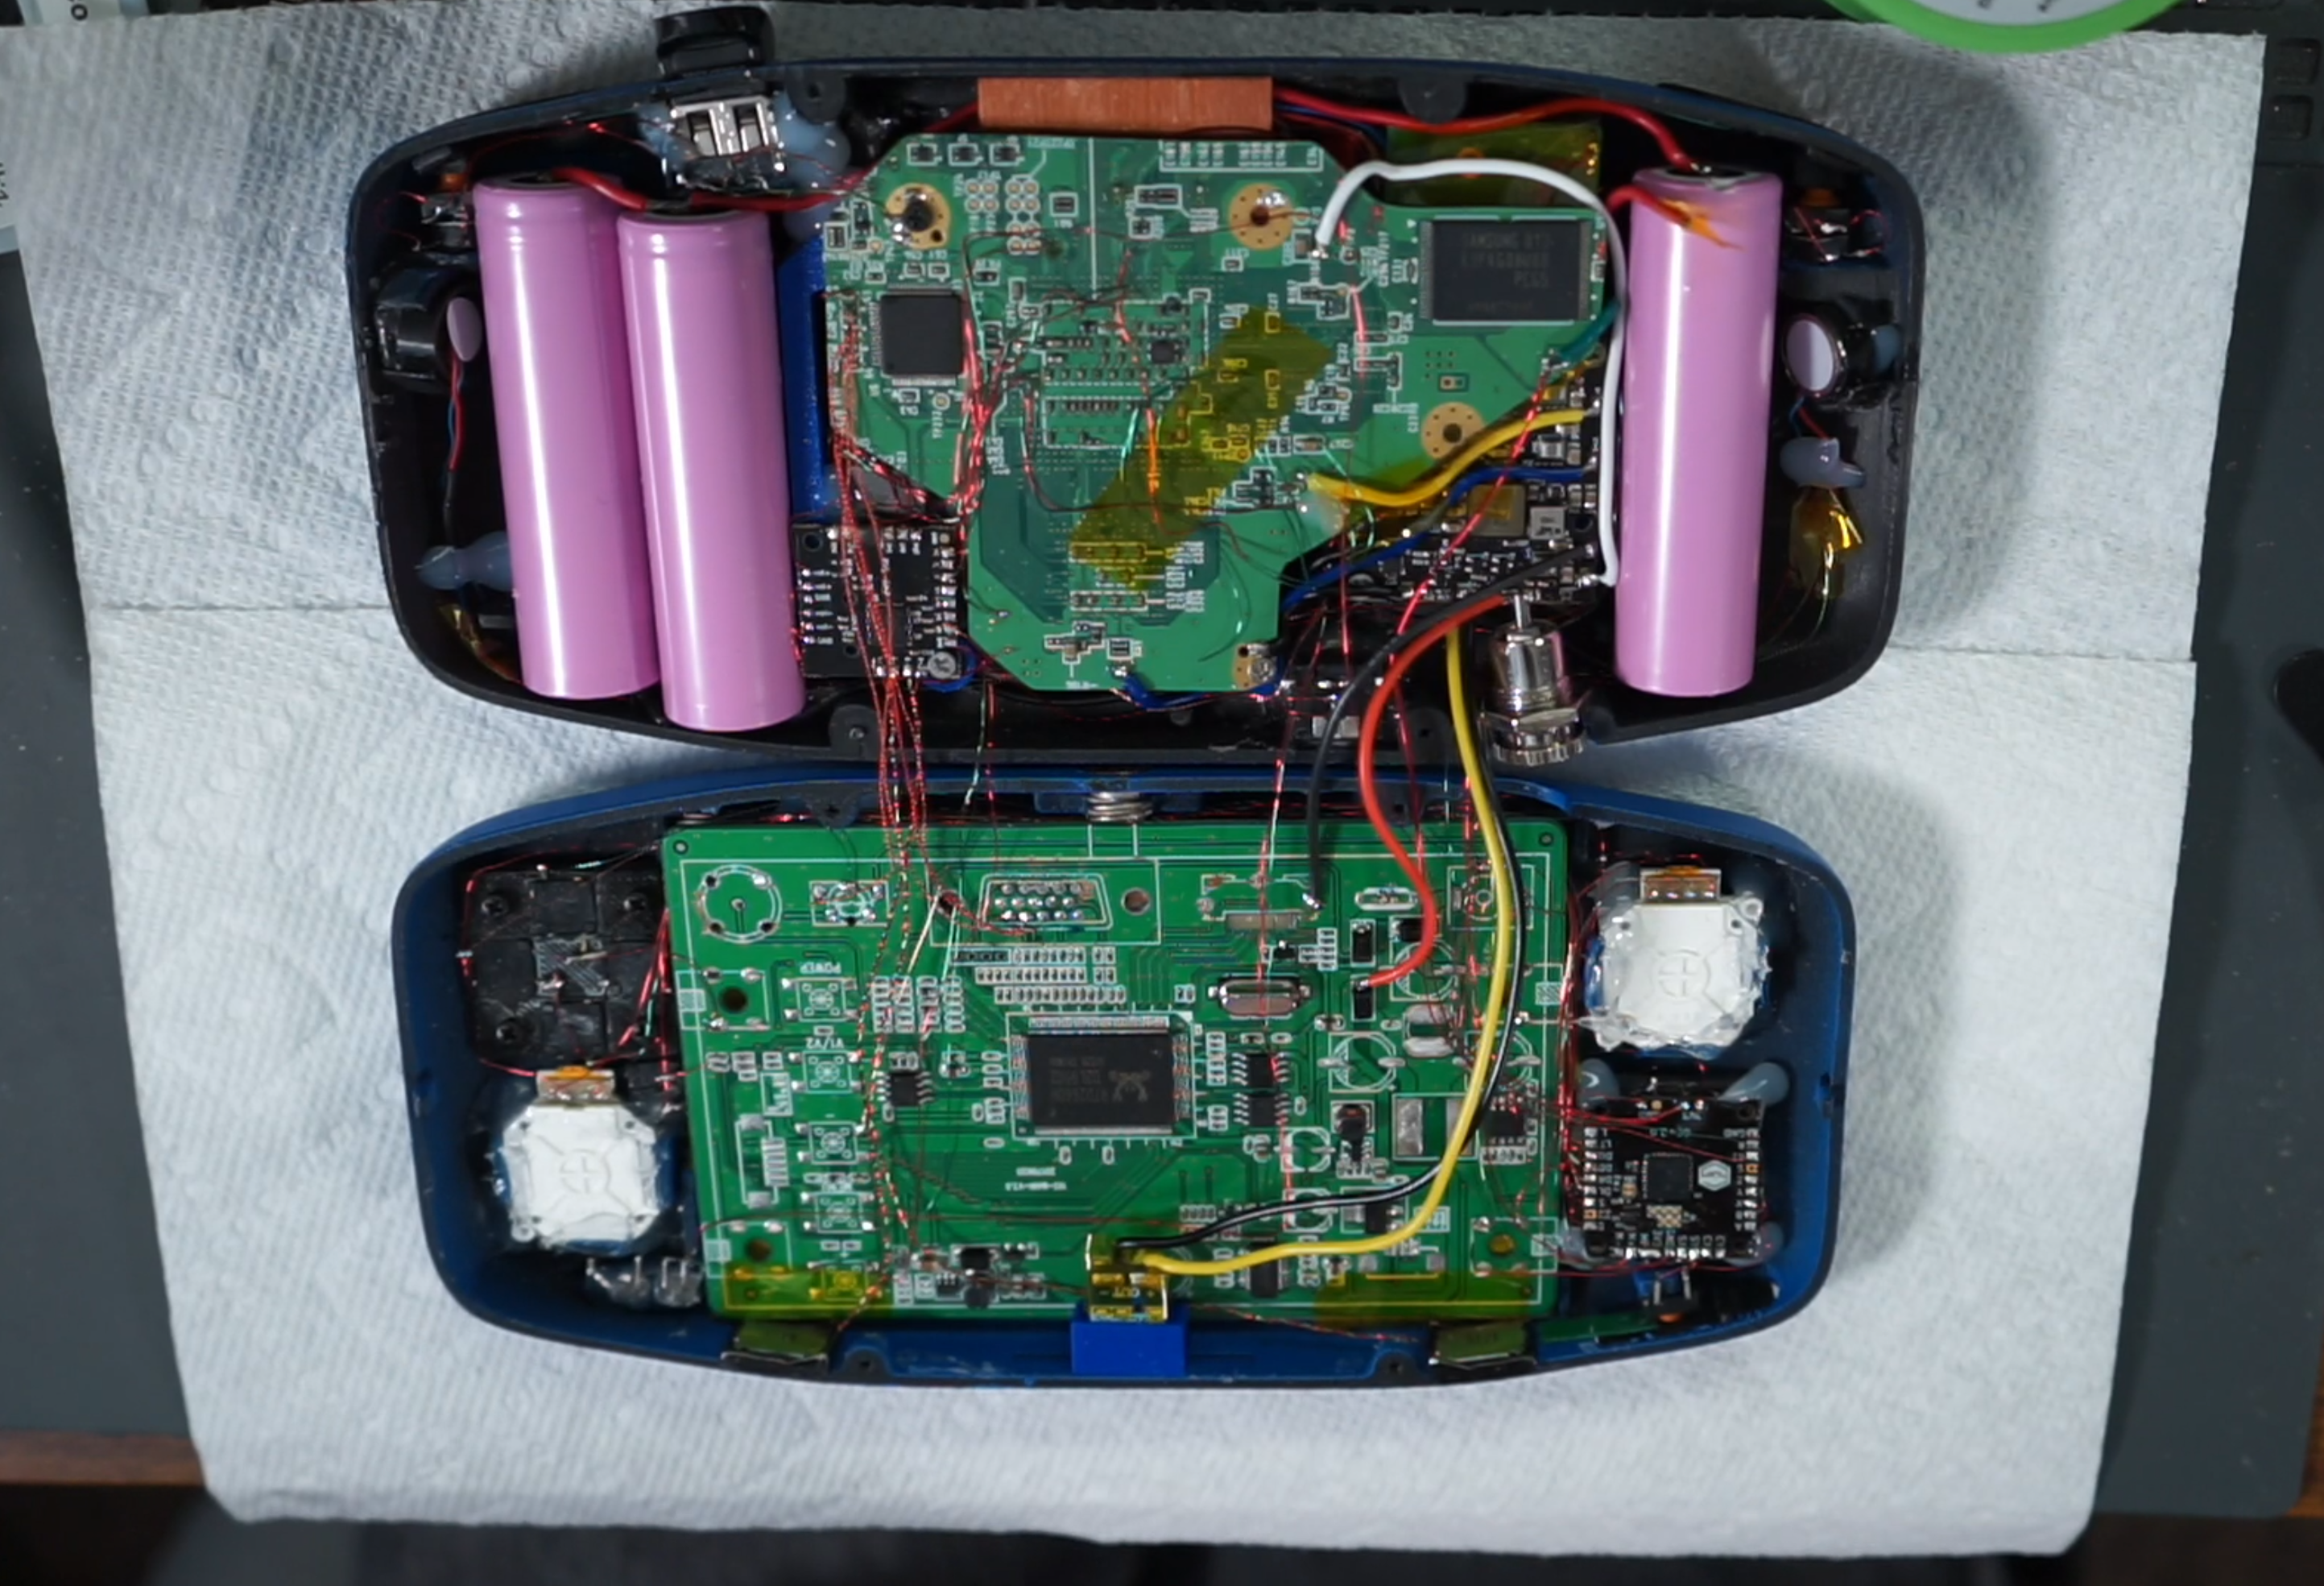
And the finalish internals. Ended up having to relocate the clock on the driver board to get things to close properly, but that was pretty much the only issue.
Having to glue this many tact switches at this angle without getting them gummed up with super glue fuckin sucked. RIP to the 5 or so fallen sticky switches
Had to use the ole "hacksaw on the heatsink" trick to make it fit in the stubby cooling well.
Lots of glue for the MX mounts and BT. Designed some very hacky screwpost extensions for the PMS and the Wii, as I still have zero clue how Spencer intended the Wii motehrboard to be mounted in this guy.
Goofy Wii trim and RVL amp in place
Front half was reasonably straightforward, just the old "magnet wire it all together" method
And the finalish internals. Ended up having to relocate the clock on the driver board to get things to close properly, but that was pretty much the only issue.
Big thanks to @thedrew and @Wesk for putting a bunch of time into documenting undervolts for projects like this. And of course, a massive thanks to @Spencer Richardson for designing and painting this case, and being willing to sell it. This was a very fun build. Please come back to us Spencer, we miss your oddball organic designs and FDM printing wizardry.
Last edited: