- Joined
- Aug 6, 2018
- Messages
- 38
- Likes
- 40
So I completed my first portable project back in 2015 after 4 years of not knowing what I was doing and finally figuring things out, and I started this in 2014 as part of a competition on the Bacman forums but ran in to major case issues. I'll post a bunch of pictures here of my progress and such and then hopefully sometime soon I'll find the time and motivation to get this thing done!
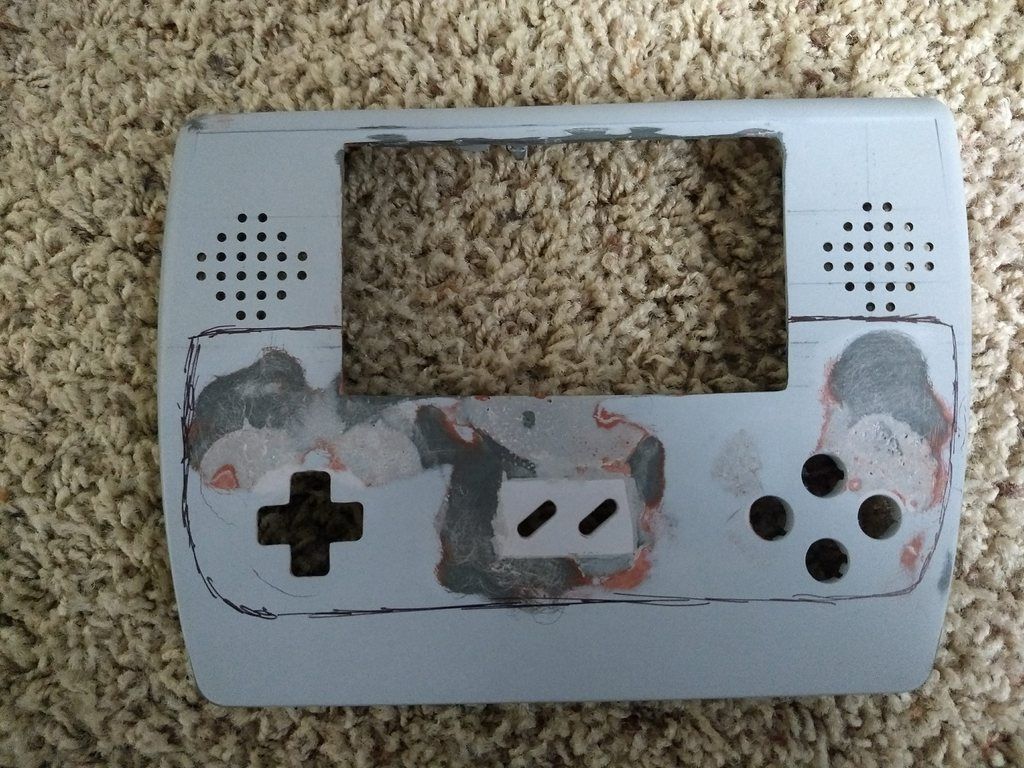
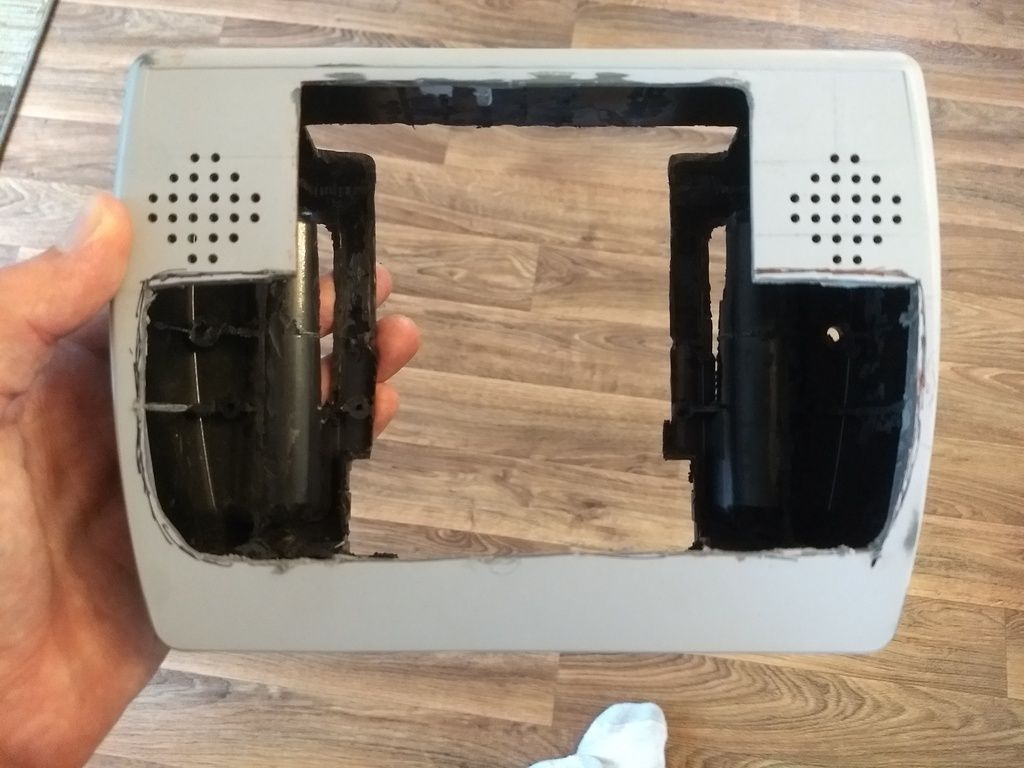
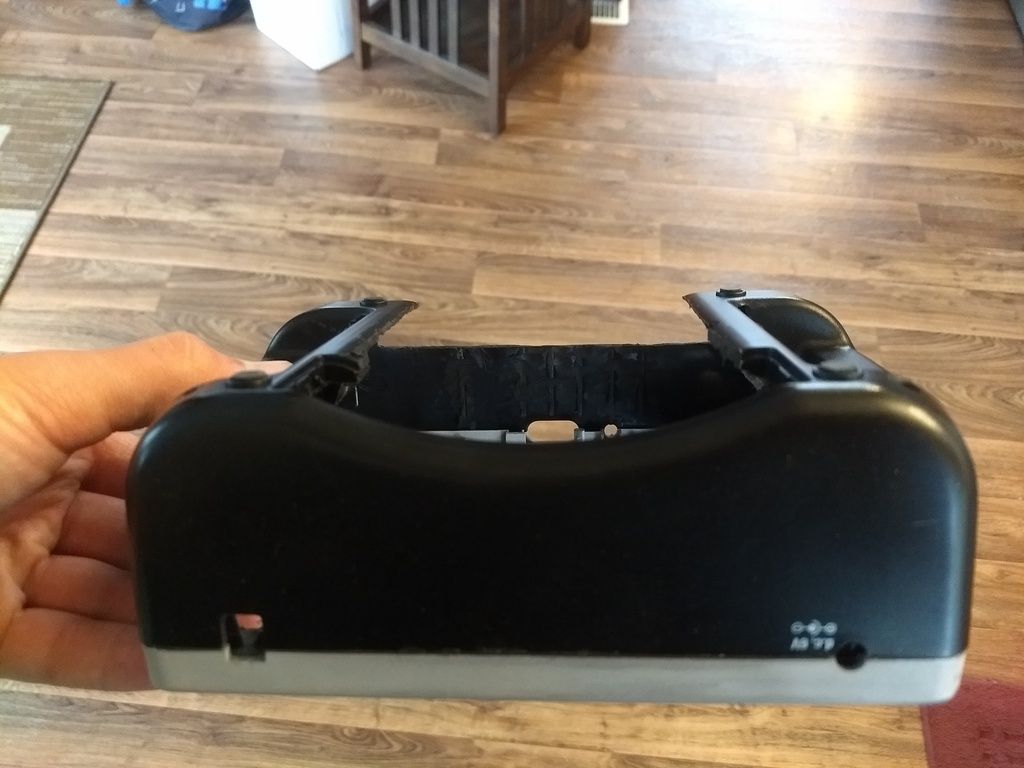
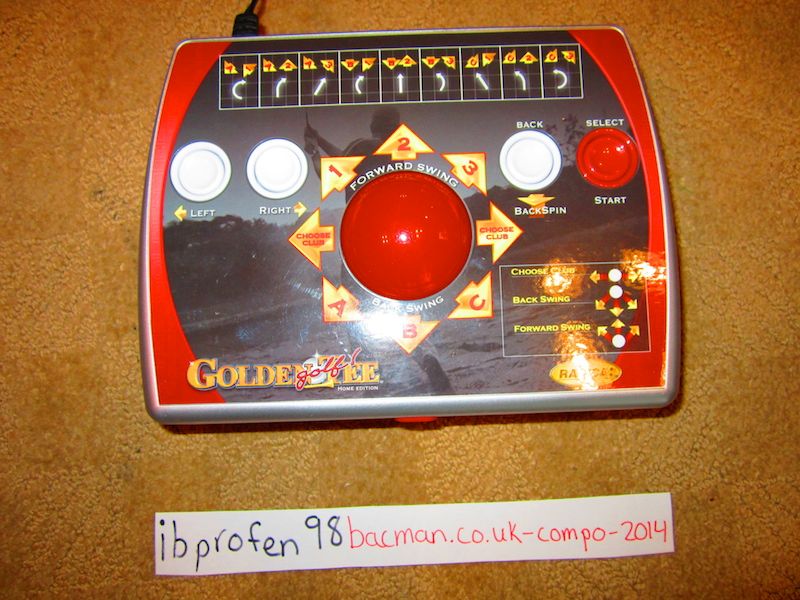
Case selection:
Some Electronics:
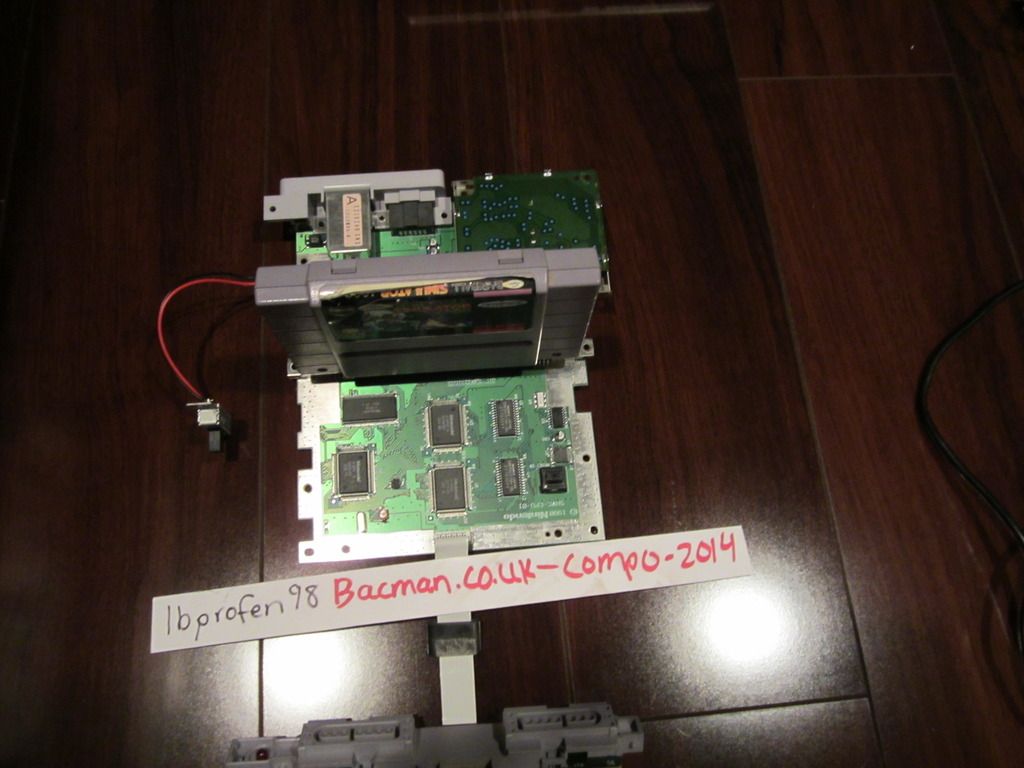
I found out after purchasing this SNES on ebay that certain models of it have a separate board for handling sound, that's what's on the top right of the system there. relocating that thing was tricky, but I did manage to do it, so all should be well!
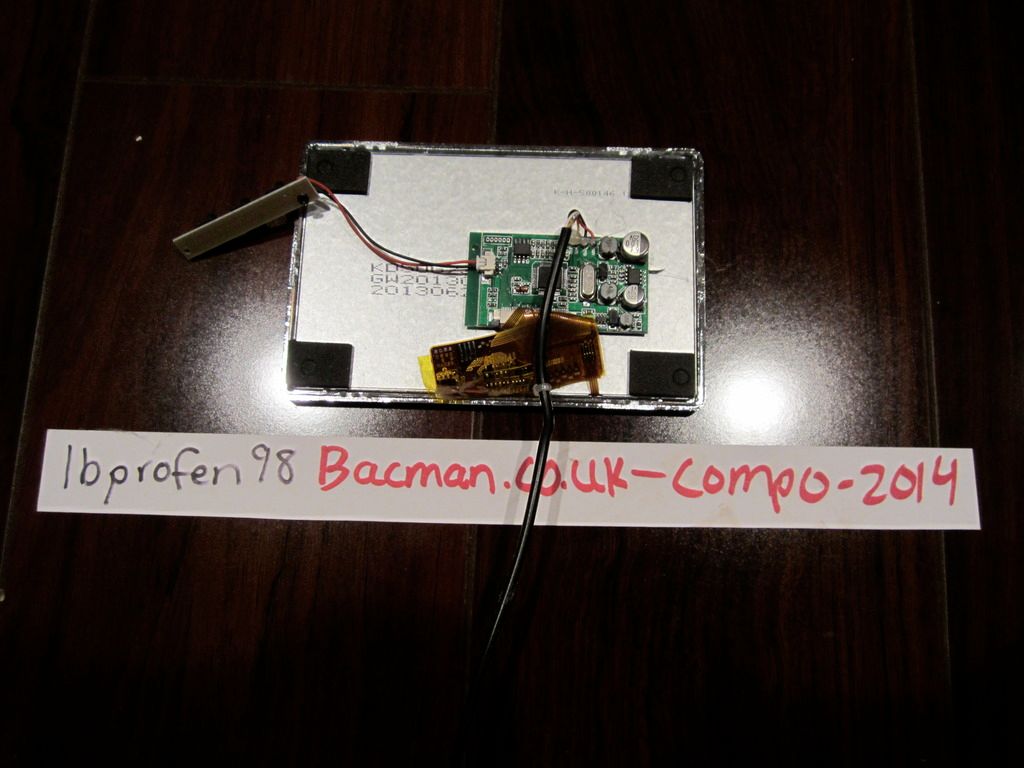
5" screen, personally don't want to use anything smaller than that on my portables, personal preference.")
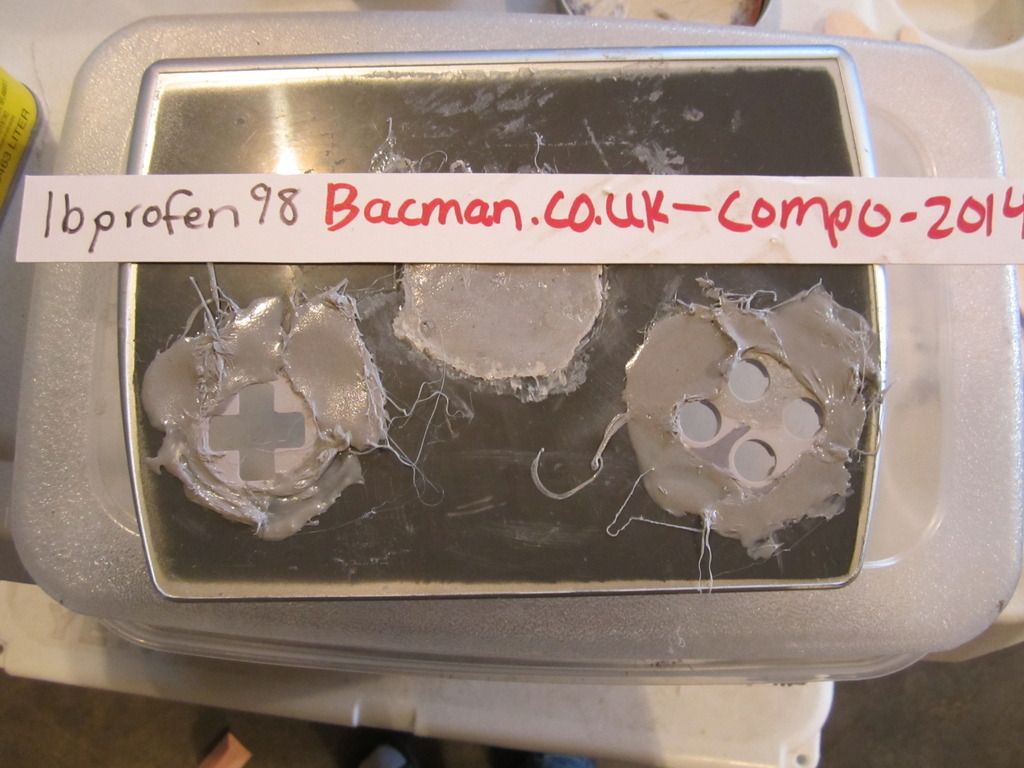
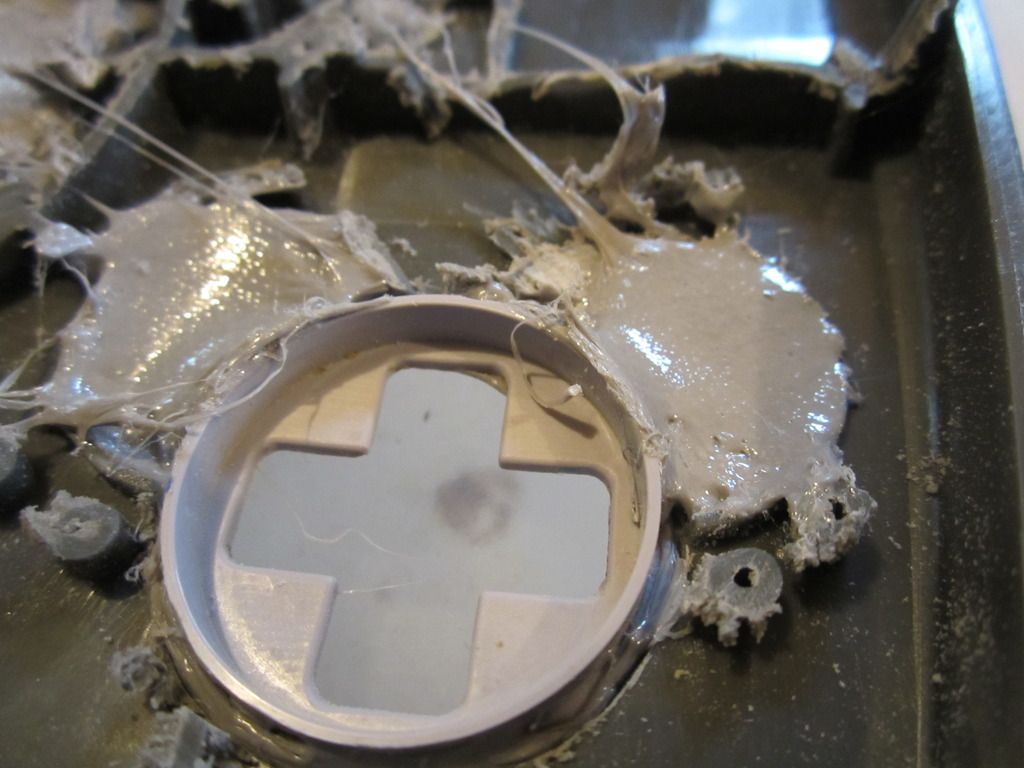
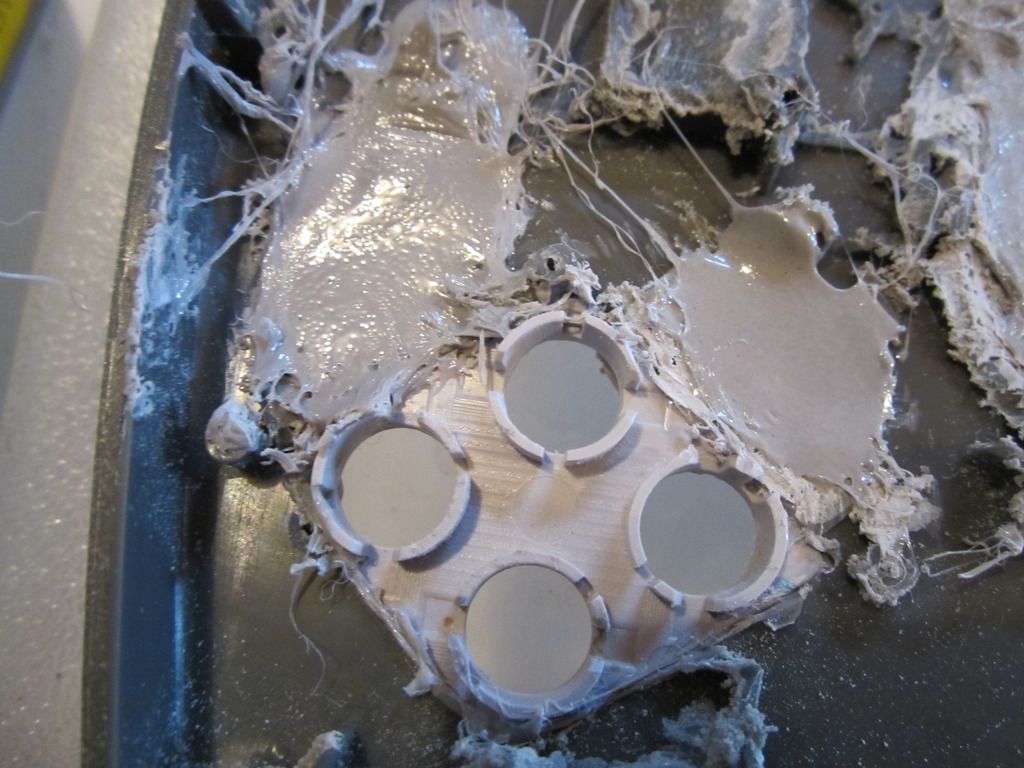
Beginning to Frankencase... This where all my trouble began. This part all worked out fine initially, the trouble came later. Decided to use the method of mixing ABS plastic bits and acetone to create a glue. Had never done that before.

As you can see, had lots of big holes and gaps to fill.
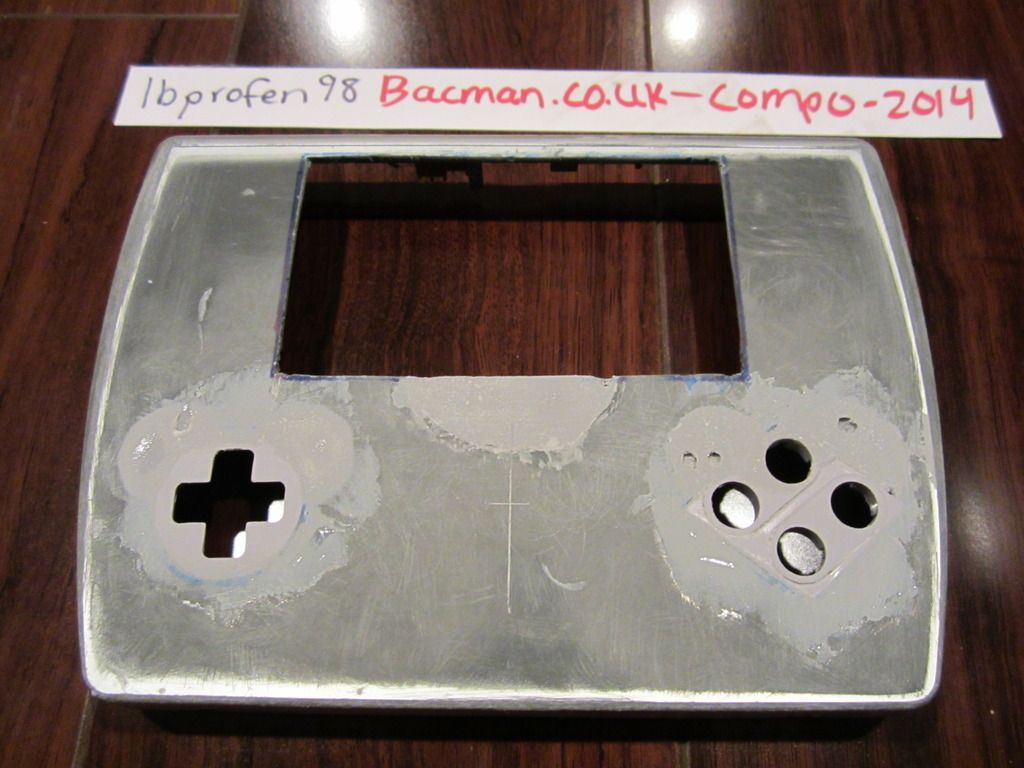
Pretty good case progress here, I was happy with how things were looking!
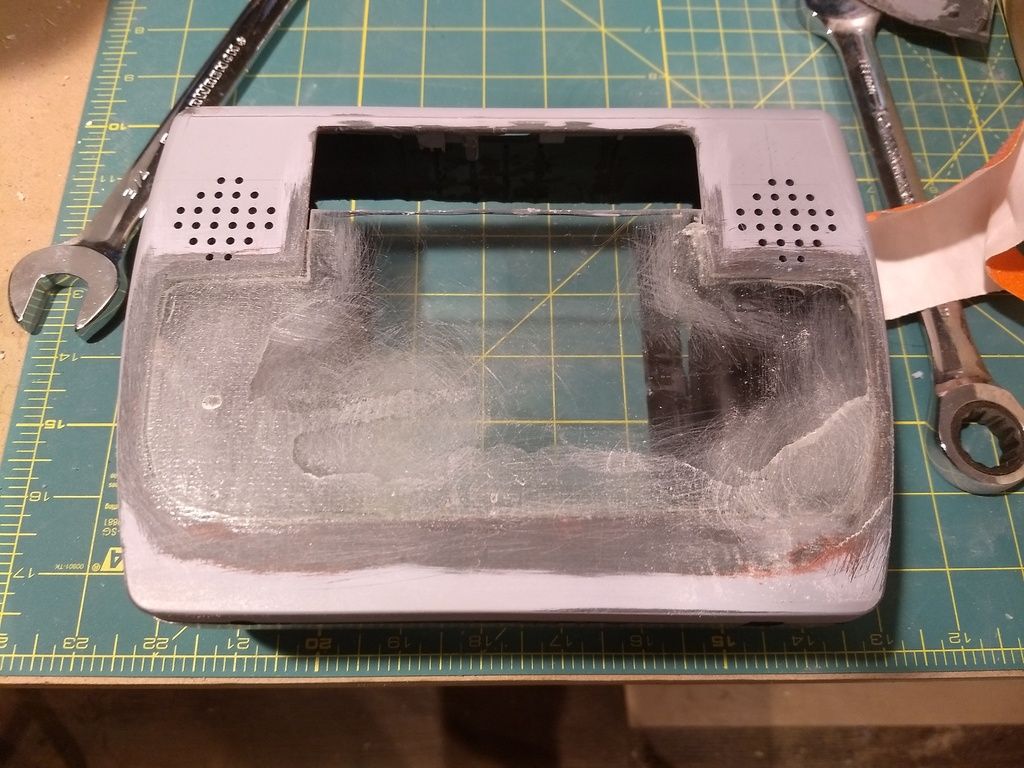
First coat of primer or so. I was really going for sleek and good looking this time around, so I wanted to nail the case. I kept having problems with bubbles from my fill job cropping up, so I knew I had a lot more spot puttying and sanding to do.
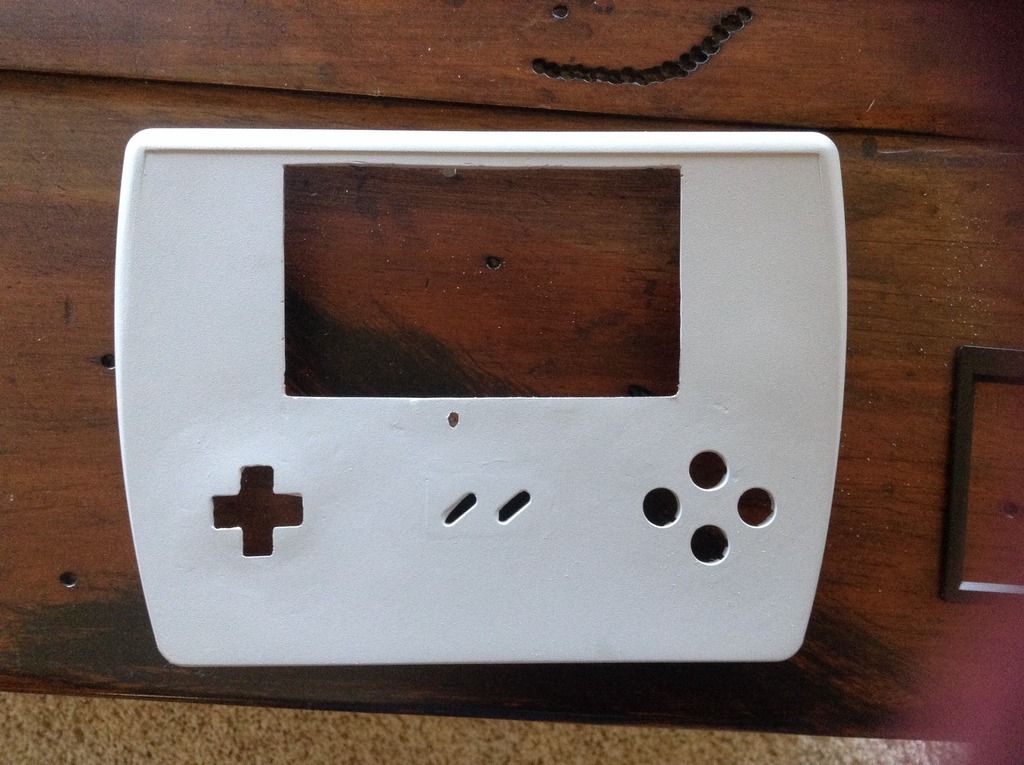
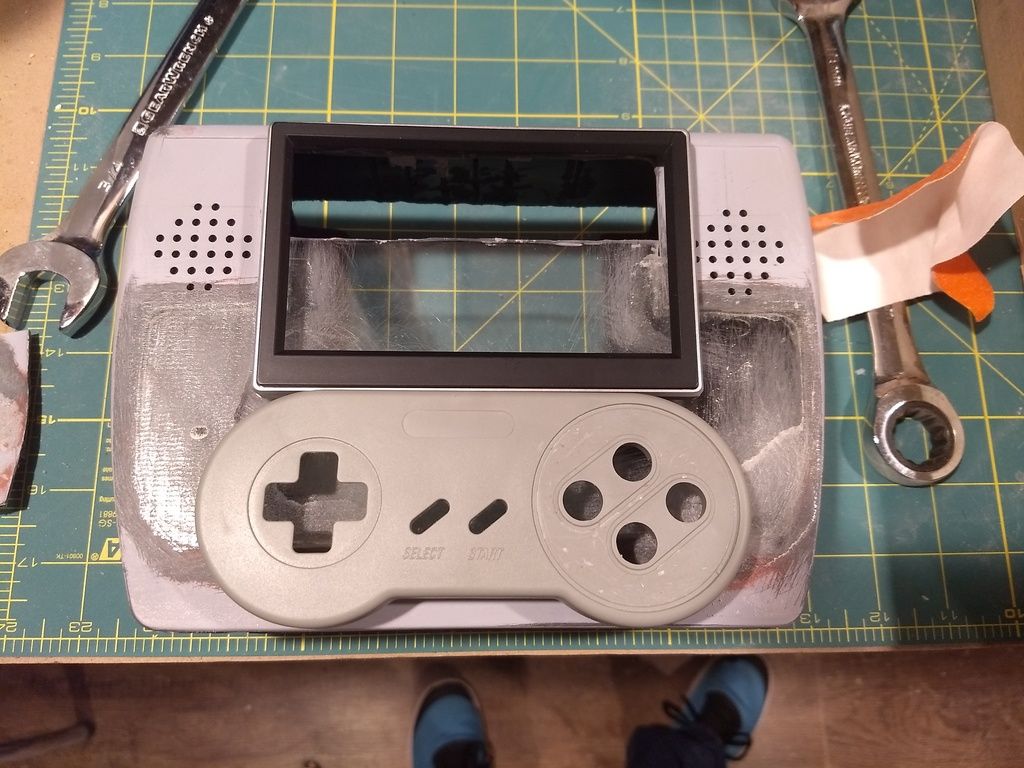
Case looking very nice to me, everything going great! Got my speaker holes, start and select, it was all coming together!
Hole cut for cartridge slot:
Mockup of cartridge placement and a little peripheral for AV out and external controller ports:

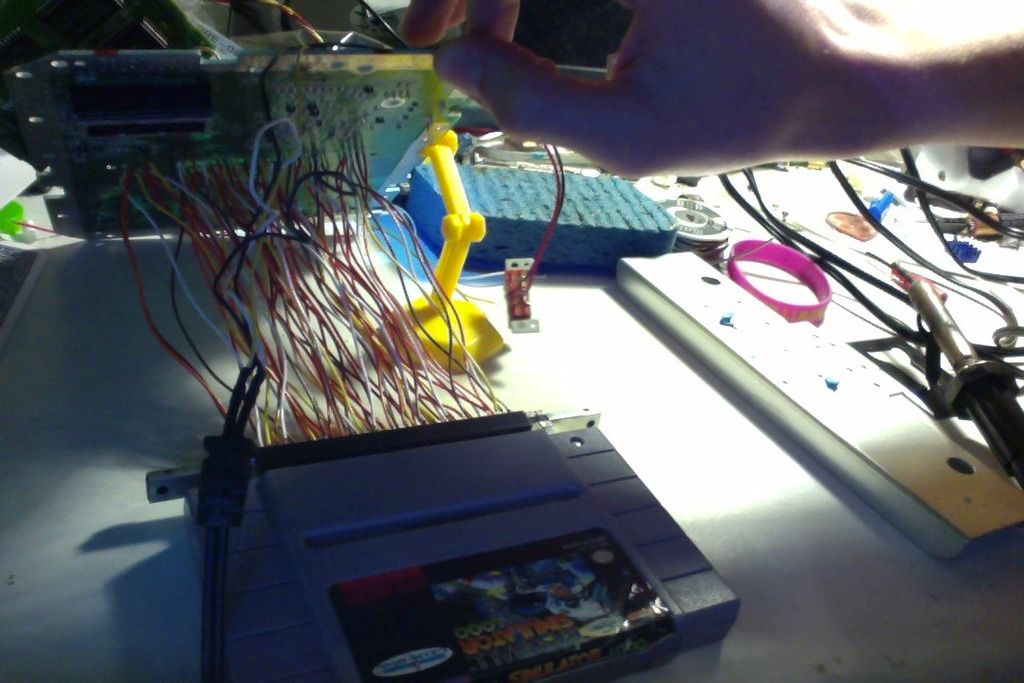
Electronics being handled:

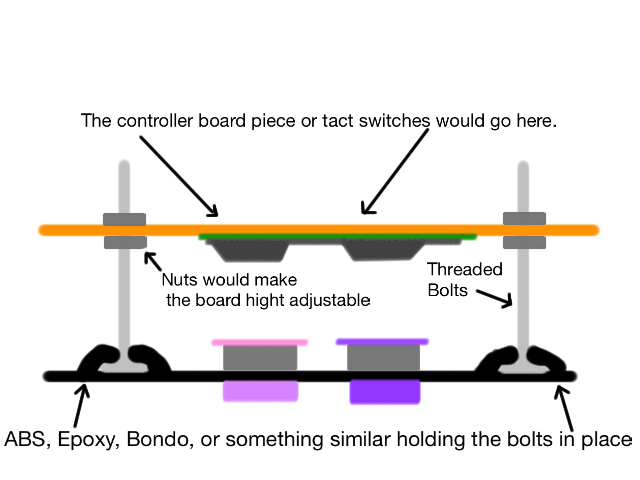
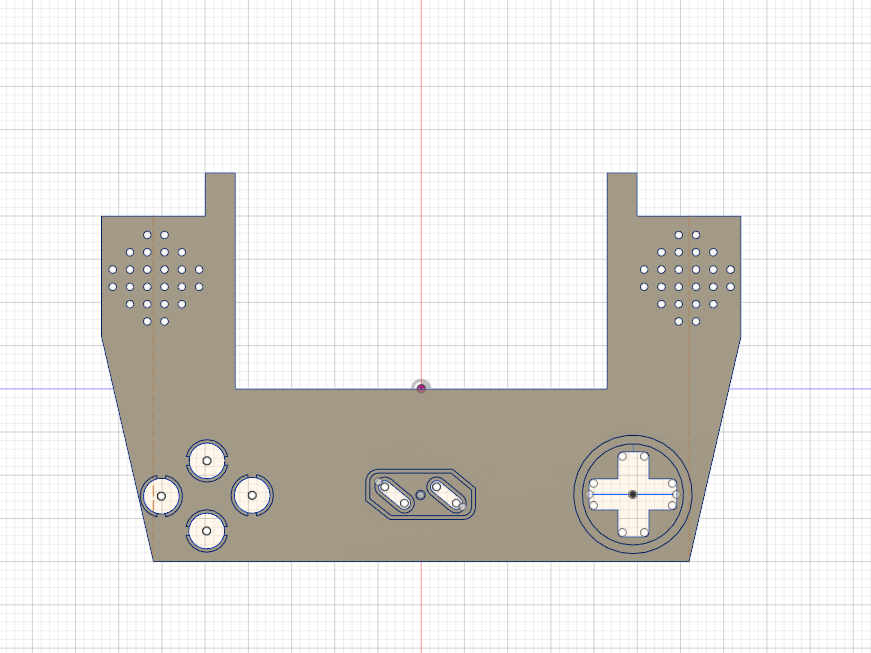
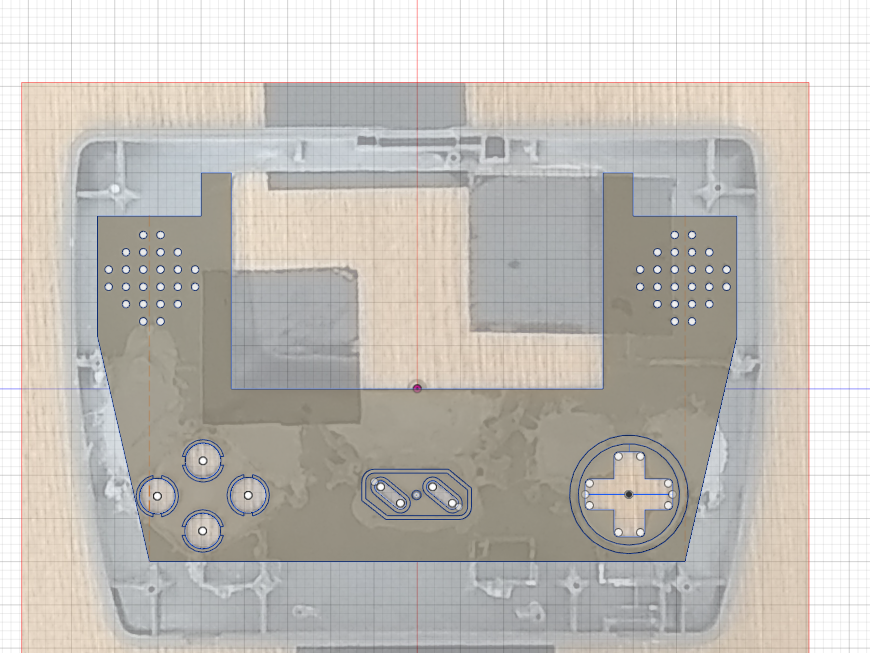
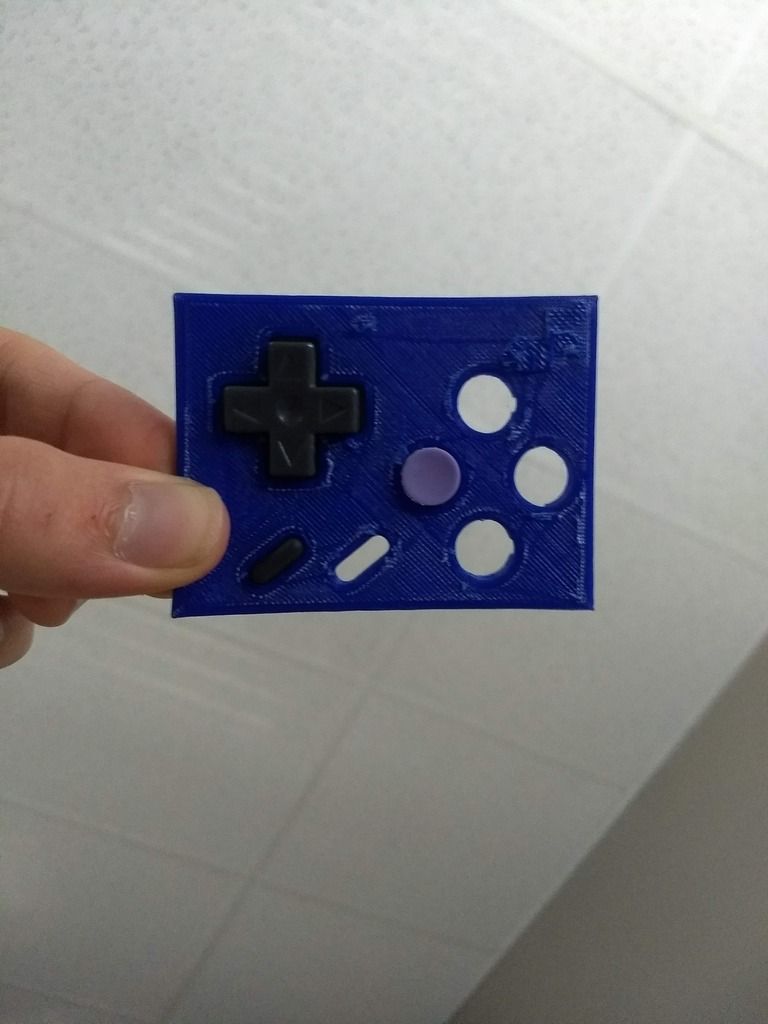
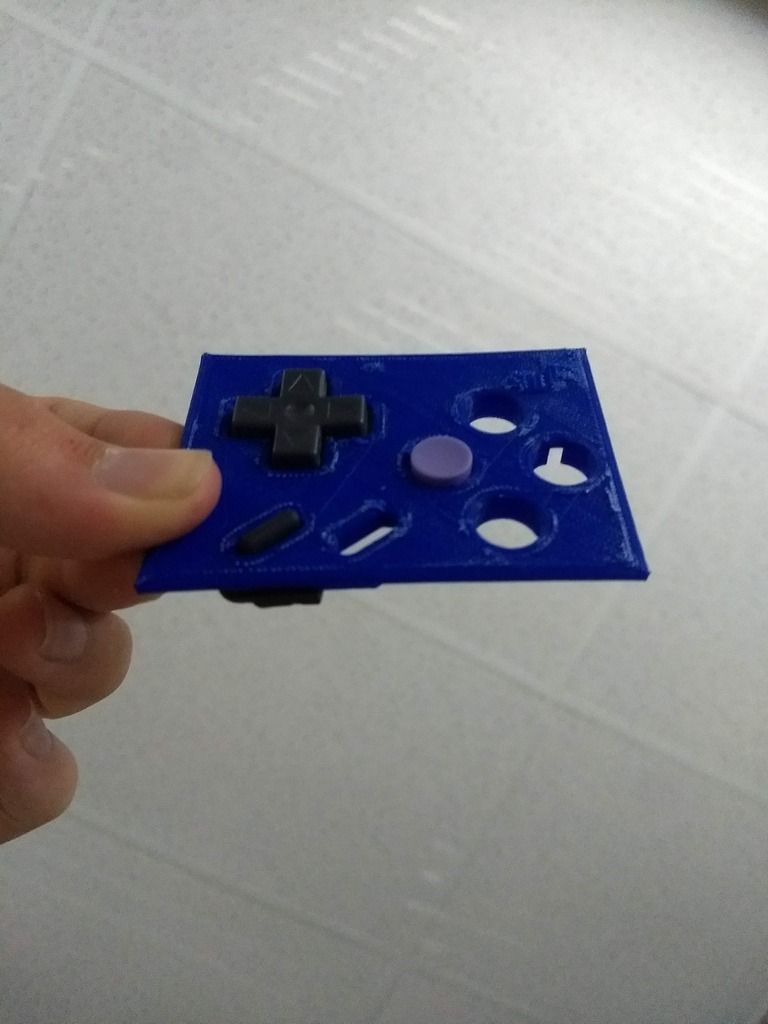
A plan for button instalation. It sucked on my last portable, wanted something more sturdy and reliable:
SNES cartridge relocation is exhausting!!! So many pins!!!
I don't have a pictures, but with the two relocations done and all that, I did test it and it booted and ran connected to my 5" screen. That's about where electronics stopped because then this happened:
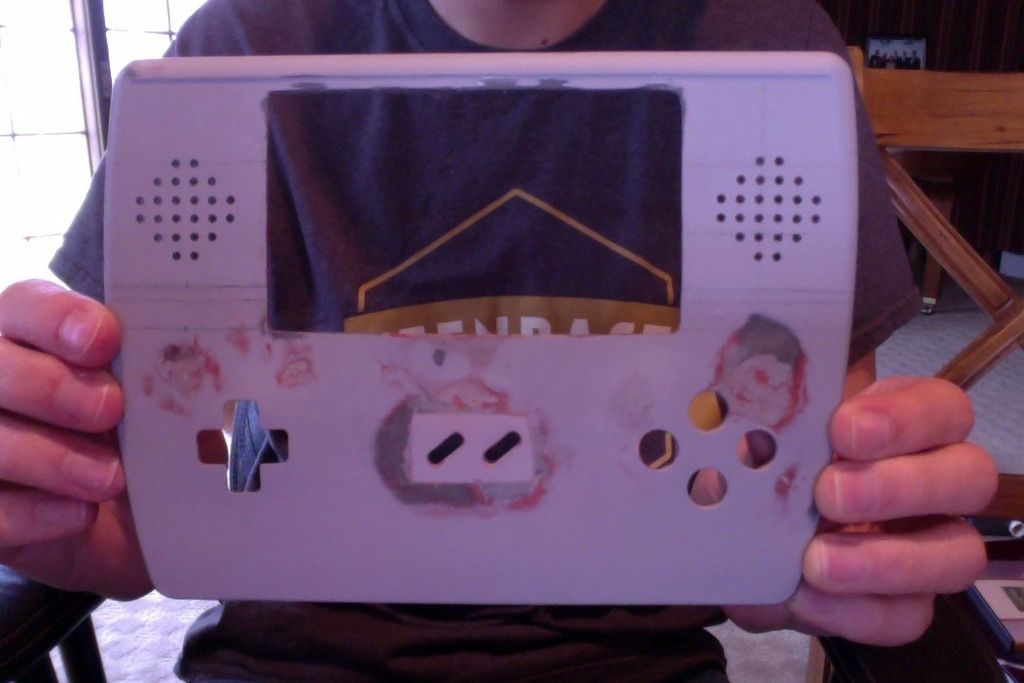
Yep, case cracking. I had noticed that after my fill in job the case was a little warped, but I just figured that once everything was installed and held in place it would be fine. But the issue ended up being that ABS/Acetone mix I used. I either had it way too thin or did something else wrong, because it fundamentally destroyed the structural integrity of the case. So after all that case work and it looking so good I Didn't know what to do. So here it sits, unfinished. I'm considering having a friend 3D print a front face for the case, my printer is too small and also isn't very reliable. I don't think that cutting out the front of it and replacing it is the way to go, I think it needs total replacement. So that's progress so far, guys! Any input or suggestions would be great, thanks for reading! We'll see when I can get this project going again!
Case selection:
Some Electronics:
I found out after purchasing this SNES on ebay that certain models of it have a separate board for handling sound, that's what's on the top right of the system there.
relocating that thing was tricky, but I did manage to do it, so all should be well!
5" screen, personally don't want to use anything smaller than that on my portables, personal preference.
Beginning to Frankencase... This where all my trouble began. This part all worked out fine initially, the trouble came later. Decided to use the method of mixing ABS plastic bits and acetone to create a glue. Had never done that before.
As you can see, had lots of big holes and gaps to fill.
Pretty good case progress here, I was happy with how things were looking!
First coat of primer or so. I was really going for sleek and good looking this time around, so I wanted to nail the case. I kept having problems with bubbles from my fill job cropping up, so I knew I had a lot more spot puttying and sanding to do.
Case looking very nice to me, everything going great! Got my speaker holes, start and select, it was all coming together!
Hole cut for cartridge slot:
Mockup of cartridge placement and a little peripheral for AV out and external controller ports:
Electronics being handled:
A plan for button instalation. It sucked on my last portable, wanted something more sturdy and reliable:
SNES cartridge relocation is exhausting!!! So many pins!!!
I don't have a pictures, but with the two relocations done and all that, I did test it and it booted and ran connected to my 5" screen. That's about where electronics stopped because then this happened:
Yep, case cracking. I had noticed that after my fill in job the case was a little warped, but I just figured that once everything was installed and held in place it would be fine. But the issue ended up being that ABS/Acetone mix I used. I either had it way too thin or did something else wrong, because it fundamentally destroyed the structural integrity of the case. So after all that case work and it looking so good I Didn't know what to do. So here it sits, unfinished. I'm considering having a friend 3D print a front face for the case, my printer is too small and also isn't very reliable. I don't think that cutting out the front of it and replacing it is the way to go, I think it needs total replacement. So that's progress so far, guys! Any input or suggestions would be great, thanks for reading! We'll see when I can get this project going again!


 But we don't have a very good selection of thrift stores, especially when it comes to video games and the like.