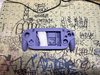
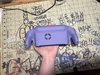
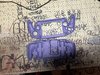
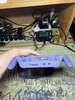
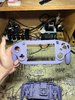
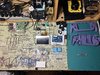
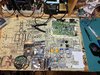
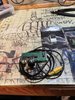
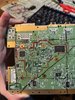
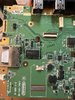
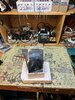
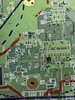
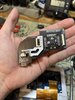
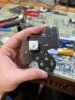
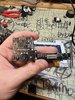
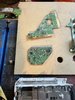
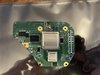
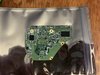
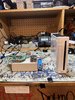
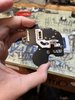
Don’t got much yet. My Wii has been homebrewed for 3 years now waiting for me to finally gather the strength. Well I am now just waiting for the parts to deliver and I did make a little breakout board to hopefully make troubleshooting easier. Plus I laid out my trim for the ashida. The black is where I plan on ending the cut/sand and the red is the no go past zone. I think it’s right, I excluded U5 since I’m using the PMS-2 it’s no longer needed. Well please enjoy and if you have any advice or criticisms it would be greatly appreciated (especially on the trim, it scares me)
Attachments
-
 4.1 MB Views: 14
 -
 2.1 MB Views: 8
 -
 2.3 MB Views: 14
 -
 1.5 MB Views: 15
 -
 2.4 MB Views: 13


")