
Hi everyone
so this is my first portable here and i hope not the last one i been trying to build a Nintendo 64 portable for years and when i first started i didn't know anything about wires or battery's or anything so it was hard at the beginning but after watching some pictures from forums and other people's projects i learned a lot,after failing to many times i almost gave up but i love the N64 and i wanted to had my own portable,i stopped for some time but now i'm back and this time i'm going to finish it.
the only bad news is that i lost some pictures that i took with my phone,one day my stupid phone decided not to work anymore and i forgot to save my all pictures in my computer so i'm gonna try to explain the best i can because english is not my first language")
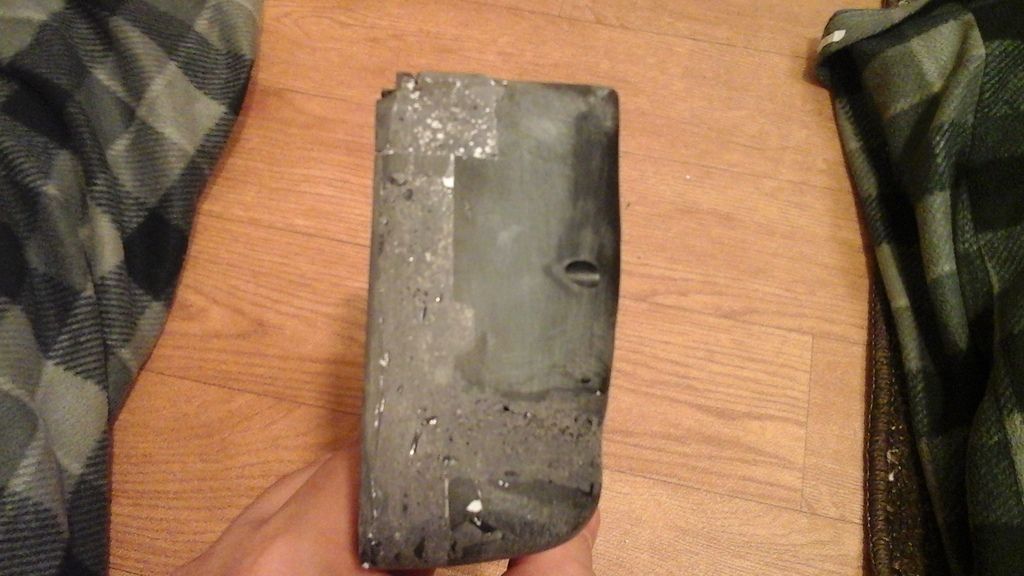
ok for the case i`m using the retro duo portable from retro bit,i bought one broken on ebay really cheap i try to fix but i couldn't and since it's a clone some of those come defective so i cut it and i make it 1/2 inch large and 1/2 inch thicker
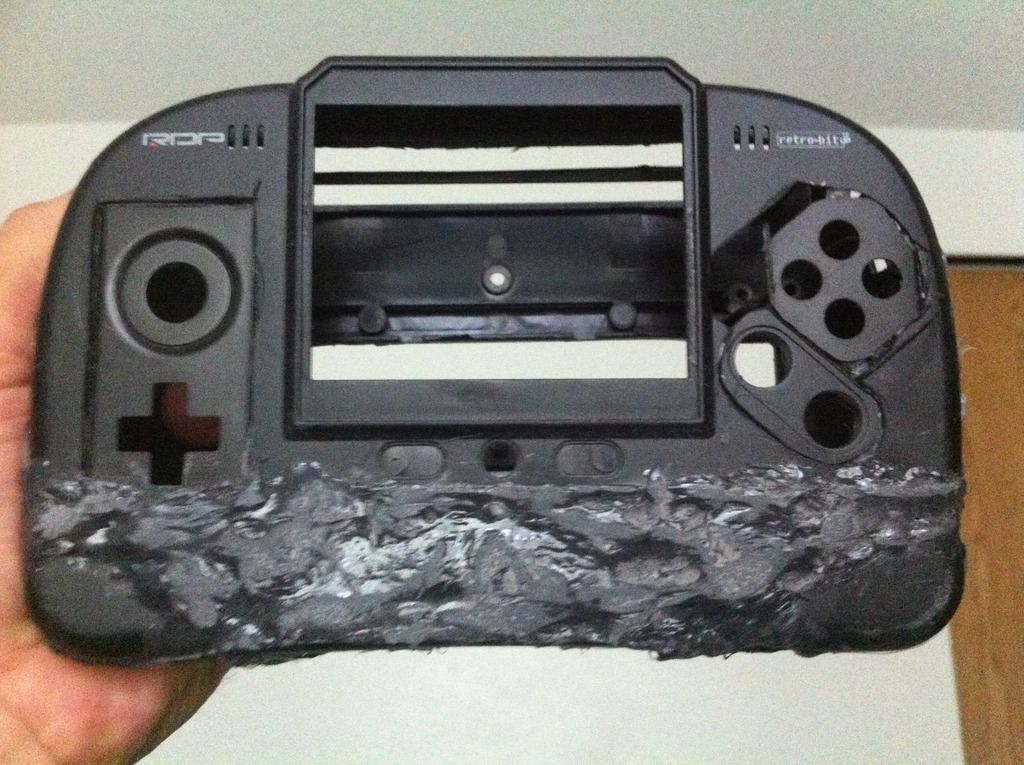
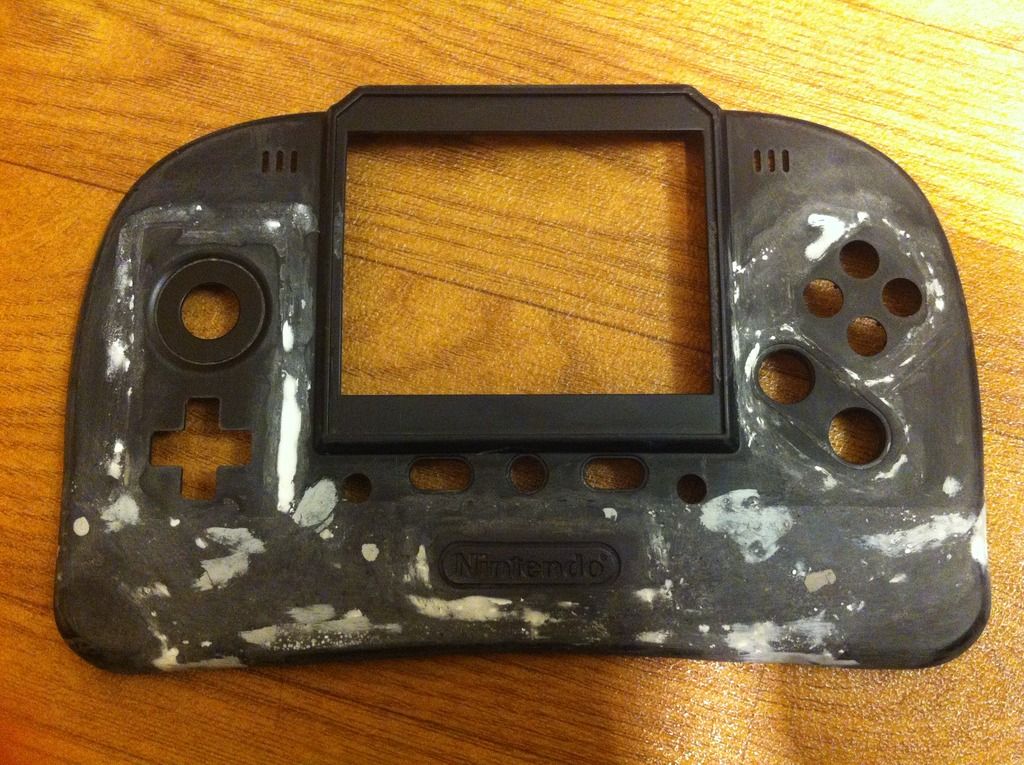
i'm using this pictures as reference to show you where i cut it because the picture that i took from the one i cut is one of those that i lost
so i cut the front of the case and the back too
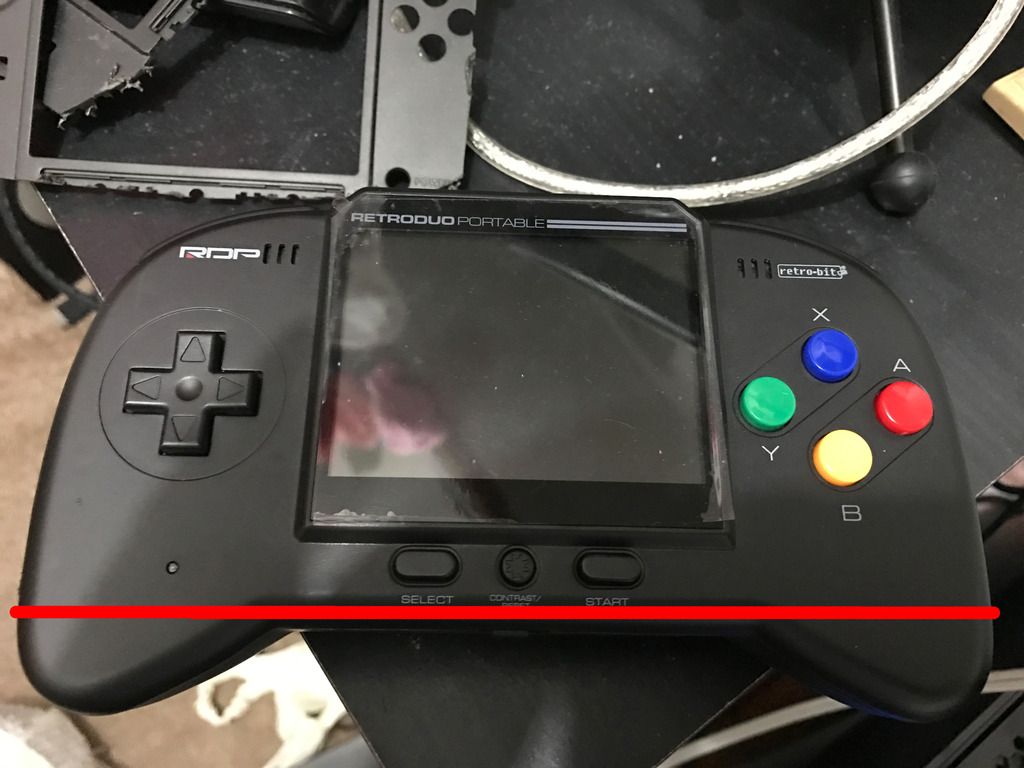
the next thing i did was cutting the top of the case from here
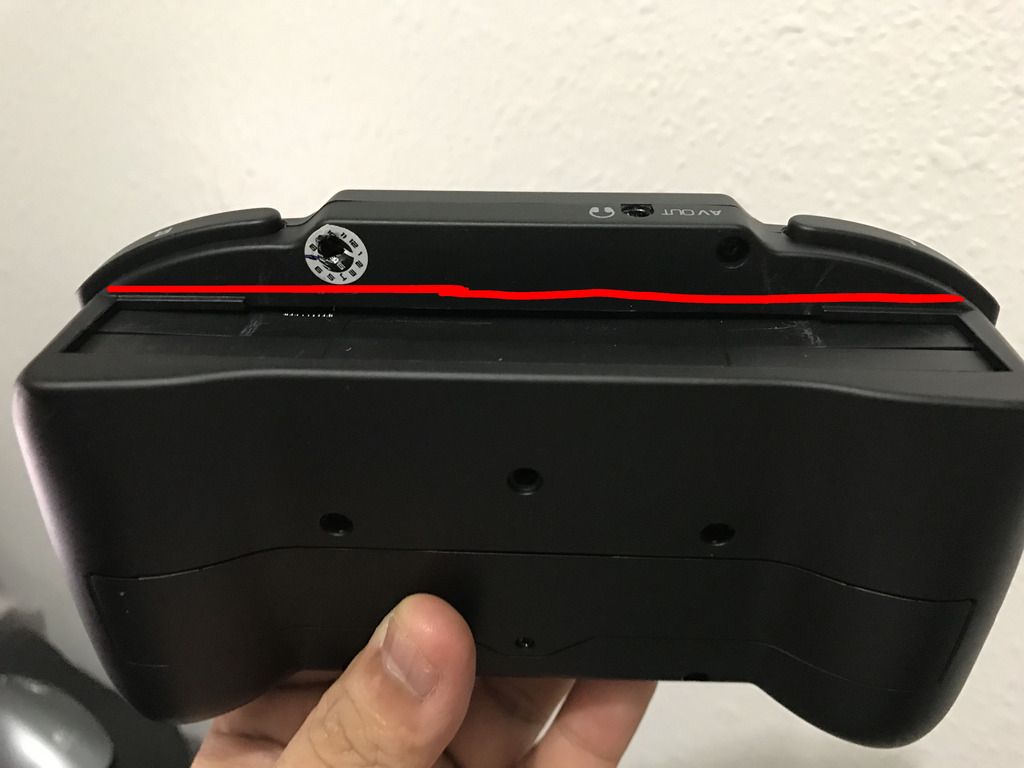
to here
To fill that empty space from the sides of the case i used the edges of the nintendo 3ds
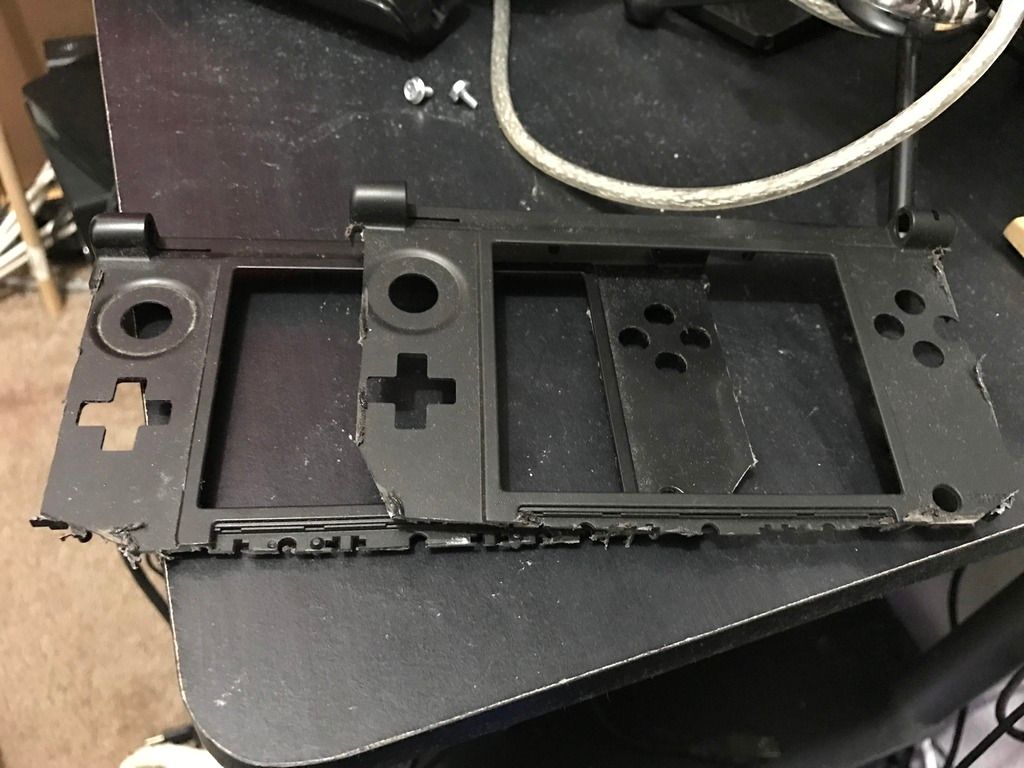
i did cut the edges of the 3ds from the middle and i used two half for each side of the retro case,i put one on top of the other one and then i glued them to the front of the case to make the curve that the retro has on both sides,after that i melted some abs with acetone and i put the melted plastic between the two edges but just from the inside of the case without touching the front case
after that i took the back of the retro case and then i glued it to the other side of the 3ds edges,i put more melted plastic between the two edges but this time in the outside and also touching the back case
i wish i could show you the pictures but i lost those too
i waited for 4 days for the plastic to get hard ,once it was hard enough i remove the front case and i start to sand it the sides of the back of the case
heres a picture after i sand it the sides
you can see where the two plastic join
and this other picture i used the air vents of the nintendo console to cover the hole on top but also to make my own air vents because i'm not using a fan on this one

there was a big gap in the front and back of the case and again i used melted plastic to fill the gap
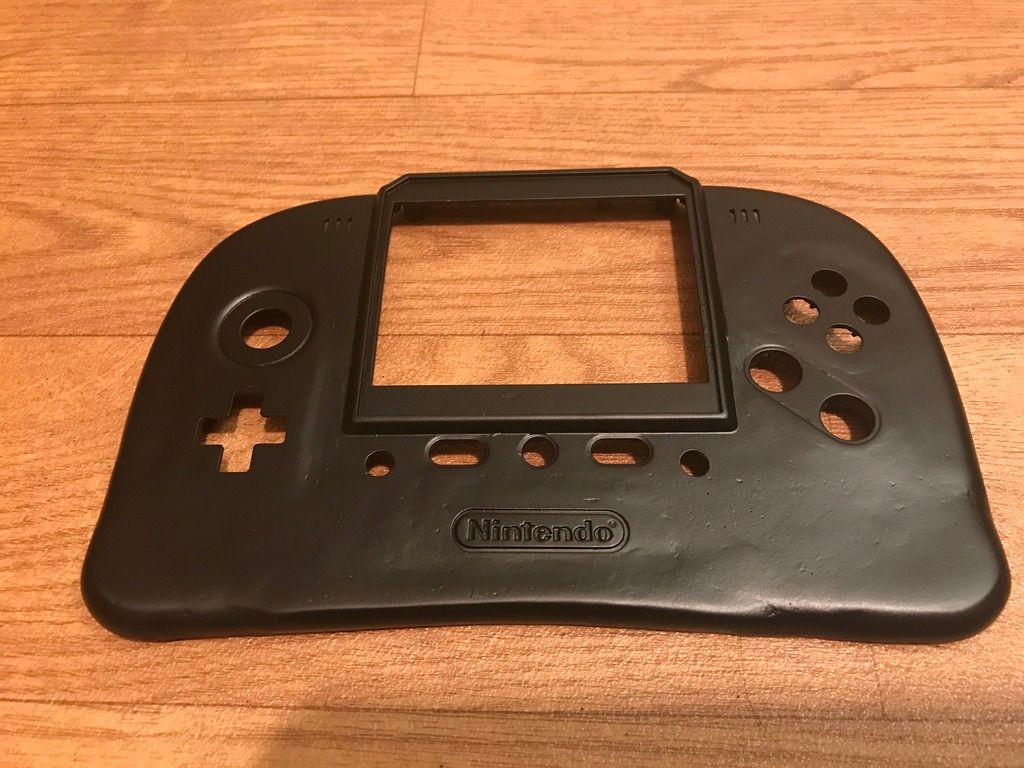
you can see here i already have the 3ds parts and also im keeping two of the original buttons
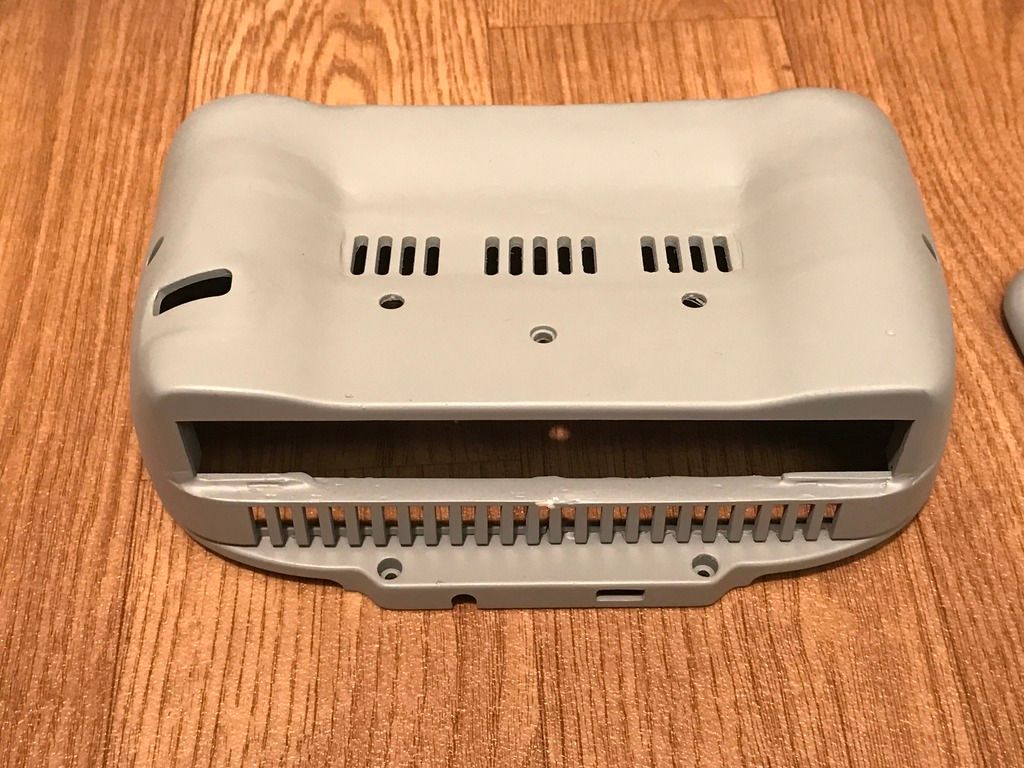
here's the back of the case
and here after i sand it also the z button

it didn't look too pretty so what i did is the i melted more abs plastic but this time i put more acetone to make the plastic more liquid and with a brush i put a thin layer,i wait for 15 minutes and sand it,i put another layer of plastic and sant it again,i did this like five times and the result was amazing
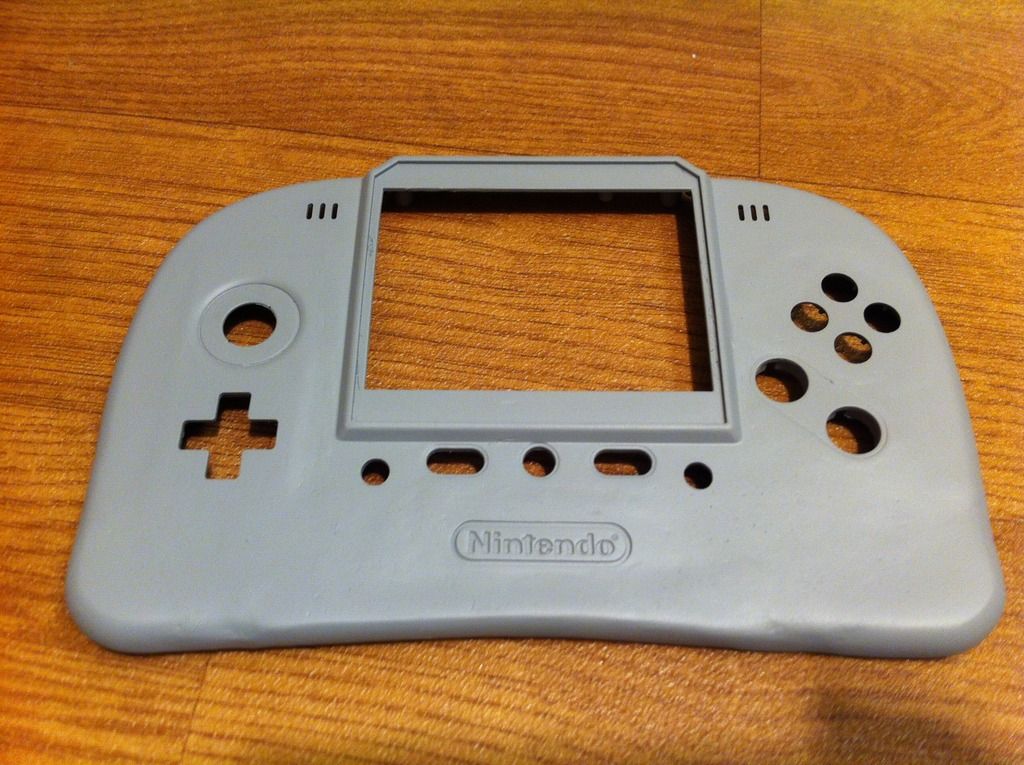
here you can see how smooth it looks,also i made more air vents and i used more melted plastic
front case with nintendo logo
almost forgot to mention im using the original screen from the retro duo,it's not too bad besides i don't have to instal the headphone jack because is already in it
back to the case
here are the two pieces with prime
they're not perfect but that's what it makes them unique
today i painted the case

i know that i could have worked a little more on the case but im happy with the results
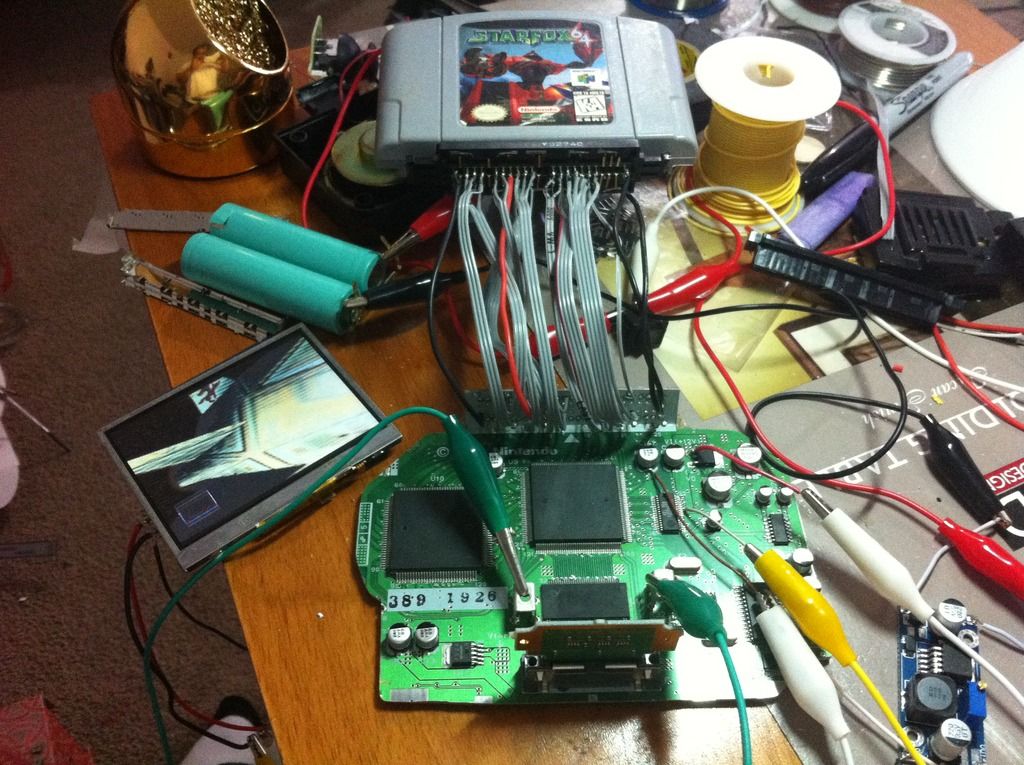
here is my nintendo 64 board
this is all i have for now sorry if i haven't posted anything before but i thought i wasn't gonna make it this far
I hope I have explained the whole process well
i'll keep posting more once i finish with the board and the rest
so this is my first portable here and i hope not the last one i been trying to build a Nintendo 64 portable for years and when i first started i didn't know anything about wires or battery's or anything so it was hard at the beginning but after watching some pictures from forums and other people's projects i learned a lot,after failing to many times i almost gave up but i love the N64 and i wanted to had my own portable,i stopped for some time but now i'm back and this time i'm going to finish it.
the only bad news is that i lost some pictures that i took with my phone,one day my stupid phone decided not to work anymore and i forgot to save my all pictures in my computer so i'm gonna try to explain the best i can because english is not my first language
ok for the case i`m using the retro duo portable from retro bit,i bought one broken on ebay really cheap i try to fix but i couldn't and since it's a clone some of those come defective so i cut it and i make it 1/2 inch large and 1/2 inch thicker
i'm using this pictures as reference to show you where i cut it because the picture that i took from the one i cut is one of those that i lost
so i cut the front of the case and the back too
the next thing i did was cutting the top of the case from here

to here

To fill that empty space from the sides of the case i used the edges of the nintendo 3ds

i did cut the edges of the 3ds from the middle and i used two half for each side of the retro case,i put one on top of the other one and then i glued them to the front of the case to make the curve that the retro has on both sides,after that i melted some abs with acetone and i put the melted plastic between the two edges but just from the inside of the case without touching the front case
after that i took the back of the retro case and then i glued it to the other side of the 3ds edges,i put more melted plastic between the two edges but this time in the outside and also touching the back case
i wish i could show you the pictures but i lost those too
i waited for 4 days for the plastic to get hard ,once it was hard enough i remove the front case and i start to sand it the sides of the back of the case
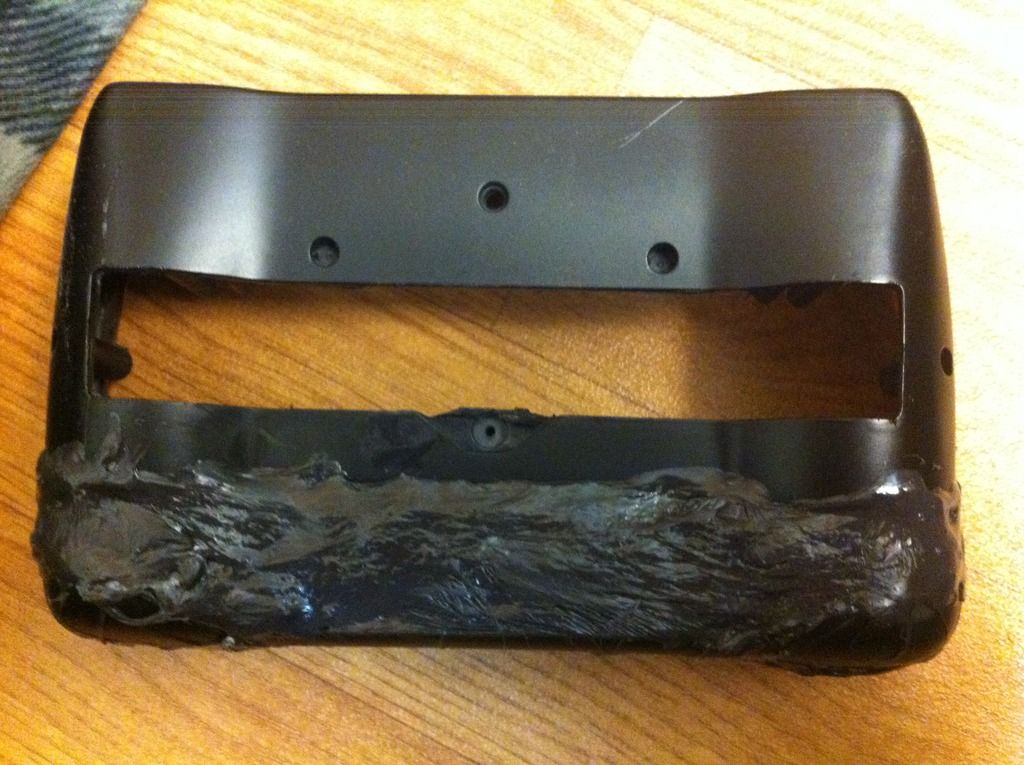
heres a picture after i sand it the sides

you can see where the two plastic join
and this other picture i used the air vents of the nintendo console to cover the hole on top but also to make my own air vents because i'm not using a fan on this one

there was a big gap in the front and back of the case and again i used melted plastic to fill the gap

you can see here i already have the 3ds parts and also im keeping two of the original buttons

here's the back of the case
and here after i sand it also the z button

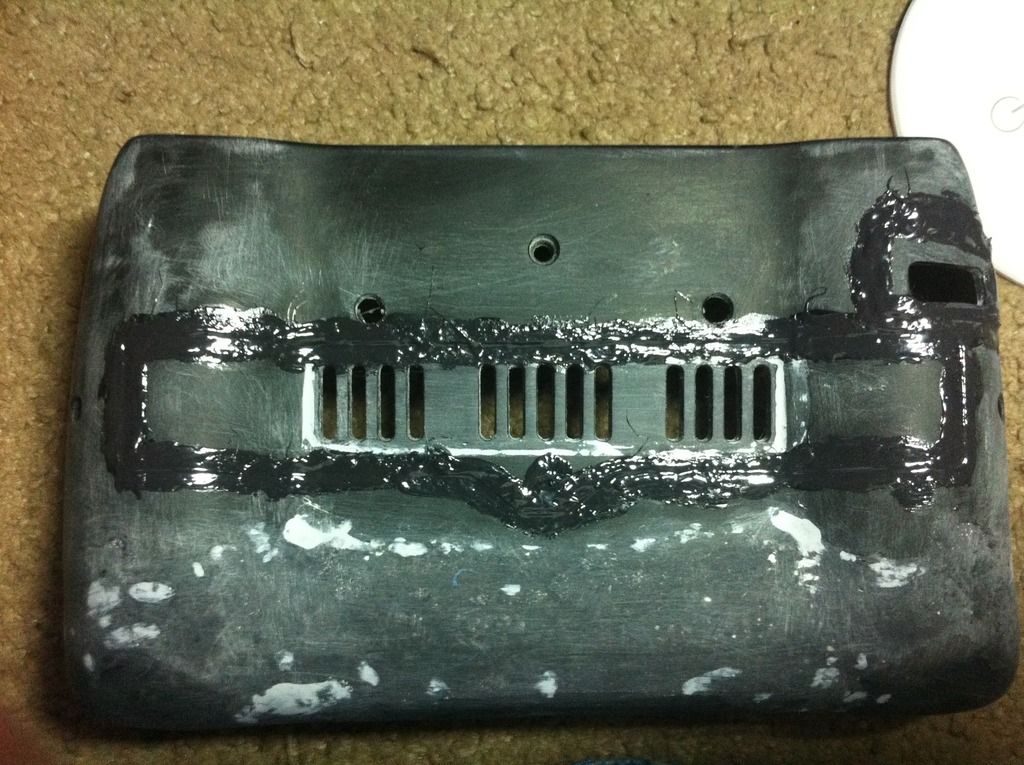
it didn't look too pretty so what i did is the i melted more abs plastic but this time i put more acetone to make the plastic more liquid and with a brush i put a thin layer,i wait for 15 minutes and sand it,i put another layer of plastic and sant it again,i did this like five times and the result was amazing

here you can see how smooth it looks,also i made more air vents and i used more melted plastic
front case with nintendo logo

almost forgot to mention im using the original screen from the retro duo,it's not too bad besides i don't have to instal the headphone jack because is already in it
back to the case
here are the two pieces with prime


they're not perfect but that's what it makes them unique
today i painted the case


i know that i could have worked a little more on the case but im happy with the results

here is my nintendo 64 board
this is all i have for now sorry if i haven't posted anything before but i thought i wasn't gonna make it this far
I hope I have explained the whole process well
i'll keep posting more once i finish with the board and the rest